 Pin It
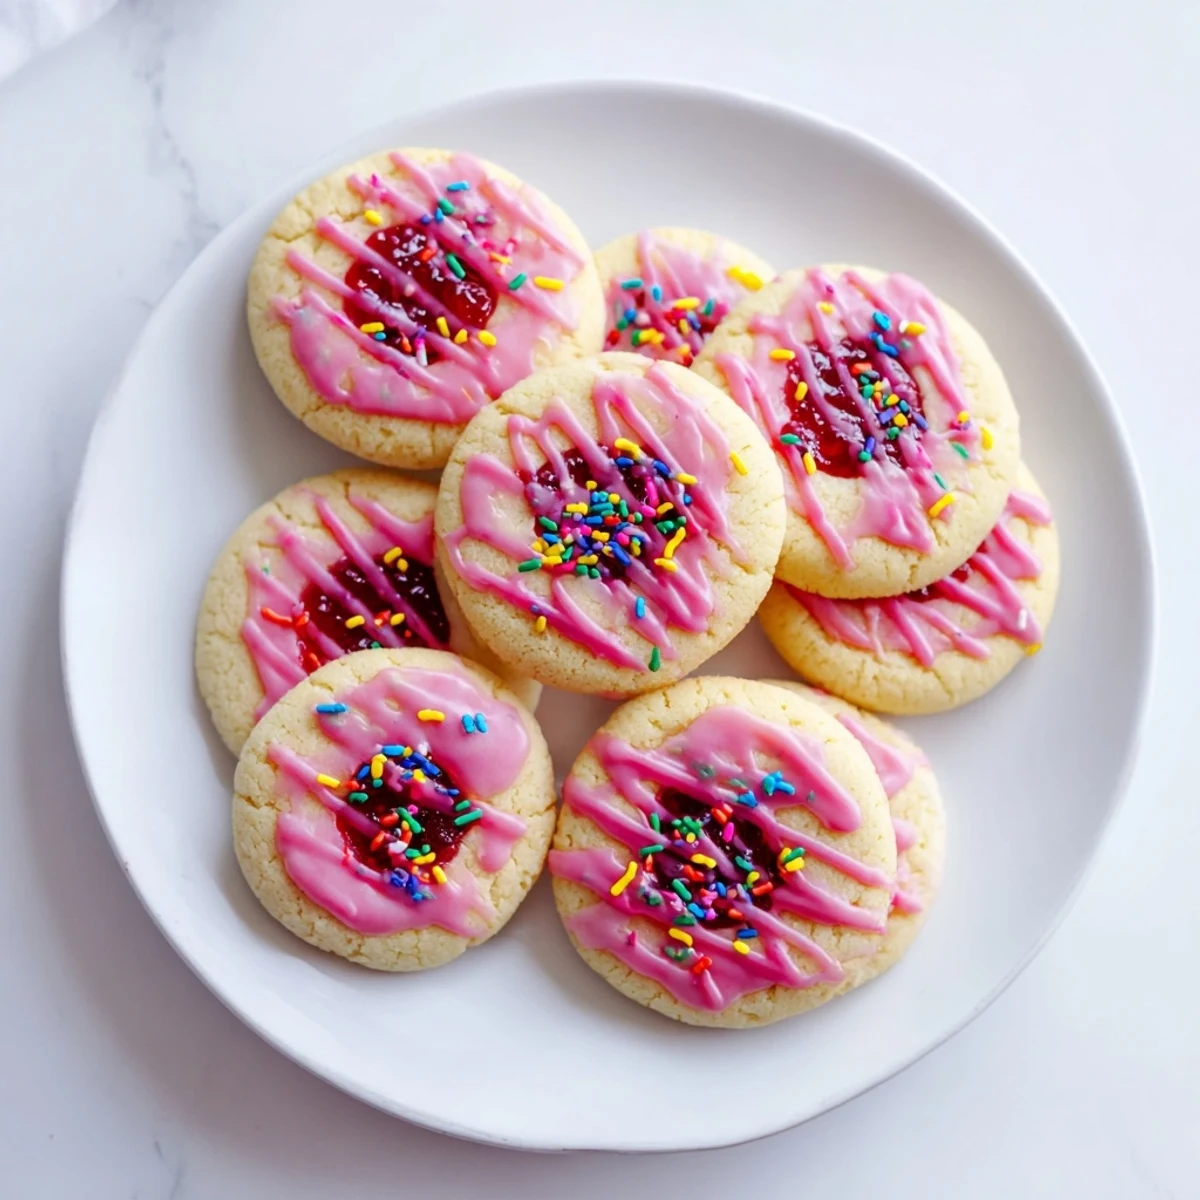
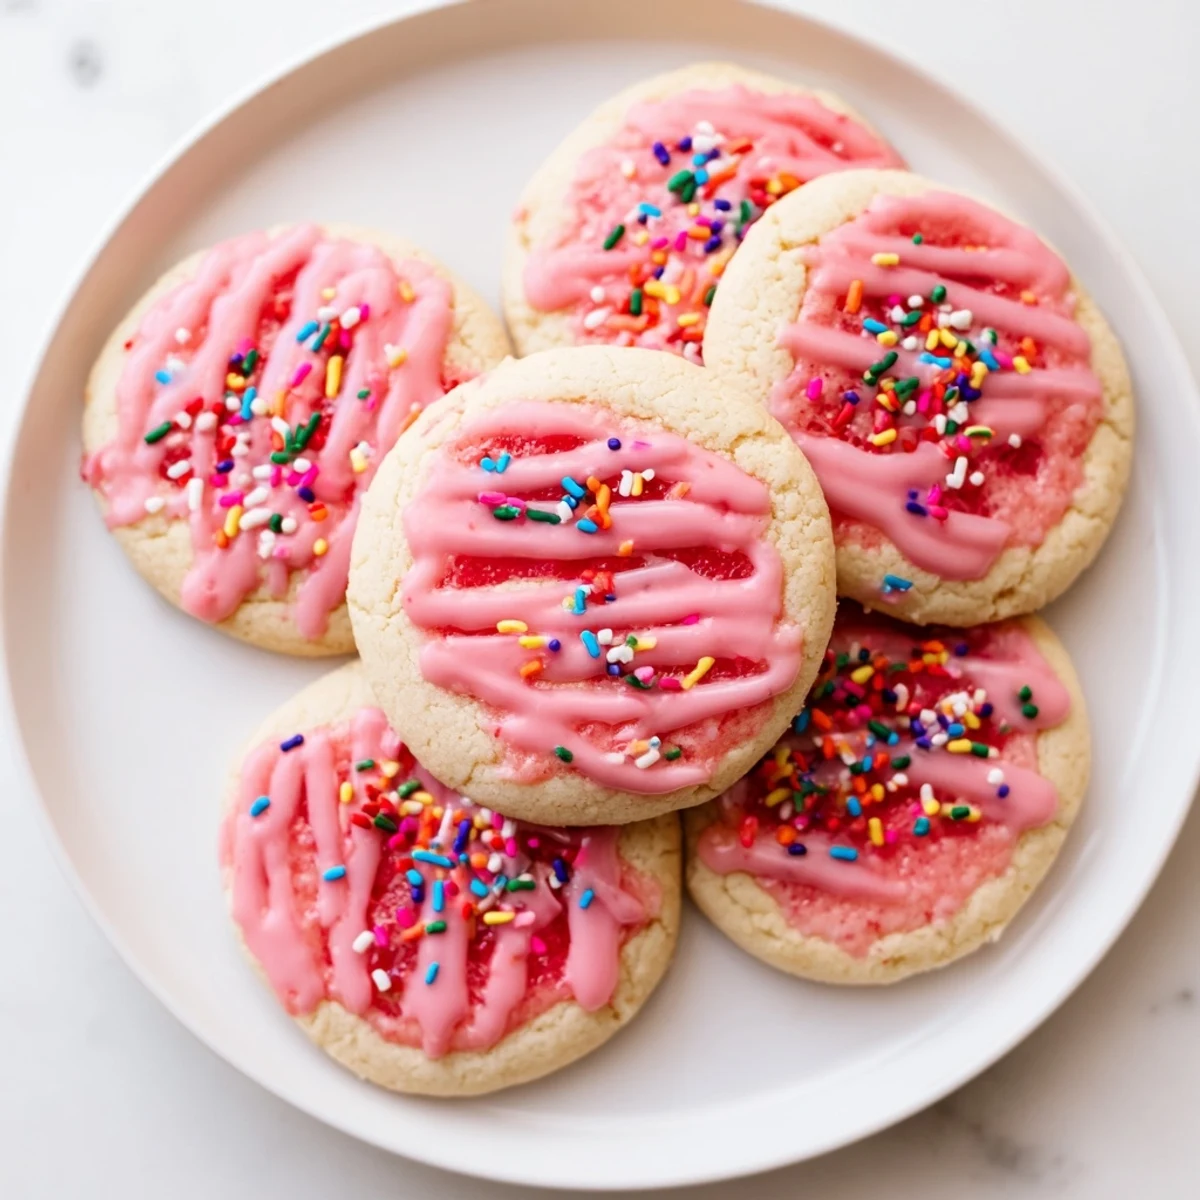
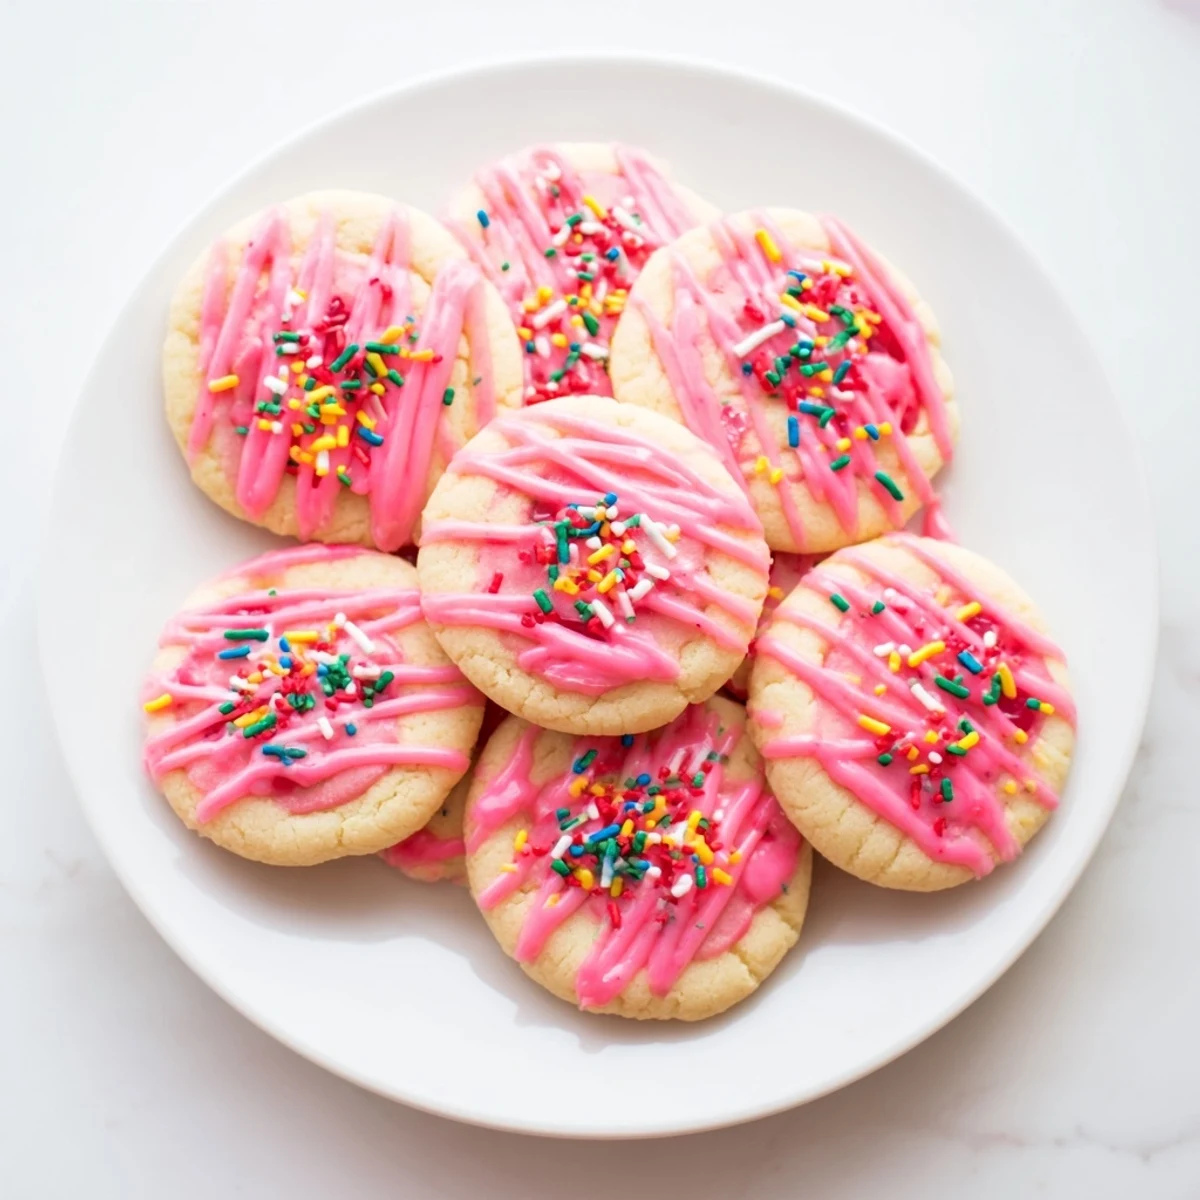
 These soft, buttery cookies capture the nostalgic flavor everyone loves from strawberry Pop-Tarts. Each tender cookie is hand-filled with sweet strawberry jam, baked until golden, and topped with a smooth vanilla glaze and playful sprinkles. The dough comes together quickly with pantry staples, while the jam filling creates that beloved fruity center. Perfect for dessert, lunchboxes, or anytime you want a fun, colorful treat that reminds you of childhood favorites.
The smell of toaster pastries wafting through a Saturday morning kitchen is practically a childhood universal, and these cookies capture that exact feeling in a form you can eat warm from the oven any time of day.
I brought a plate of these to a potluck once and watched three adults abandon a perfectly good conversation just to hover near the dessert table, sneaking seconds when they thought nobody was looking.
Ingredients
- All purpose flour (2 1/4 cups, 280 g): Provides the soft structure, and spooning it into the cup instead of scooping prevents dense cookies.
- Baking powder (1/2 teaspoon): Gives just enough lift to keep these tender without turning them cakey.
- Salt (1/2 teaspoon): Balances the sweetness and makes the strawberry flavor pop.
- Unsalted butter (3/4 cup, 170 g), softened: The foundation of richness, and softening it properly means no greasy spreading in the oven.
- Granulated sugar (3/4 cup, 150 g): Creates crisp edges and a clean sweetness that lets the jam shine.
- Light brown sugar (1/4 cup, 50 g): A small amount for chewiness and a faint caramel note.
- Large eggs (2): Bind everything together and add richness to the crumb.
- Vanilla extract (2 teaspoons): Rounds out the buttery flavor and ties the filling to the dough.
- Strawberry jam or preserves (3/4 cup, 210 g): The star of the filling, and preserves with real fruit chunks give the best texture.
- Powdered sugar (1 cup, 120 g): Forms a smooth, sweet glaze that sets up beautifully on top.
- Milk (2 tablespoons): Thins the glaze to the perfect drizzling consistency.
- Vanilla extract for glaze (1/2 teaspoon): A little extra warmth in the topping.
- Pink or red food coloring (optional): Purely for fun and that nostalgic Pop Tart look.
- Sprinkles: The finishing touch that makes people smile before they even take a bite.
Instructions
- Get the oven ready:
- Preheat to 350 degrees F (175 degrees C) and line two baking sheets with parchment paper so nothing sticks.
- Whisk the dry ingredients:
- In a medium bowl, whisk together the flour, baking powder, and salt until evenly combined and free of lumps.
- Cream the butter and sugars:
- Beat the softened butter, granulated sugar, and brown sugar in a large bowl for two to three minutes until pale, fluffy, and irresistible to swipe a finger through.
- Add eggs and vanilla:
- Beat in the eggs one at a time, mixing until each disappears, then stir in the vanilla extract until fragrant.
- Bring the dough together:
- Gradually add the dry ingredients to the wet mixture on low speed, stopping the moment everything is just combined to avoid tough cookies.
- Stuff and shape:
- Scoop two tablespoon portions of dough, flatten each into a disc in your palm, place a teaspoon of strawberry jam in the center, then fold the dough over and pinch the seams shut before gently rolling into a ball.
- Arrange on sheets:
- Place the filled dough balls on the prepared baking sheets with two inches of space between them so they have room to spread.
- Bake until golden:
- Bake for eleven to thirteen minutes until the edges are set but the centers still look slightly soft and underbaked for that chewy interior.
- Cool properly:
- Let the cookies rest on the baking sheet for five minutes, then transfer to a wire rack to cool completely before glazing so the topping does not melt right off.
- Glaze and celebrate:
- Whisk the powdered sugar, milk, vanilla, and a drop of food coloring if using until smooth, then drizzle generously over cooled cookies and shower with sprinkles before the glaze sets.
 Pin It
 One rainy afternoon my niece sat on the kitchen counter and insisted on being the official sprinkle manager, and she took the job so seriously that we ended up with more sprinkles on the floor than on the cookies.
Choosing the Right Jam
A good jam makes all the difference here, and I have found that fruit preserves with visible chunks of strawberry create a more interesting bite than smooth jelly.
Swapping Flavors
Raspberry, blueberry, and apricot jam all work beautifully if you want to change things up, and each one gives the cookie a completely different personality.
Storage and Freshness
These keep well in an airtight container at room temperature for up to four days, though they rarely last that long in my house.
- Layer parchment between stacked cookies so the glaze does not smear onto the ones below.
- Freeze unglazed cookies for up to a month and glaze them fresh when you are ready to serve.
- Always check your jam label for nut warnings if you are baking for someone with allergies.
 Pin It
 These cookies taste like childhood redesigned by someone who learned a few things along the way, and sharing them feels like handing people a small edible time machine.
Recipe Questions
- → Can I use different jam flavors?
-
Absolutely! Raspberry, blueberry, apricot, or even cherry jam work beautifully. Feel free to experiment with your favorite preserves or homemade jams for unique flavor variations.
- → How do I prevent the jam from leaking during baking?
-
Make sure to seal the dough completely around the jam by pinching the edges firmly. If you notice small gaps, press additional dough over them. Chilling the filled dough balls for 10-15 minutes before baking also helps prevent leakage.
- → Can I freeze the dough or baked cookies?
-
Yes! Freeze unbaked filled dough balls on a baking sheet, then transfer to a freezer bag for up to 3 months. Bake from frozen, adding 1-2 minutes to the baking time. Baked cookies freeze well for up to 2 months—glaze after thawing.
- → What's the best way to store these cookies?
-
Store in an airtight container at room temperature for up to 4 days. If glazed, place parchment paper between layers to prevent sticking. For longer storage, keep unglazed cookies in the refrigerator and add glaze before serving.
- → Can I make these without a stand mixer?
-
Definitely! Use a hand mixer or even mix by hand with a sturdy wooden spoon. Creaming the butter and sugars may take a bit more effort, but the results will be just as delicious.
- → Why do my cookies look flat?
-
This can happen if the dough is too warm or the butter was over-softened. Try chilling the scooped dough for 15-20 minutes before baking. Also ensure your baking powder is fresh for proper lift.
