 Pin It
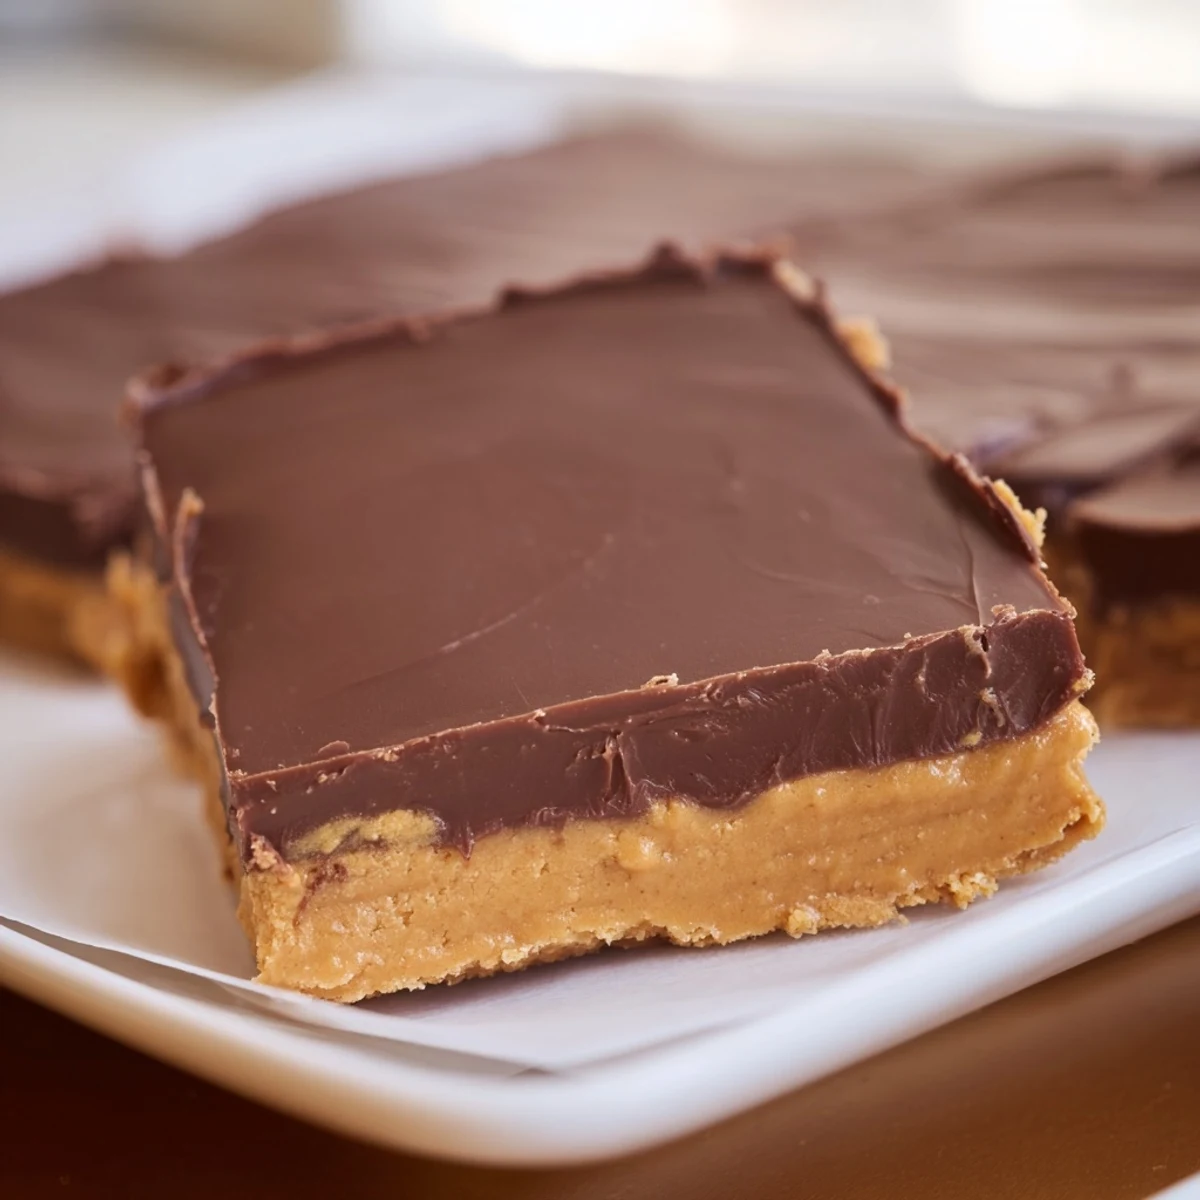
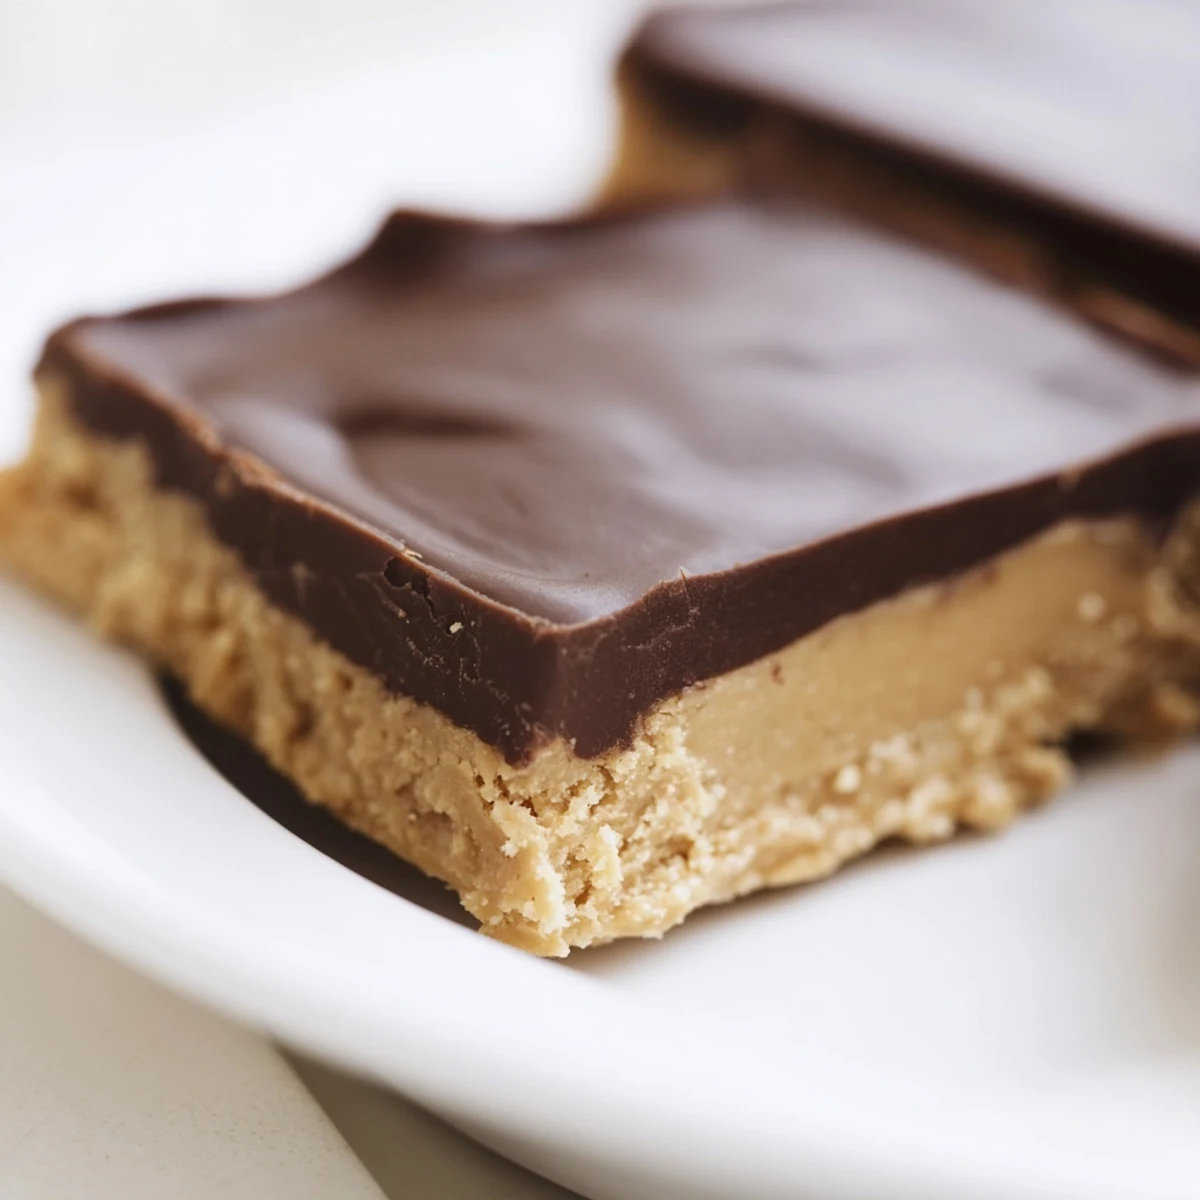
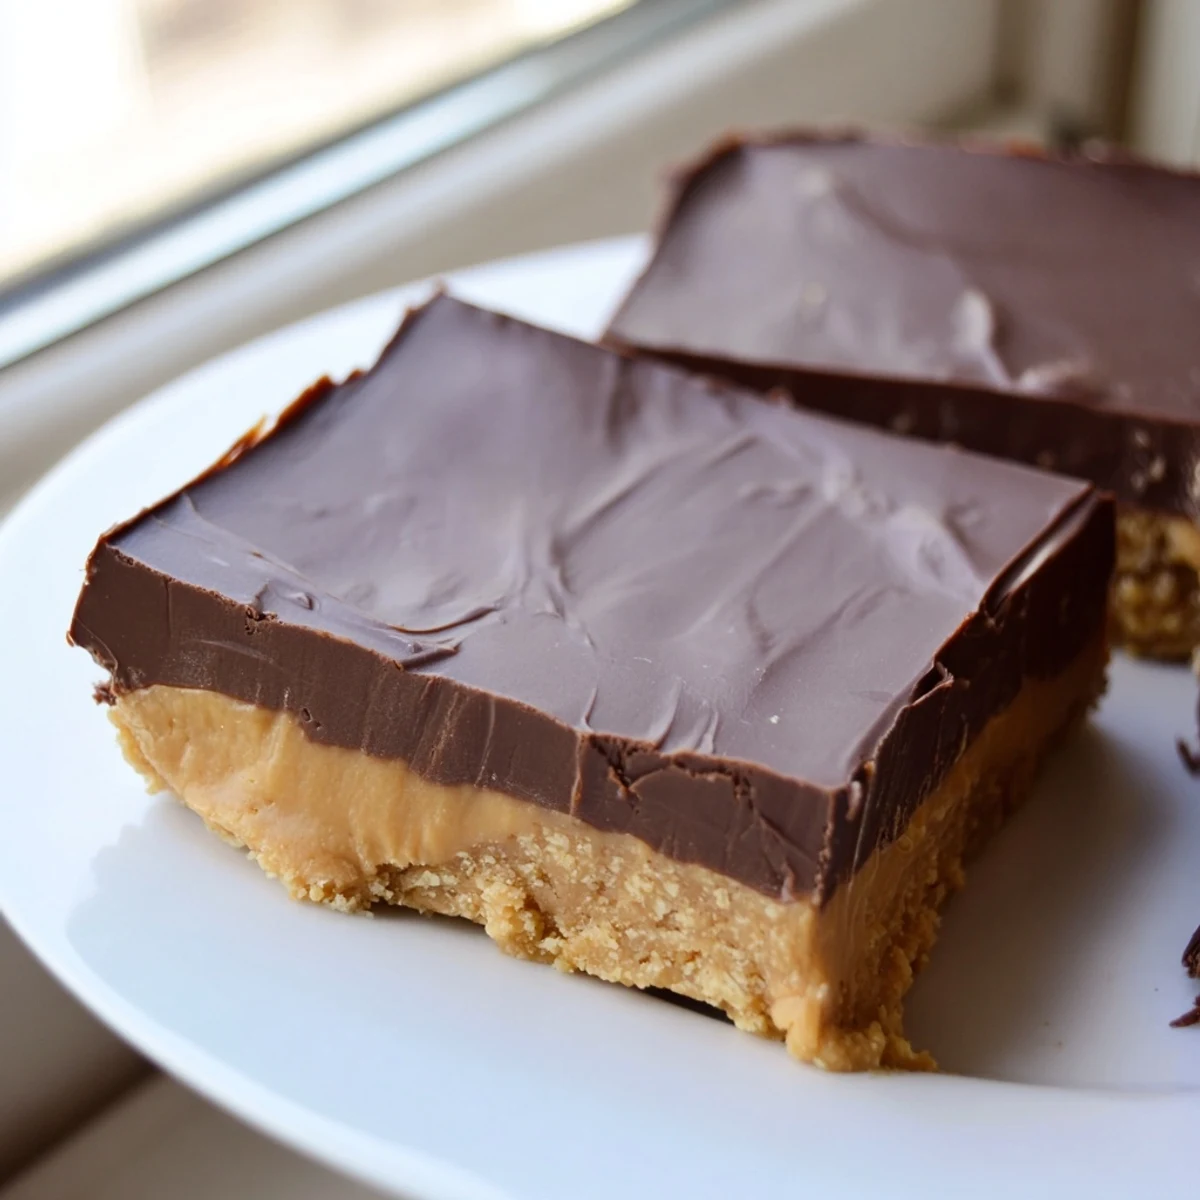
 These indulgent bars feature a velvety peanut butter base made with creamy peanut butter, melted butter, powdered sugar, and crunchy graham cracker crumbs. The rich foundation gets crowned with a luscious layer of melted semisweet chocolate chips blended with additional peanut butter for ultimate creaminess.
What makes these treats special is their simplicity—no oven required. Simply mix, press, and chill for two hours until firm. The result is a fudgy, satisfying dessert that balances sweet and salty flavors perfectly. The chocolate layer sets beautifully while the peanut butter base remains slightly soft, creating ideal texture contrast in every bite.
Customize easily by swapping chunky peanut butter for crunch or adding sea salt on top. Store chilled for best results, though they disappear quickly at gatherings.
The rain was hammering against the kitchen window and I had exactly zero desire to turn on the oven, which is how these peanut butter bars came into my life on a gray Tuesday afternoon. I spotted the jar of peanut butter sitting next to a forgotten bag of chocolate chips and something just clicked. Twenty minutes later, the pan was in the fridge and my mood had shifted entirely. Sometimes the best recipes find you when you are too lazy to look for them.
I brought a batch to my neighbor Carols housewarming last spring and she quietly pulled me aside to ask if I could make them for her daughters birthday. That felt like the highest compliment, especially since Carol is the kind of person who bakes her own sourdough every Saturday without fail.
Ingredients
- 1 cup creamy peanut butter: Use the regular commercial kind here, not the natural stir kind, because the oils in natural peanut butter can make the base greasy and unpredictable.
- 1/2 cup unsalted butter, melted: Let it cool slightly after melting so it does not melt the sugar on contact and create a grainy mess.
- 2 cups powdered sugar, sifted: Sifting is nonnegotiable unless you enjoy biting into tiny chalky lumps.
- 1 1/2 cups graham cracker crumbs: You can crush your own or buy precrushed, just make sure the texture is fine and even throughout.
- 1 1/2 cups semisweet chocolate chips: Semisweet strikes the right balance against the salty peanut butter base without tipping into cloying territory.
- 1/4 cup creamy peanut butter for the topping: This small addition makes the chocolate layer softer and more sliceable once chilled.
Instructions
- Prep the pan:
- Line a 9 by 9 inch baking dish with parchment paper, leaving enough overhang on the sides to grab onto later. This is your ticket to clean, neat squares without a knife fight.
- Build the base:
- Stir the melted butter and one cup of peanut butter together until they become one glossy, unified mixture. Fold in the powdered sugar and graham cracker crumbs, then press firmly and evenly into the dish using your hands or a spatula.
- Make the chocolate layer:
- Combine the chocolate chips and remaining quarter cup of peanut butter in a microwave safe bowl and heat in twenty second bursts, stirring between each, until the mixture is completely smooth and pourable.
- Assemble and chill:
- Pour the chocolate over the base and spread it edge to edge with the back of a spoon. Slide the whole pan into the refrigerator for at least two hours until everything is firm and set.
- Cut and serve:
- Use the parchment overhang to lift the entire slab out of the pan. Cut into sixteen squares with a sharp knife, wiping the blade between cuts for the cleanest edges.
 Pin It
 There is something deeply satisfying about lifting that whole slab out of the pan in one clean piece. It makes you feel like you actually know what you are doing, even if you were in sweatpants five minutes ago.
Variations Worth Trying
Swapping in chunky peanut butter for the base adds these little pockets of crunch that catch you off guard in the best way. I have also pressed a thin layer of raspberry jam between the peanut butter and chocolate and the result tasted like a deconstructed peanut butter cup. A friend once added pretzel pieces and told me it was the best decision she ever made in her kitchen.
Storage That Actually Works
These bars need to live in the refrigerator in an airtight container or the chocolate gets soft and the layers start sliding around like old friends on an ice rink. They hold beautifully for up to a week, though they rarely last that long in my house. You can freeze them for up to three months, just separate layers with parchment so they do not fuse together into one giant mass.
A Few Last Things
The hardest part of this recipe is waiting two hours while the chocolate sets and the smell of peanut butter taunts you every time you open the fridge. Here are a few final thoughts before you start.
- A sprinkle of flaky sea salt on top of the warm chocolate changes everything.
- Let the bars sit at room temperature for five minutes before cutting for cleaner slices.
- Double the recipe and use a 9 by 13 inch pan if you are feeding a crowd.
 Pin It
 Keep a stash hidden in the back of the fridge for yourself, because once people know you can make these, they will ask for them everywhere they see you. That is a promise, not a warning.
Recipe Questions
- → How long do peanut butter bars need to chill?
-
Refrigerate the bars for at least 2 hours until completely firm. This allows the chocolate layer to set and the peanut butter base to become sliceable. For best results, chill overnight before cutting.
- → Can I use natural peanut butter instead of regular?
-
Natural peanut butter works, though the texture may be slightly softer due to oil separation. Stir the peanut butter thoroughly before measuring and consider reducing the melted butter by 1 tablespoon to maintain proper consistency.
- → What's the best way to cut clean squares?
-
Use a sharp knife warmed under hot water and wiped dry between cuts. Lift the entire chilled block from the pan using the parchment paper overhang, then cut on a cutting board for cleaner edges.
- → Can these be frozen for longer storage?
-
Yes, freeze individual squares wrapped in plastic wrap and placed in an airtight container for up to 3 months. Thaw in the refrigerator for 1-2 hours before serving. The texture remains excellent after freezing.
- → What chocolate works best for the topping?
-
Semisweet chocolate chips provide classic flavor, but milk chocolate creates a sweeter profile while dark chocolate offers sophisticated depth. Chop chocolate bars into uniform pieces for more even melting if chips aren't available.
