 Pin It
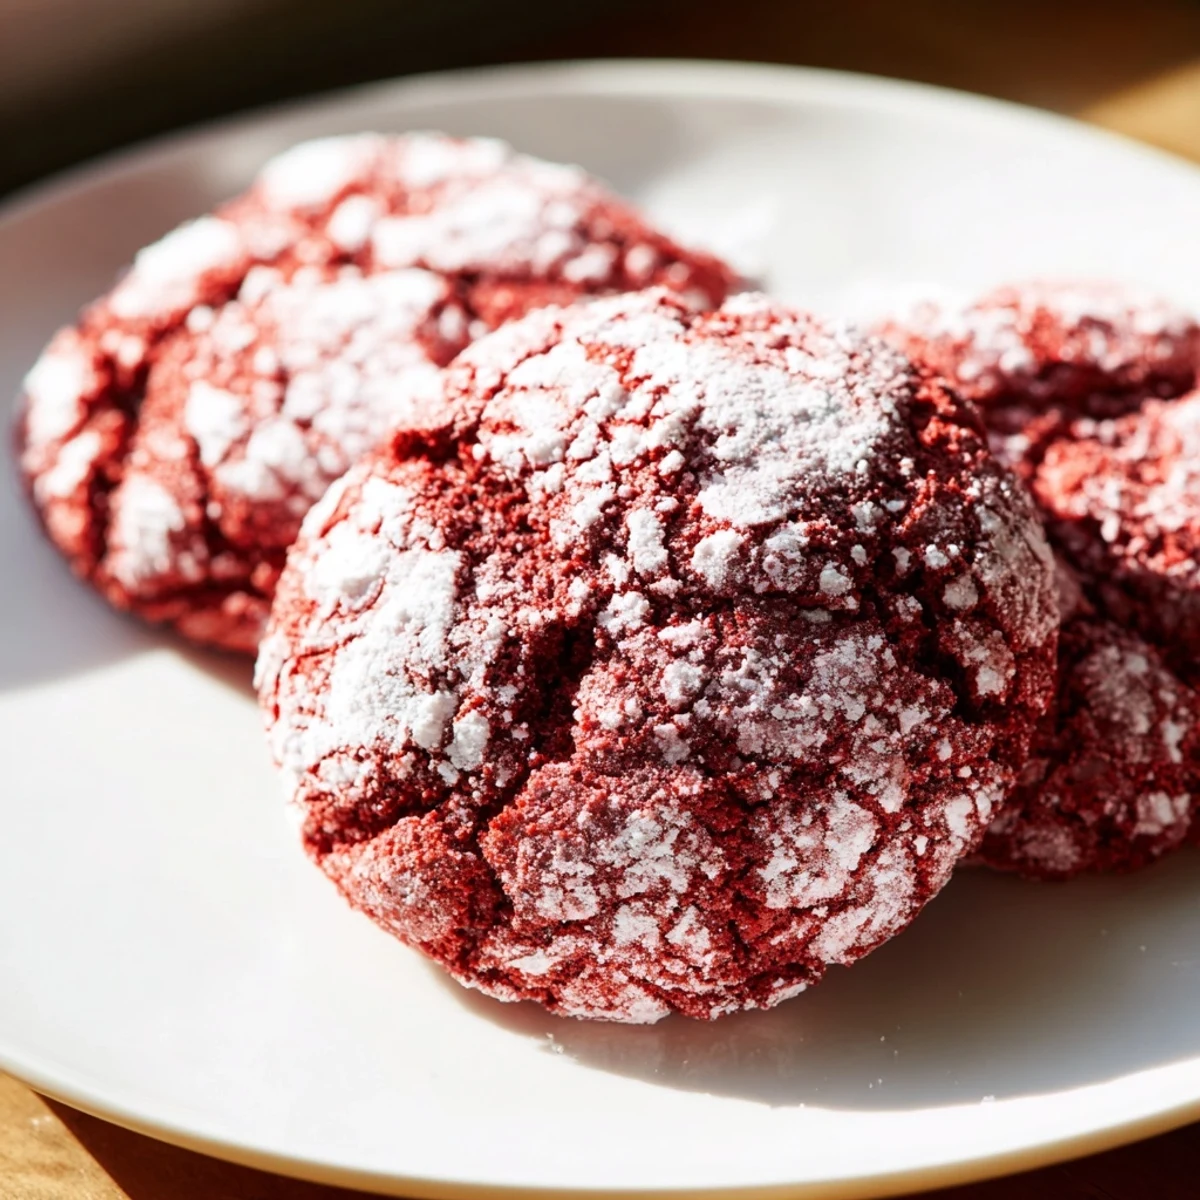
 These soft, fudgy red velvet cookies feature a rich cocoa base and a vibrant red hue, perfected by a crackled coating of powdered sugar. The dough is chilled before baking to achieve the signature texture and appearance. Baking takes just over ten minutes, resulting in tender, moist centers with a slight chew. Ideal for holidays or special occasions, these treats offer a beautiful balance of sweetness and cocoa depth that's sure to impress.
The snow was falling outside my kitchen window when I first decided red velvet cookies were exactly what a cozy December afternoon needed. Id been seeing them all over social media, that stunning contrast between the bright red dough and snow-white powdered sugar cracks, and I couldn't resist any longer. My kitchen ended up looking like a crime scene with red food coloring splattered everywhere, but pulling that first tray from the oven made every bit of the mess worth it.
My roommate walked in right as I was rolling dough balls in powdered sugar, hands dusted white, and immediately demanded to be a taste tester. We stood around the oven watching through the glass door as the cracks formed, like magic happening in real time. Those first warm cookies disappeared between us so fast I barely had time to photograph them, and that's when I knew these would be a permanent fixture in my holiday baking rotation.
Ingredients
- All-purpose flour: The structure that holds everything together, and using it straight from your pantry works perfectly fine
- Unsweetened cocoa powder: Don't skip this, it's what gives the cookies that deep, sophisticated chocolate flavor beneath all that red
- Baking powder: This is your lift agent, creating those puffy centers that settle into chewy perfection
- Salt: Just a pinch wakes up all the other flavors and keeps the cookies from tasting flat
- Unsalted butter: Melted and cooled creates that tender texture we're after
- Granulated sugar: Sweetens and helps create that crackly exterior we love
- Eggs: Room temperature eggs incorporate better and give structure to the dough
- Vanilla extract: Pure vanilla makes everything taste better, no exceptions
- White vinegar: This might seem odd, but it reacts with the cocoa to enhance that classic red velvet tang
- Red food coloring: Gel coloring gives you that vibrant red with less liquid, which affects your dough consistency
- Buttermilk: The acidity here is crucial for both flavor and texture
- Powdered sugar: The coating that creates those beautiful crackles as the cookies spread
Instructions
- Whisk the dry foundation:
- In a medium bowl, combine your flour, cocoa powder, baking powder, and salt until everything is evenly distributed
- Build the wet mixture:
- Whisk that melted butter and sugar until they're best friends, then beat in your eggs one at a time
- Add the color and flavor:
- Stir in the vanilla, vinegar, and red food coloring until your mixture looks like something festive and wonderful
- Combine everything:
- Add those dry ingredients gradually, alternating with buttermilk, and stop mixing as soon as you no longer see dry streaks
- Chill the dough:
- Cover your bowl and let it rest in the fridge for at least two hours, because firm dough means better cookies
- Get ready to bake:
- Preheat your oven to 350°F and line your baking sheets with parchment paper
- Coat the dough balls:
- Roll generous tablespoons of chilled dough into balls and coat them thoroughly in powdered sugar
- Bake until perfect:
- Arrange those sugar-dusted beauties two inches apart and bake for 11 to 13 minutes
- Let them rest:
- Cool them on the baking sheet for five minutes before moving them to a wire rack
 Pin It
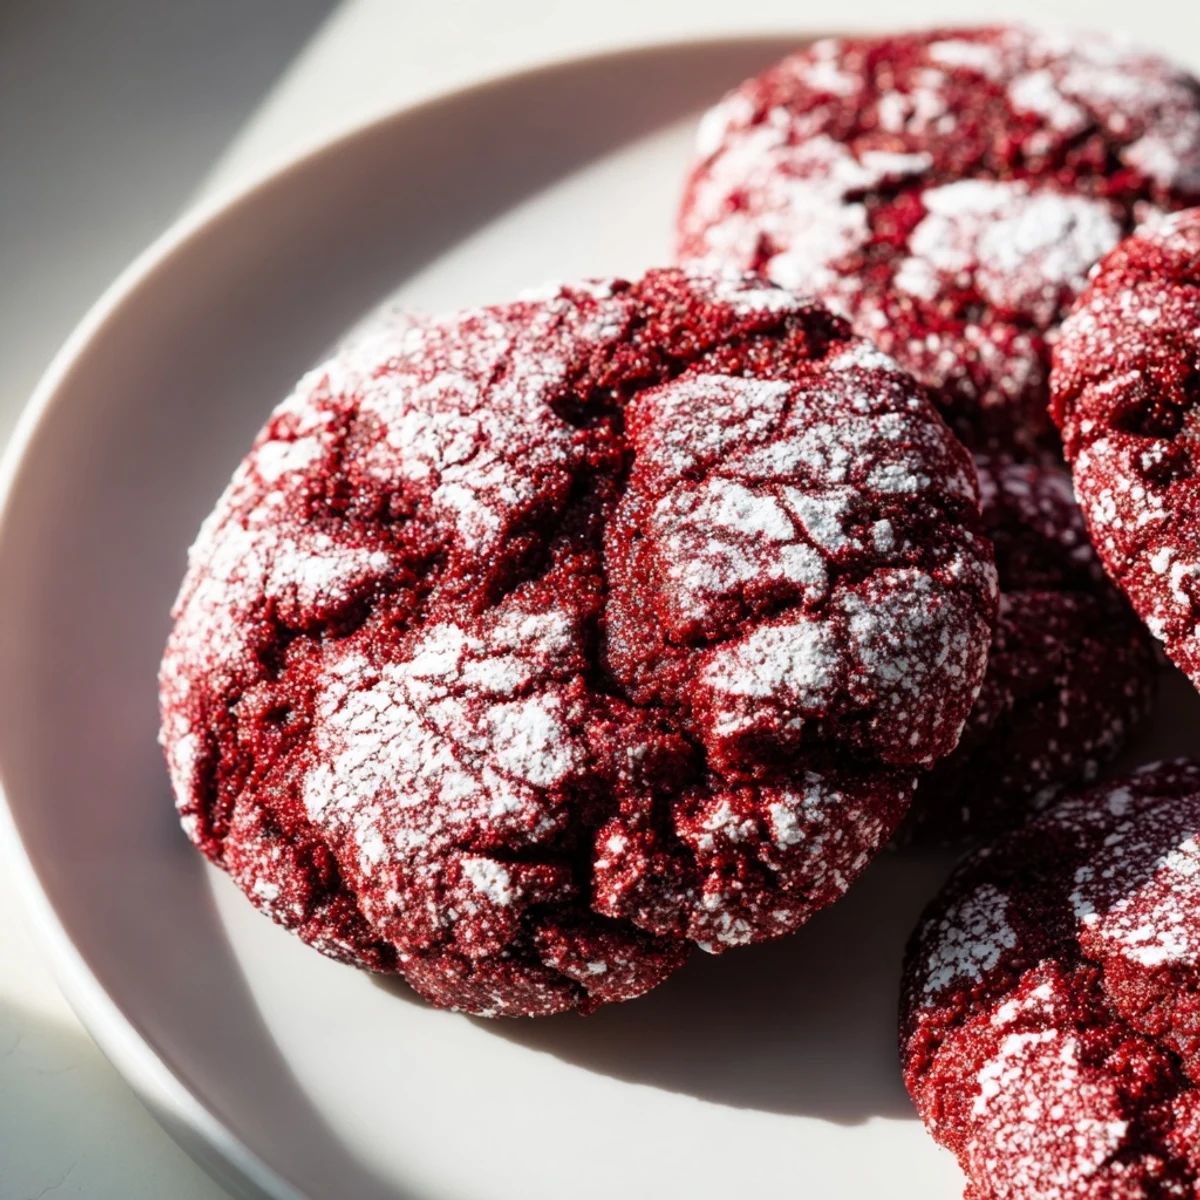
 Last year I brought these to a cookie exchange and watched them disappear within minutes, with three different people asking for the recipe before they even finished chewing. Something about that red and white contrast makes people instantly happy, like little edible holiday decorations.
Getting That Perfect Crack
The science behind those beautiful cracks is actually pretty simple, the powdered sugar coating dries and forms a shell while the cookie underneath continues to expand in the oven heat. That pressure creates those gorgeous fissures that expose the red dough beneath.
Color Matters
After testing both liquid and gel food coloring side by side, gel gives you that deep, saturated red without adding extra liquid to your dough. More liquid means you need more flour, which can make cookies tough, so gel is absolutely worth the slightly higher price.
Make Ahead Magic
The dough actually improves after a night in the fridge, the flavors meld together beautifully and the texture becomes even more fudgy. You can scoop and freeze the coated dough balls on a baking sheet, then transfer them to a freezer bag for fresh-baked cookies whenever the craving strikes.
- Scoop and freeze dough balls up to a month in advance
- Bake frozen dough balls for just one extra minute
- Keep baked cookies in an airtight container for up to a week
 Pin It
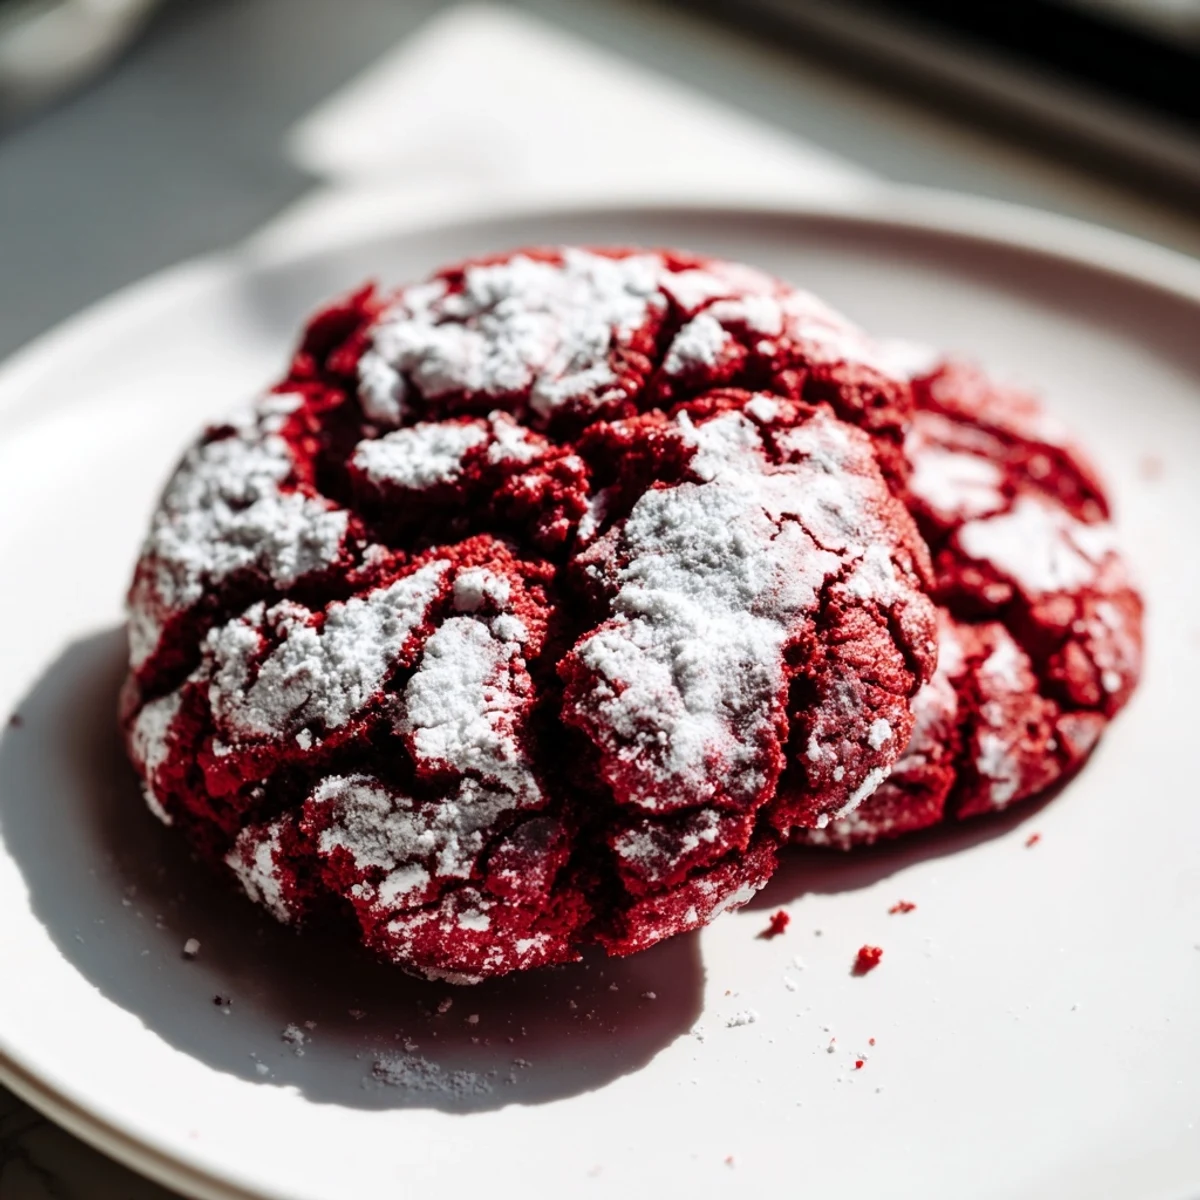
 There's something genuinely joyful about pulling a tray of these from the oven and seeing those dramatic red and white cracks. They're the kind of cookies that make people pause and smile before they even take a bite.
Recipe Questions
- → What gives the cookies their red color?
-
The vibrant red hue comes from red food coloring, which can be liquid or gel for deeper color.
- → How is the crackled powdered sugar coating achieved?
-
The dough balls are rolled generously in powdered sugar before baking, creating a signature crackled finish.
- → Can these be made ahead of time?
-
Yes, chilling the dough for at least two hours helps set the texture and flavor before baking.
- → What texture should I expect after baking?
-
The cookies are soft and fudgy inside, with slightly crackled and tender exteriors.
- → Are there any common allergens in these treats?
-
Yes, they contain wheat, eggs, and dairy including butter and buttermilk.
