 Pin It
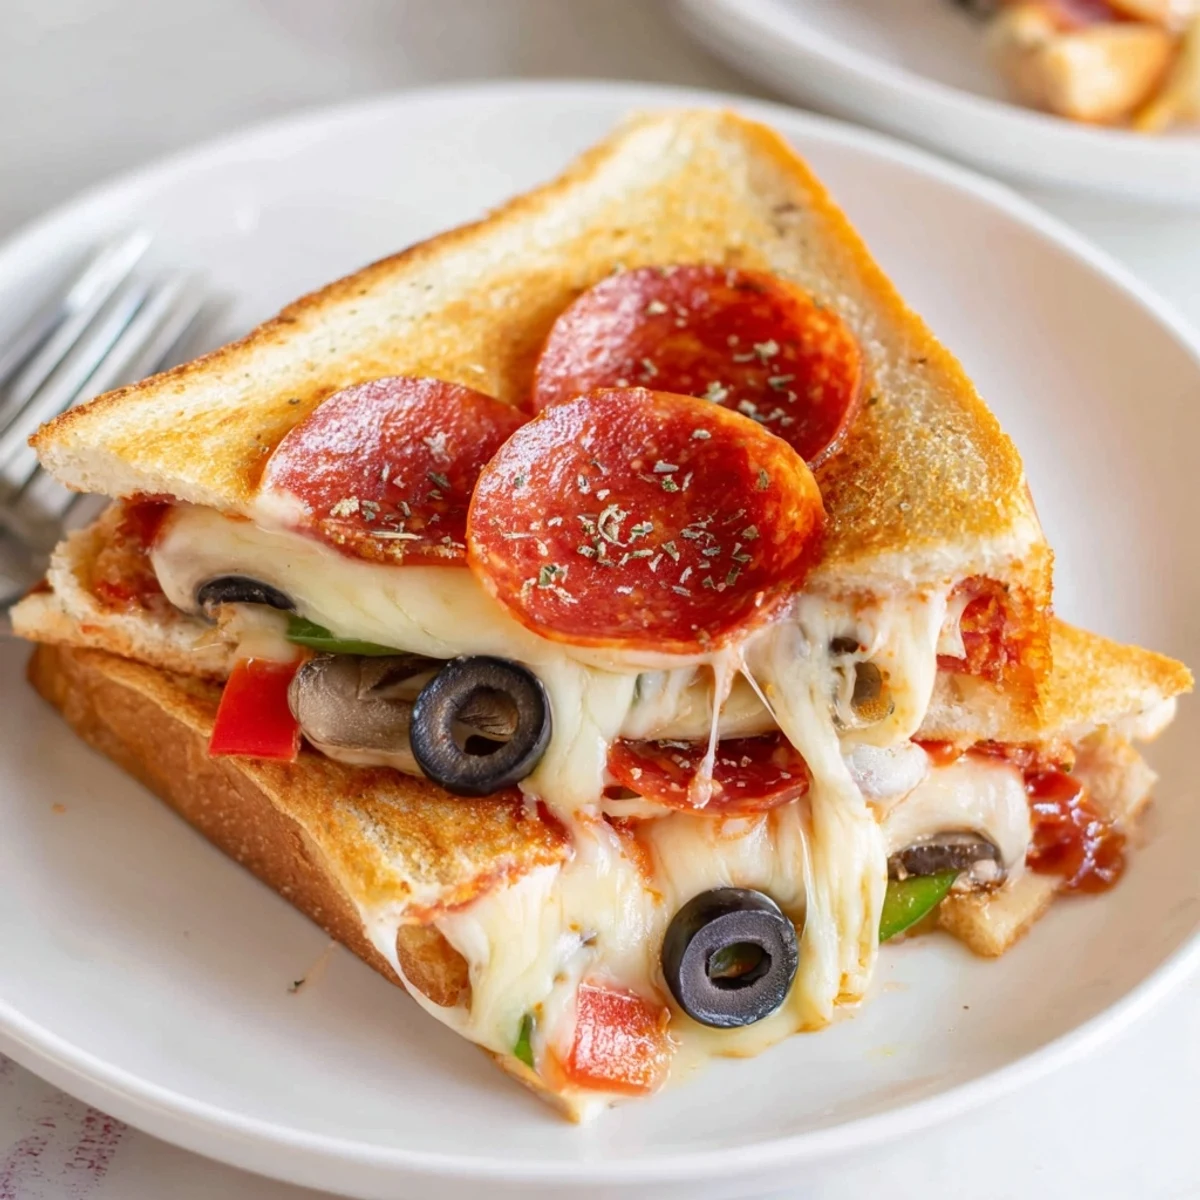
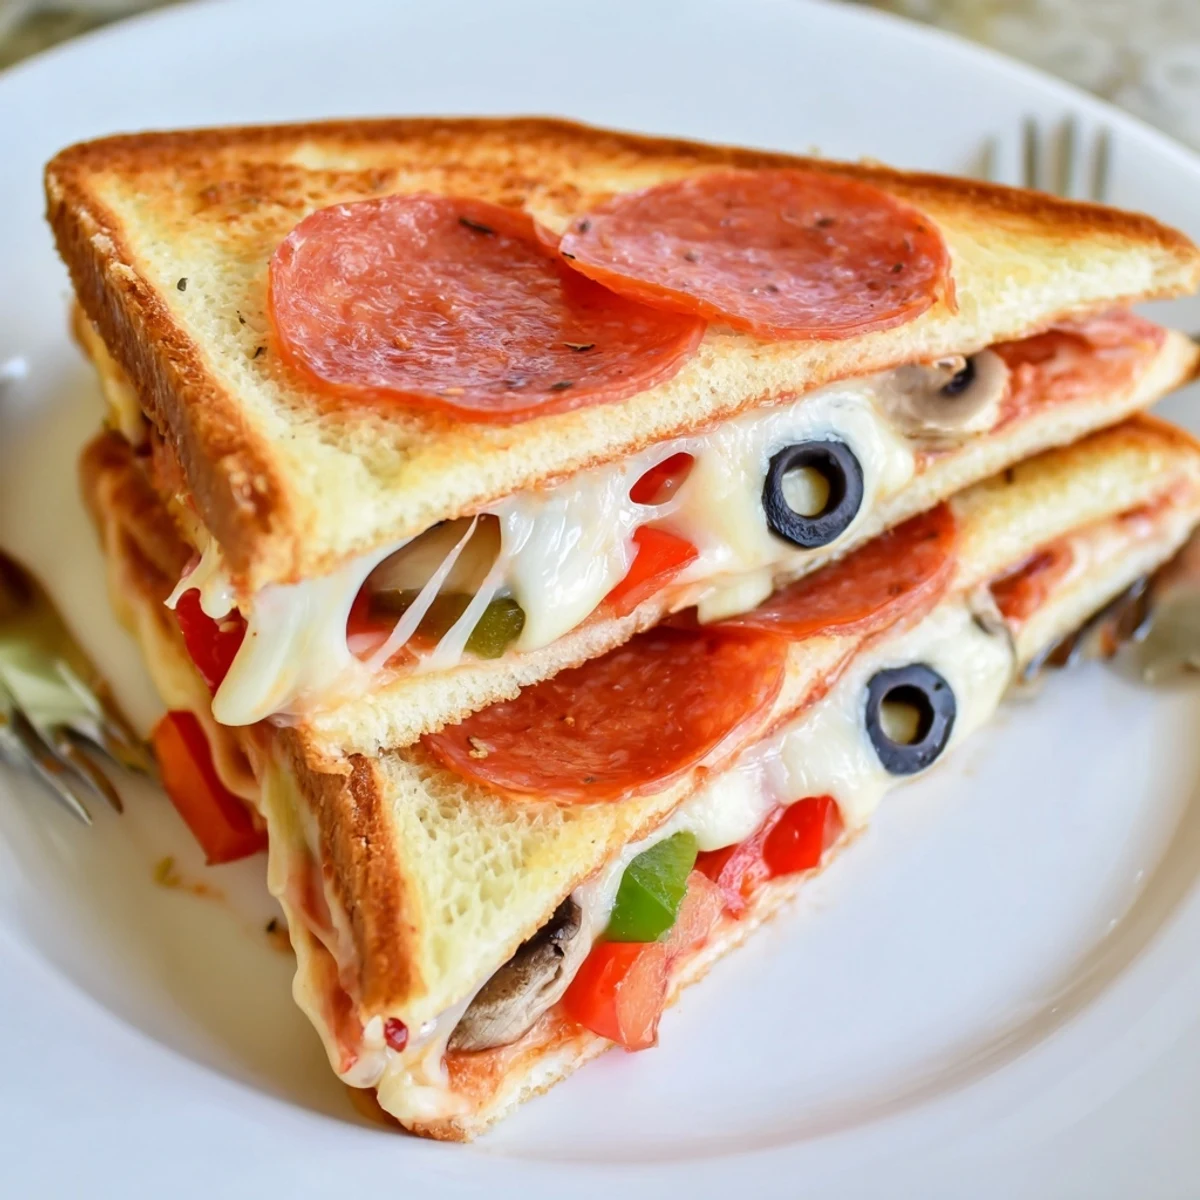
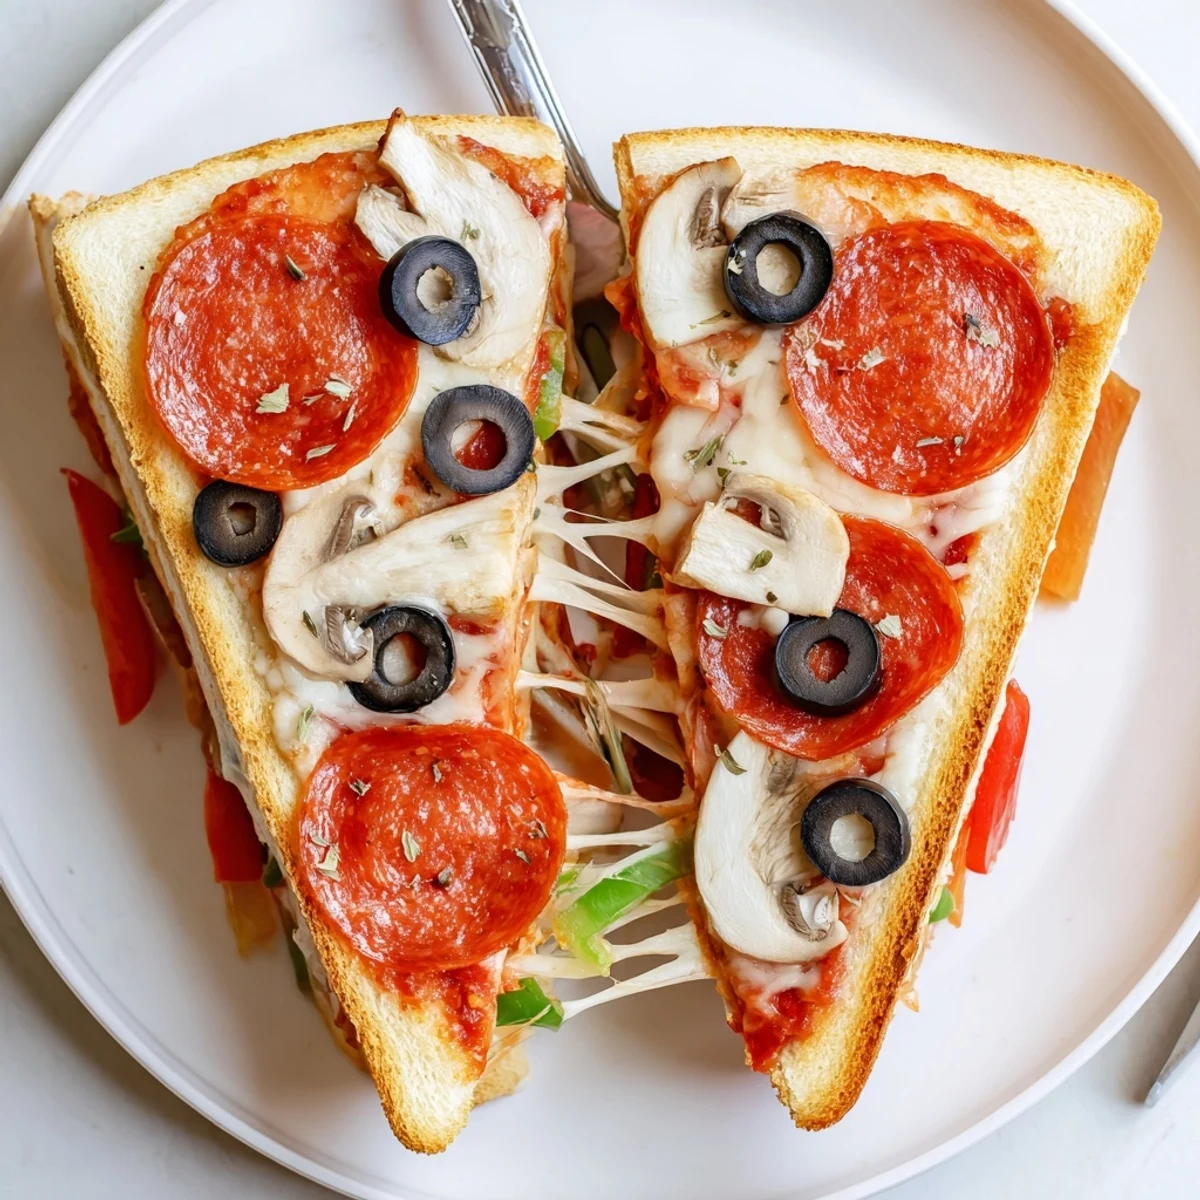
 These campfire pie iron pizza pockets use sandwich bread, pizza sauce and shredded mozzarella to yield four golden, cheese-studded pockets in about 18 minutes. Butter the bread, layer sauce, cheese and chosen toppings, seal in a preheated pie iron and cook 3–4 minutes per side until deeply golden and the cheese is melted. Swap toppings, use gluten-free bread or add fresh basil to finish and serve warm.
The sizzle of a well-buttered pie iron always makes me grin—especially on those first breezy camping evenings when everything tastes better than it should. Pie Iron Pizza Pockets came into my life at a lakeside site after a friend jokingly bet I couldn't improve on a classic grilled cheese. Turns out, all it took was a little pizza magic, gooey cheese, and plenty of laughter to win them over. The smoky scent that drifts as you flip these over a fire has become its own reward.
I’ll never forget the round of giggles when someone dropped a loaded pie iron into the embers accidentally—turns out, waiting for the cheese to cool can be just as tricky as holding onto your dinner. Pizza pockets became our group’s sunset go-to, eaten one-handed with sticky fingers and lots of stories. Someone always tries sneaking an extra slice of cheese, which never really stays a secret as it oozes out the edges.
Ingredients
- Bread: Use soft sandwich bread (white or wheat) for the perfect balance between crisp crust and tender interior—pressing the edges seals in the cheese best.
- Pizza sauce: Thick sauce works best so your pocket doesn’t get soggy—a pastry brush makes the job clean and quick.
- Shredded mozzarella cheese: Stretchy and melts beautifully; a little extra never hurts but don’t overpack or the pie iron may not latch.
- Pepperoni, salami, or other favorite toppings: Pre-slice toppings and keep them handy to speed up the assembly line around the campfire.
- Sliced black olives, bell peppers, or mushrooms: A mixture of colors and textures keeps each bite lively.
- Dried Italian herbs: A tiny sprinkle adds a woodsy aroma that always gets noticed—totally optional but delightful.
- Butter: Melted and brushed on guarantees a golden, crisp shell and easy pie iron removal.
Instructions
- Get the pie iron hot:
- Hold the pie iron over the flames or place on a stovetop until it’s just warm to the touch—listen for a faint sizzle when you flick a drop of water on it.
- Butter the bread:
- Sweep melted butter over one side of each slice; don’t be shy, this step is where the golden crunch comes from.
- Layer up the base:
- Set 4 slices buttered side down, ready for toppings, and let everyone take turns spreading sauce and cheese—more hands make the pocket-packing fast and fun.
- Add the fillings:
- Pile on your chosen toppings and sprinkle with herbs if you love that classic pizza scent wafting out when you open the pie iron later.
- Sandwich and prep:
- Top with another bread slice, buttered side out, then tuck corners in if anything sticks out—extra cheese will try to escape, which is half the fun.
- Iron time:
- Place your sandwich between the irons, clamp shut, and trim any peeking edges for a neat pocket—this keeps your pie iron tidy and helps the seal.
- Fire and flip:
- Cook over medium heat, flipping every couple minutes until both sides are browned and toasted, about 3–4 minutes per side—listen for the gentle bubbling that means the cheese is melting inside.
- Unmold and cool:
- Let the pocket sit a minute before biting in, steam can really surprise you—then dig in while everything’s hot and melty.
 Pin It
 I watched a little cousin’s eyes go wide the first time she tugged her own gooey Pizza Pocket out of the iron—pretty sure that moment made her believe cooking outdoors was pure magic. These pizza pockets have since fueled late-night campfire songs, helped win over hesitant campers, and become the stuff of group legend whenever we pack the pie irons.
Campfire Cooking Confidence
Learning how to keep the campfire at an even temperature totally changed my pizza pocket game. There’s a real art to moving the pie iron just off the hottest coals after that first flip—less risk of burnt edges, way more gooey fillings.
Endless Filling Ideas
No two campouts are alike, and neither are two pizza pockets; I’ve swapped in pesto, leftover grilled veggies, and even pineapple with surprising hits each time. Letting everyone choose their own starting layout turns pizza pocket night into a build-your-own competition (no judges, just happy taste testers).
Making Cleanup Easy
Once dinner’s over, a hot iron and a damp paper towel get most stuck cheese off before it becomes a cemented-on memory. A drop of cooking oil before you pack up means your pie iron is ready for the next round—even if it’s months before the next campfire.
- If your bread sticks, check your butter coverage—go edge to edge every time.
- Lay out all your fillings in bowls ahead to keep assembly smooth.
- Always let pockets cool at least a minute after cooking to dodge mouth burns.
 Pin It
 Whether you’re fire-side or using a stovetop at home, Pie Iron Pizza Pockets turn simple ingredients into a wildly fun meal. Here’s to smoky fingers, melted cheese, and campfire stories that stick around long after the last bite.
Recipe Questions
- → What's the best bread to use?
-
Use soft sandwich bread for easy sealing; white or whole wheat both work. For sturdier pockets, slightly stale slices hold up better. Trim crusts if needed to fit the pie iron and press seams firmly to prevent leaks.
- → How do I get an extra-crispy crust?
-
Butter the exterior of the bread generously and preheat the pie iron thoroughly. Cook over moderate heat and allow a full 3–4 minutes per side without frequent flipping so the crust browns evenly.
- → Can I cook these without a campfire?
-
Yes. Use a stovetop burner with the pie iron or press in a heavy skillet; alternatively, assemble and bake in a hot oven on a sheet until golden and the cheese is melted.
- → How long should I cook them and how do I know they're done?
-
Cook about 3–4 minutes per side over medium campfire heat. They're done when the bread is deep golden on both sides and the cheese is fully melted in the center.
- → What toppings adapt well for vegetarian variations?
-
Try sliced mushrooms, bell peppers, olives, artichokes, spinach or fresh basil. Pre-cook wetter vegetables briefly to avoid soggy pockets and use a light sprinkle of herbs for extra flavor.
- → How should I store and reheat leftovers?
-
Cool to room temperature, then refrigerate in an airtight container up to 2 days. Recrisp in a hot oven or skillet rather than the microwave to keep the crust crisp and the cheese melty.
