 Pin It
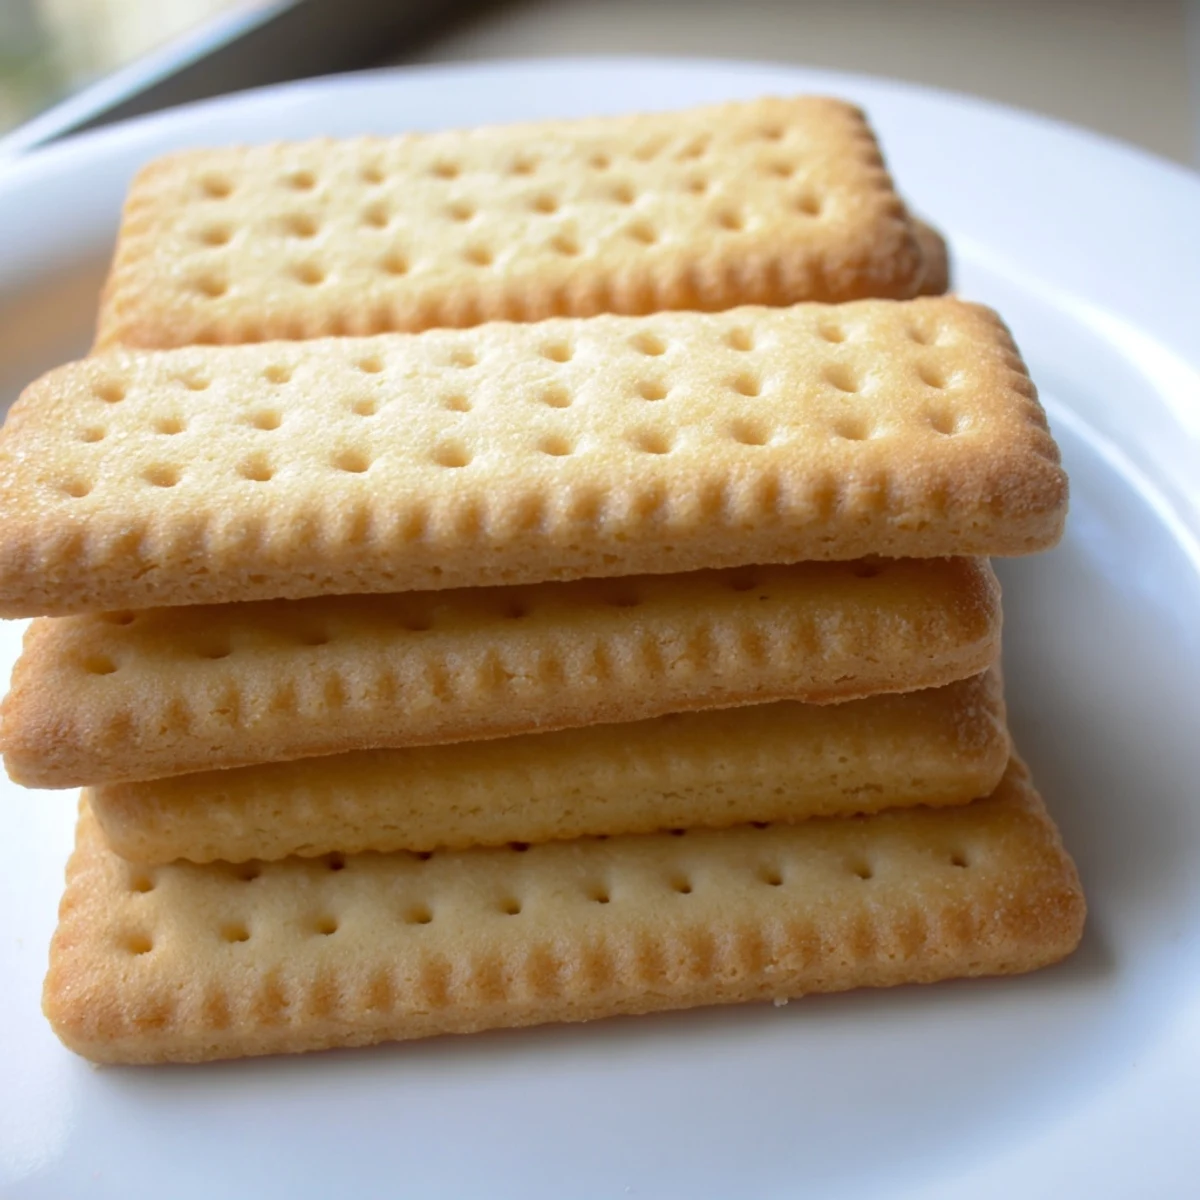
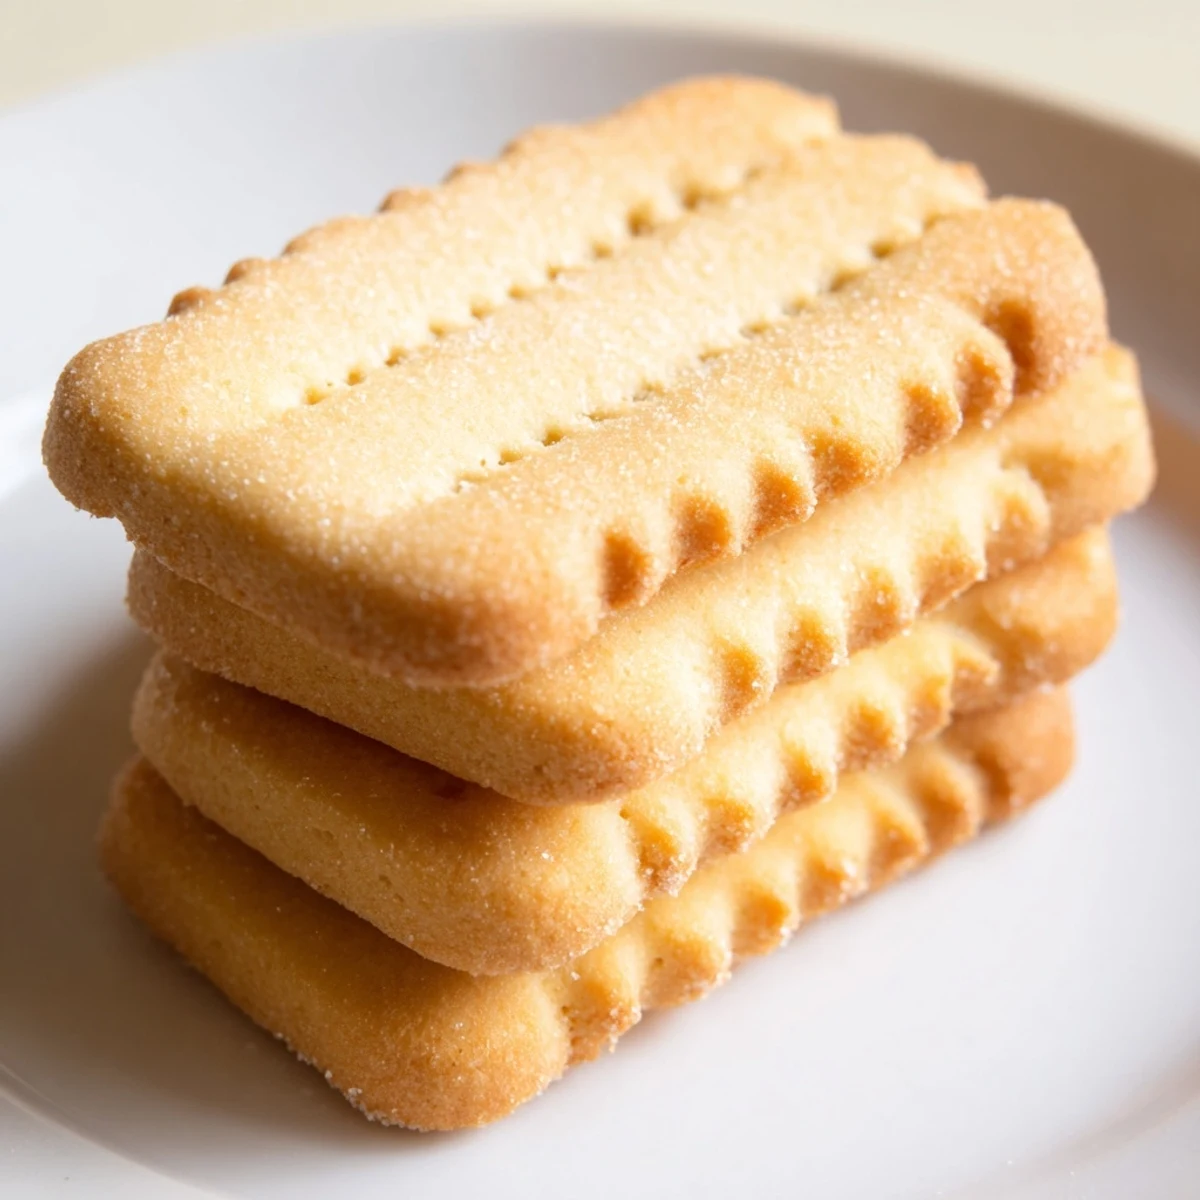
 Les petits beurre sont des biscuits français emblématiques, reconnus pour leur texture dorée et craquante. Originaires de Nantes, ils se distinguent par leur forme caractéristique et leurs bords dentelés.
Préparés à partir d'ingrédients simples — beurre doux, farine, sucre et lait — ils nécessitent un temps de repos de 30 minutes au réfrigérateur pour une pâte facile à travailler.
Une fois découpés et piqués à la fourchette, ils sont enfournés 12 minutes à 180°C. Le résultat : des biscuits légers et croustillants, idéaux pour le goûter ou pour tremper dans une boisson chaude.
The butter melted faster than I expected, pooling golden in the saucepan while rain streaked the kitchen window on a gray Tuesday afternoon. I had spotted a tin of Petit Beurre at a French market years ago and never forgot the way those little scalloped edges felt between my fingers, sturdy yet delicate. Recreating them at home felt like trying to bottle a specific kind of calm I did not know I was chasing. The dough came together in minutes, and the whole house smelled like a patisserie hidden on a side street in Lyon.
I brought a tin of these to my neighbor Claire, who had just returned from a difficult hospital stay and could barely manage a smile. She ate three in a row with her afternoon tea and told me they tasted exactly like the ones her grandmother made in Brittany. That small moment turned a simple biscuit into something I now bake whenever someone needs quiet comfort.
Ingredients
- 100 g unsalted butter: Good butter makes all the difference here since there are so few ingredients to hide behind.
- 100 g granulated sugar: Just enough sweetness without overpowering the buttery flavor.
- 60 ml whole milk: Whole milk creates a richer dough than low fat alternatives.
- 1 pinch of salt: A small pinch wakes up every other flavor in the biscuit.
- 250 g all purpose flour: Standard flour works perfectly, no need for anything fancy.
- 5 g baking powder (about half a packet): Gives the biscuits just a whisper of lift so they are not brick hard.
Instructions
- Melt and combine the wet ingredients:
- In a saucepan over low heat, melt the butter with the milk, sugar, and salt, stirring gently until the butter is completely dissolved and the mixture is smooth. Let it cool until it feels just warm to the touch, not hot enough to cook the flour later.
- Mix the dry ingredients:
- In a large bowl, whisk together the flour and baking powder until evenly distributed. Make a well in the center so the wet mixture blends in smoothly.
- Form the dough:
- Pour the warm butter mixture into the flour and stir with a wooden spoon until a shaggy dough forms, then use your hands to knead gently until everything comes together into a soft, cohesive ball. The dough should feel pliable and slightly tacky but not sticky.
- Rest the dough:
- Wrap the dough ball tightly in plastic wrap and refrigerate for 30 minutes so it firms up enough to roll without sticking to everything. This patience step is what gives you those clean, sharp biscuit edges.
- Preheat the oven:
- Set your oven to 180 degrees Celsius using conventional heat and line a baking sheet with parchment paper while the dough chills.
- Roll and cut:
- On a floured surface, roll the dough out to about 5 millimeters thick and cut out biscuits using a traditional Petit Beurre cutter or a simple knife into small rectangles. The thinner you roll, the crispier they will bake.
- Dock and arrange:
- Place each biscuit on the prepared baking sheet and poke rows of decorative holes with a fork, which helps them bake evenly and gives that classic look. Leave a small gap between each one because they spread just slightly.
- Bake until golden:
- Slide the tray into the oven for about 12 minutes, watching for the edges to turn a warm golden brown while the centers stay pale. Your kitchen will smell incredible right around the 10 minute mark.
- Cool completely:
- Transfer the biscuits to a wire rack and let them cool entirely before eating, because they continue to crisp up as they sit and the texture changes dramatically.
 Pin It
 The first time I ate one still warm from the rack, I understood why the French have kept this biscuit in their kitchens for over a century. It is not flashy or complicated, just butter and flour and patience transformed into something that makes you close your eyes and chew slowly.
Flavor Variations Worth Trying
A pinch of vanilla powder or the zest of half a lemon added to the flour transforms these without changing the basic technique. I once folded in a teaspoon of lavender from a garden in Provence and the biscuits tasted like summer bottled up and saved for a rainy afternoon.
Dipping in Chocolate
Melted dark chocolate turns a simple biscuit into something worthy of gifting in a little box tied with kitchen twine. I dip just half of each biscuit so there is still the option of a plain one, though nobody ever chooses the plain side first.
Storage and Serving
An airtight tin keeps these crisp for up to a week, though I have never made a batch that survived past day three. They pair beautifully with Earl Grey, black coffee, or a glass of cold milk poured late at night when the kitchen is finally quiet.
- Let them cool completely before storing or steam will make them soft and sad.
- A metal tin works better than plastic for maintaining that snap.
- Always bake a double batch because sharing is inevitable and you will want your own stash hidden away.
 Pin It
 Baking these biscuits feels like pressing pause on a loud world and choosing to spend an hour making something small and good with your own hands. That is really all the reason you need.
Recipe Questions
- → Pourquoi faut-il laisser reposer la pâte au réfrigérateur ?
-
Le repos de 30 minutes au frais permet au beurre de se solidifier, ce qui rend la pâte plus ferme et beaucoup plus facile à étaler et à découper sans qu'elle ne colle.
- → Peut-on congserver les petits beurre ?
-
Oui, une fois complètement refroidis, placez-les dans une boîte hermétique. Ils se conservent jusqu'à une semaine à température ambiante et peuvent également être congelés pendant plusieurs mois.
- → Comment obtenir les bords dentelés typiques du petit beurre ?
-
Utilisez un emporte-pièce spécialement conçu pour les petits beurre, qui reproduit la forme rectangulaire avec les dentelles caractéristiques. À défaut, un couteau peut faire l'affaire pour une version plus rustique.
- → Peut-on remplacer le lait entier par un lait végétal ?
-
Oui, vous pouvez utiliser du lait d'amande, d'avoine ou de soja. Le résultat sera légèrement différent en texture et en goût, mais les biscuits resteront délicieux et croustillants.
- → Pourquoi piquer les biscuits à la fourchette ?
-
Le piquage à la fourchette empêche les biscuits de gonfler à la cuisson en permettant à la vapeur de s'échapper. C'est aussi ce qui donne l'aspect décoratif traditionnel du petit beurre.
- → Quelle épaisseur idéale pour étaler la pâte ?
-
Étalez la pâte sur environ 5 mm d'épaisseur. Trop fine, les biscuits seront trop secs et cassants. Trop épaisse, ils resteront mous à l'intérieur et ne seront pas assez croustillants.
