 Pin It
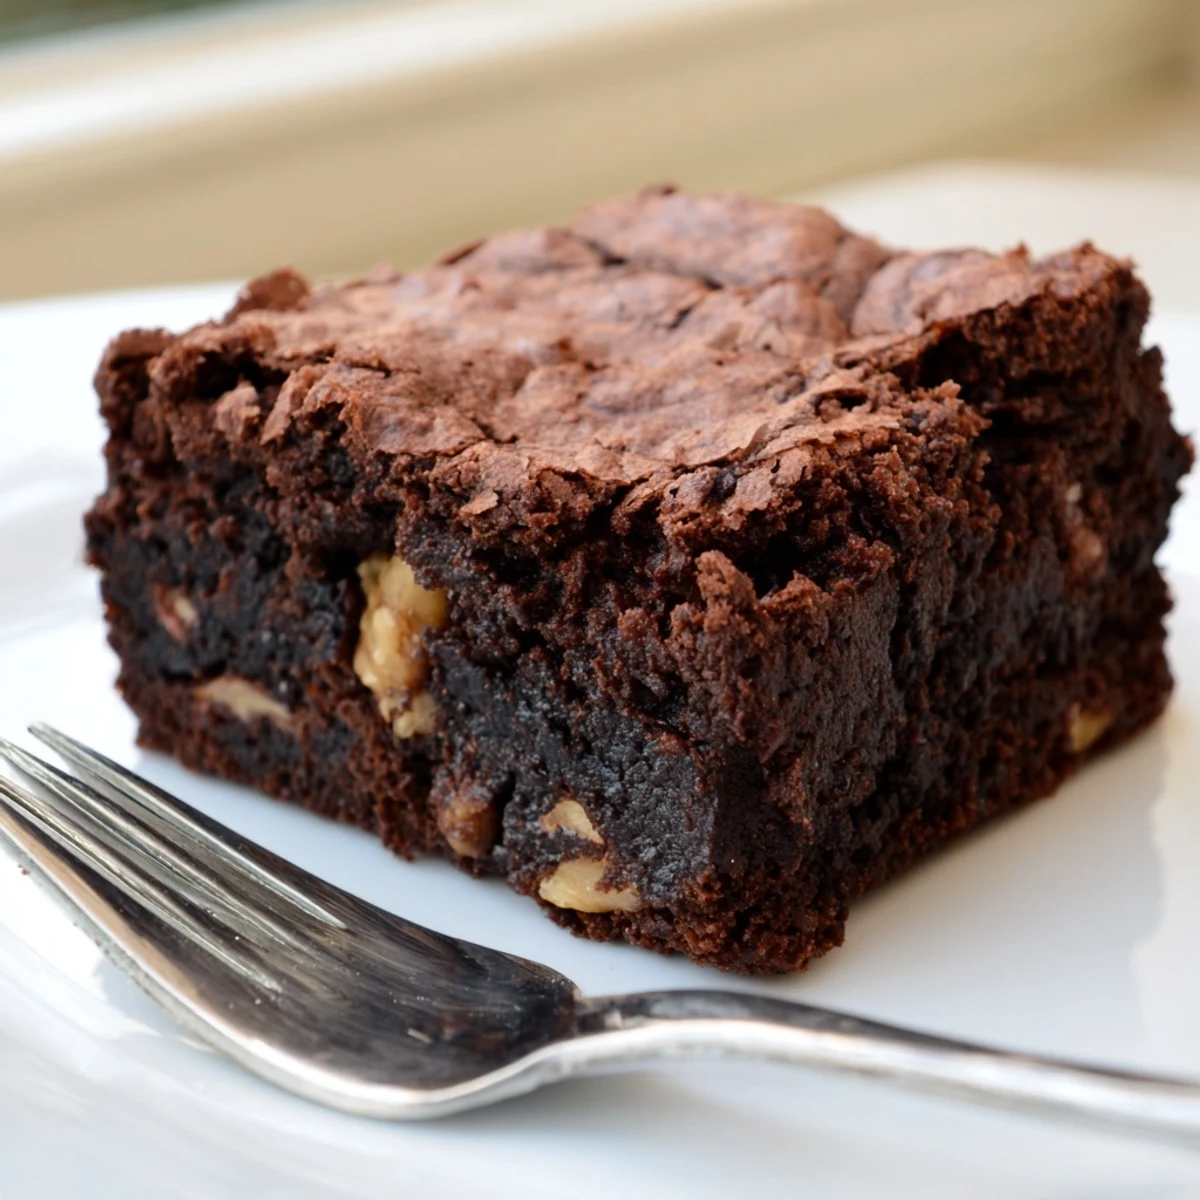
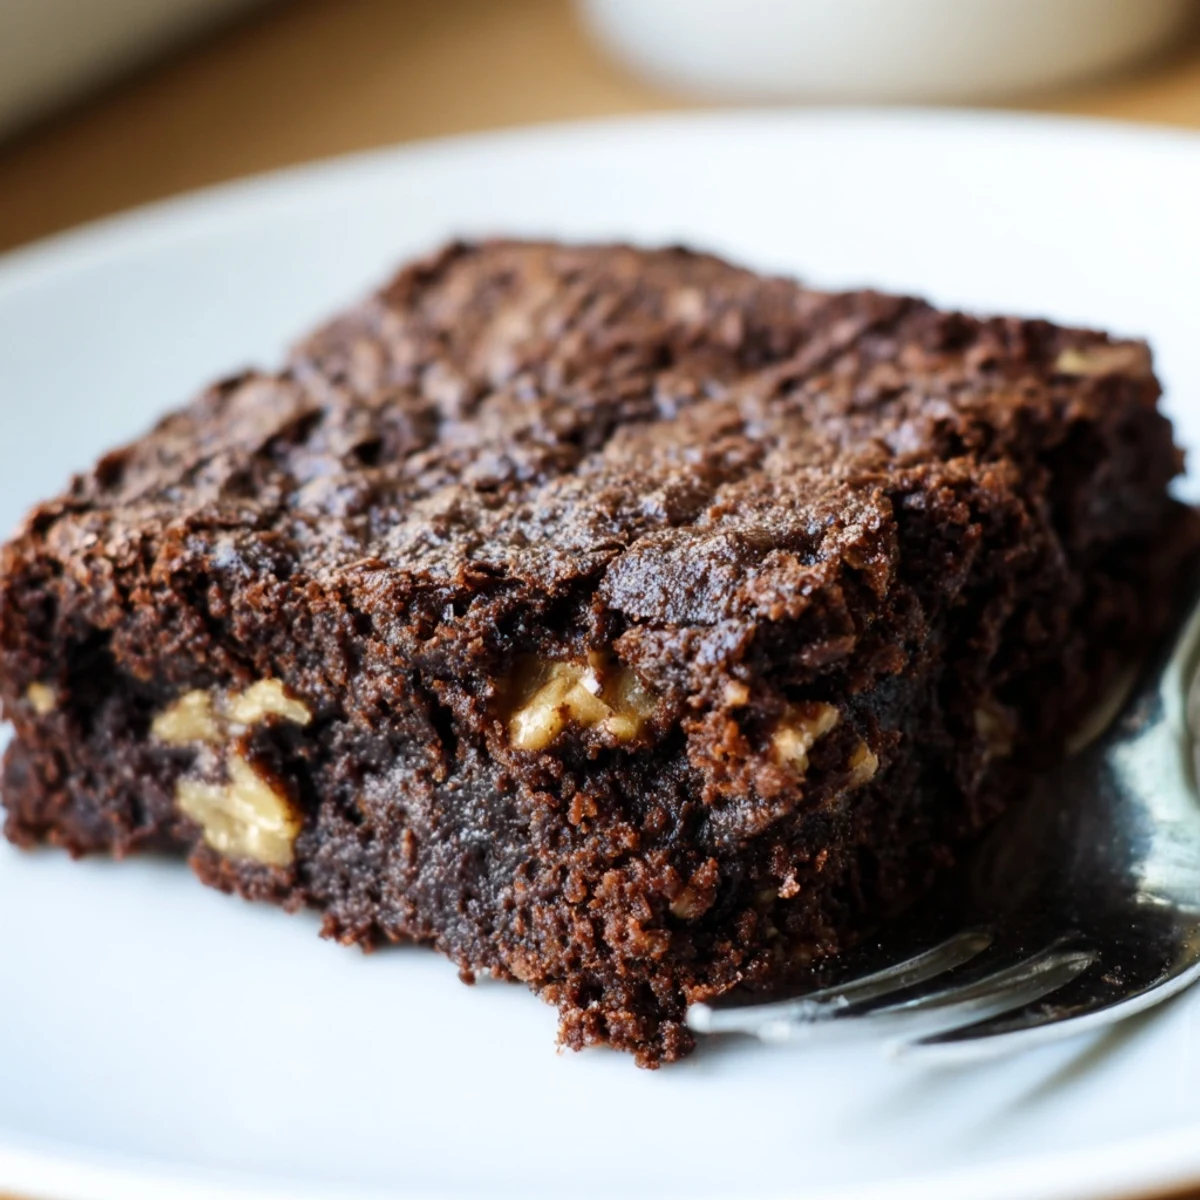
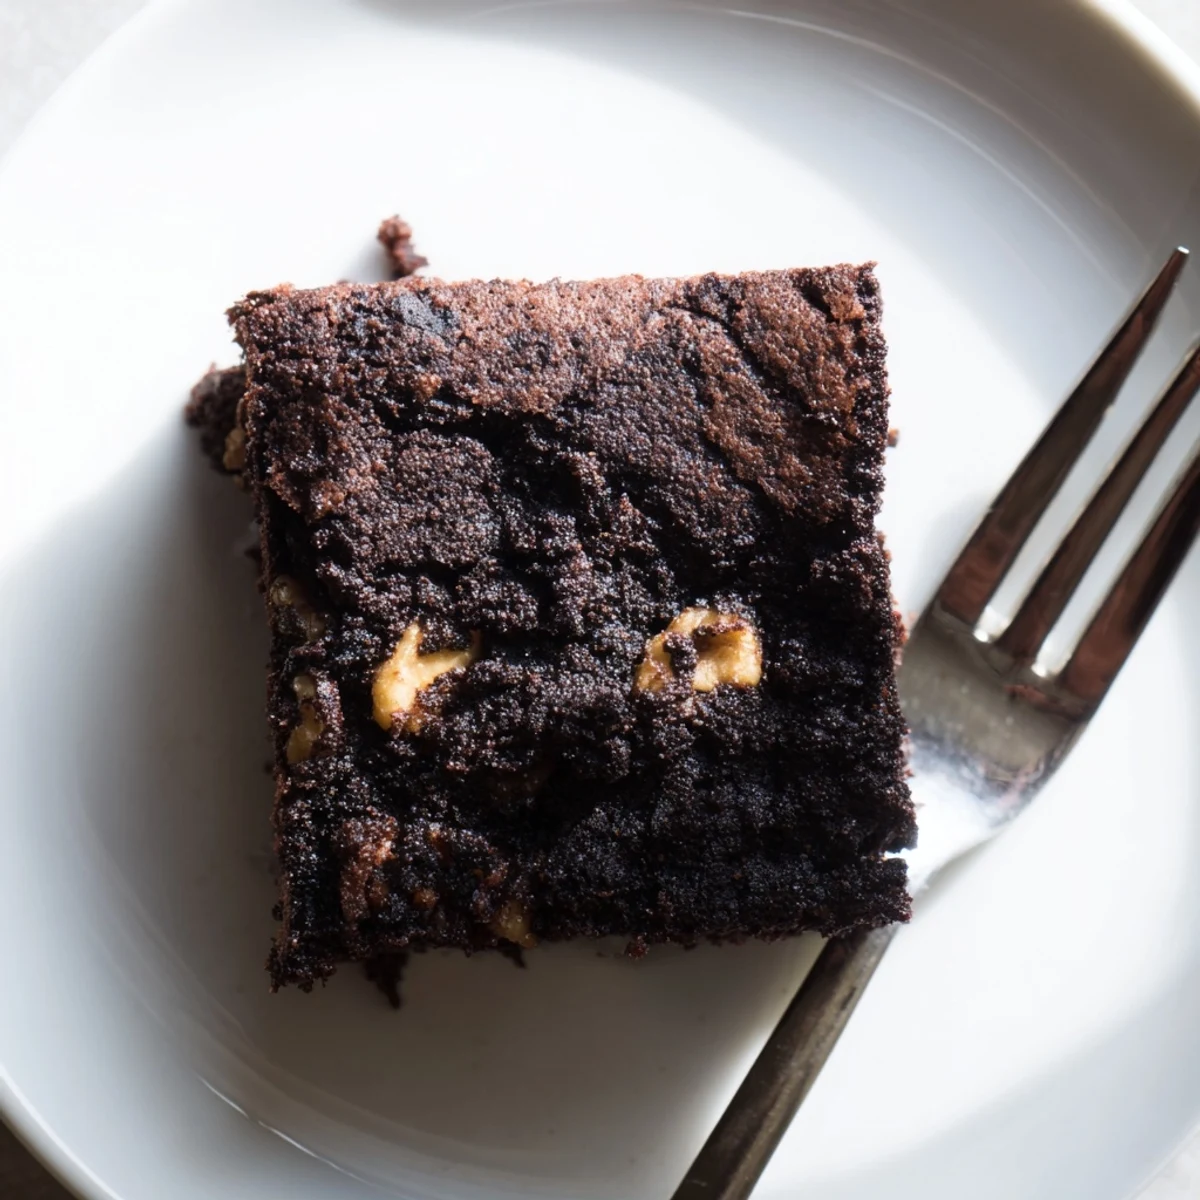
 These brownies deliver a deep, intense chocolate flavor with a dense, fudgy crumb and that coveted shiny, crackly top. Made by melting dark chocolate and butter together, then folding in sifted cocoa and flour, the batter comes together quickly with no fancy equipment needed.
The secret lies in minimal mixing after adding the dry ingredients and pulling them from the oven while the center is still slightly underdone. Customize with walnuts, pecans, or extra chocolate chips to make them your own.
The smell of brownies baking is one of those things that can pull anyone into the kitchen from three rooms away, and I learned that the hard way when my roommate walked straight into my apartment uninvited the moment I pulled a tray out of the oven. Something about chocolate melting into butter triggers an instinct that no amount of politeness can override. These brownies, with their paper thin crackly crust and impossibly fudgy center, are the reason I never bother making cake anymore. They take forty minutes from start to finish and disappear in half that time.
I brought a batch of these to a potluck once and watched a man I had never met eat four of them standing up before he even took his coat off. His wife apologized on his behalf, but he was unrepentant and asked if I was single, which I chose to interpret as a compliment about the brownies.
Ingredients
- All purpose flour (120 g): Keep it measured and gentle, because too much flour is the fastest way to turn a brownie into a brick.
- Unsweetened cocoa powder (40 g): This deepens the chocolate flavor without adding sweetness that would throw off the sugar balance.
- Baking powder (1/2 tsp): Just enough to give the slightest lift without making them cakey.
- Salt (1/4 tsp): Never skip this, because salt is what makes chocolate taste like itself instead of just sweet.
- Dark chocolate (200 g, at least 60% cocoa): Chop it yourself from a bar rather than using chips, because the uneven pieces melt into gorgeous pockets.
- Unsalted butter (150 g): Butter and chocolate melting together is the foundation of everything good here, so use the real thing.
- Granulated sugar (200 g): This dissolves into the batter and creates that shiny, crackled top crust.
- Brown sugar (100 g): The molasses in brown sugar adds chewiness and a subtle caramel undertone.
- Eggs (3 large): Whisking them vigorously with the sugars is what builds the structure so the brownies hold together without becoming dense.
- Pure vanilla extract (1 tsp): A small amount that rounds out the chocolate and makes the whole thing smell like a bakery.
- Walnuts or pecans (100 g, optional): Toast them lightly first if you want actual flavor instead of just crunch.
- Chocolate chips (80 g, optional): These create little molten surprises scattered through each square.
Instructions
- Get the oven ready:
- Preheat to 175 degrees Celsius (350 degrees Fahrenheit) and grease a 23 by 23 cm square pan before lining it with parchment, leaving some overhang on the sides so you can lift the whole block out later.
- Melt the chocolate and butter:
- Set a heatproof bowl over a pot of barely simmering water and stir the chopped chocolate and butter together until glossy and smooth, then step away and let it cool for a few minutes so it does not scramble the eggs.
- Whisk the eggs and sugars:
- In a large bowl, beat the granulated sugar, brown sugar, eggs, and vanilla together until the mixture looks pale and falls in thick ribbons from the whisk, which usually takes about two minutes of enthusiastic whisking.
- Bring it all together:
- Pour the melted chocolate into the egg mixture and stir until the color is uniform and gorgeous, then sift in the flour, cocoa powder, baking powder, and salt all at once.
- Fold gently:
- Use a spatula to fold the dry ingredients into the wet with as few strokes as possible, stopping the moment you no longer see dry flour because overmixing builds gluten and kills the fudge.
- Add the extras if you want them:
- Fold in the nuts and chocolate chips now if using them, distributing them evenly with just two or three more folds.
- Bake and watch closely:
- Pour the batter into the prepared pan, smooth the top, and bake for 22 to 25 minutes until the edges are set but the center still wobbles slightly when you shake the pan gently.
- Cool before cutting:
- Let the brownies cool completely in the pan on a wire rack, because cutting them warm will give you ragged, gooey squares that fall apart in your hands no matter how careful you are.
 Pin It
 There is a specific kind of quiet that falls over a kitchen when everyone is eating brownies and nobody is talking because their mouths are full. My friend Clara once said nothing for a full minute, then looked up and announced that she would like to be buried with a tray of these, and honestly I understood completely.
Storage That Actually Works
Keep the brownies in an airtight container at room temperature and they stay perfectly fudgy for up to four days, though in my experience they rarely survive past day two. You can refrigerate them if your kitchen runs hot, but always let them come back to room temperature before eating because cold masks the chocolate flavor.
Serving Ideas Worth Trying
A warm brownie with a scoop of vanilla ice cream melting on top is the kind of dessert that makes people close their eyes when they take the first bite. You can also crumble leftover brownies over yogurt for breakfast, which I have done more times than I care to admit publicly.
Making Them Your Own
This recipe is endlessly forgiving, and once you have the base technique down you can start playing around with it to suit whatever you are craving.
- Swap the nuts for dried cherries or cranberries if you want a fruity tang cutting through the richness.
- Add a teaspoon of espresso powder to the dry ingredients to make the chocolate flavor deeper and more intense without tasting like coffee.
- Always taste your batter before baking, because the sweetness of chocolate varies and you might want to adjust slightly for your own palate.
 Pin It
 Every batch teaches you something small, and eventually you will not even need the recipe because your hands will remember the feel of the batter. That is when brownie making stops being baking and starts being something closer to a habit you look forward to.
Recipe Questions
- → How do I know when brownies are done baking?
-
The edges should look set and slightly pulled away from the pan, while the center still has a slight wobble. A toothpick inserted in the middle should come out with moist crumbs clinging to it, not clean. Start checking at the 22-minute mark to avoid overbaking.
- → Can I use milk chocolate instead of dark chocolate?
-
You can substitute milk chocolate, but the brownies will be sweeter and less intensely chocolatey. For the best balance of richness and depth, stick with dark chocolate that has at least 60% cocoa content. A 50/50 blend of dark and semi-sweet also works beautifully.
- → Why did my brownies turn out cakey instead of fudgy?
-
Cakey brownies usually result from overmixing the batter, adding too much flour, or baking too long. Fold the dry ingredients gently until just combined, measure flour by weight if possible, and err on the side of underbaking for that dense, fudgy texture.
- → How should I store leftover brownies?
-
Keep brownies in an airtight container at room temperature for up to 4 days. Place a sheet of parchment between layers if stacking. For longer storage, freeze individually wrapped squares for up to 3 months and thaw at room temperature before serving.
- → Can I double this batch for a larger pan?
-
Yes, you can double the quantities and bake in a 33x23 cm (13x9 inch) pan. The baking time will increase slightly, so start checking around the 28 to 30-minute mark using the same toothpick test for moist crumbs in the center.
- → What can I substitute for the nuts?
-
If you have a nut allergy or simply prefer to omit them, replace the nuts with an equal amount of dried cherries, toasted coconut flakes, or additional chocolate chips. The brownies are equally delicious with no add-ins at all.
