 Pin It
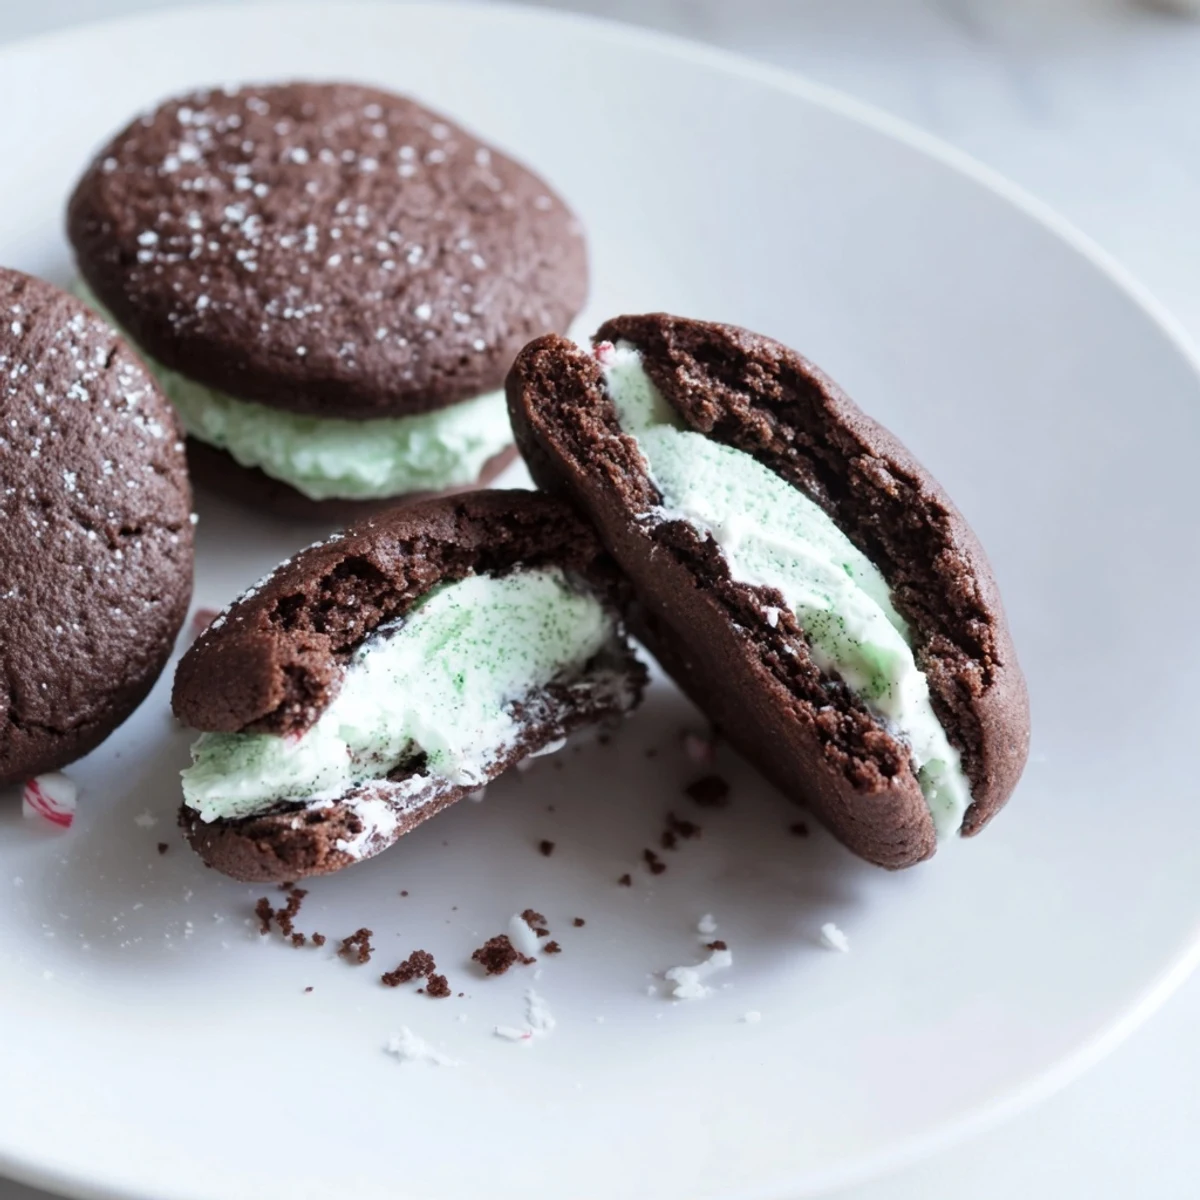
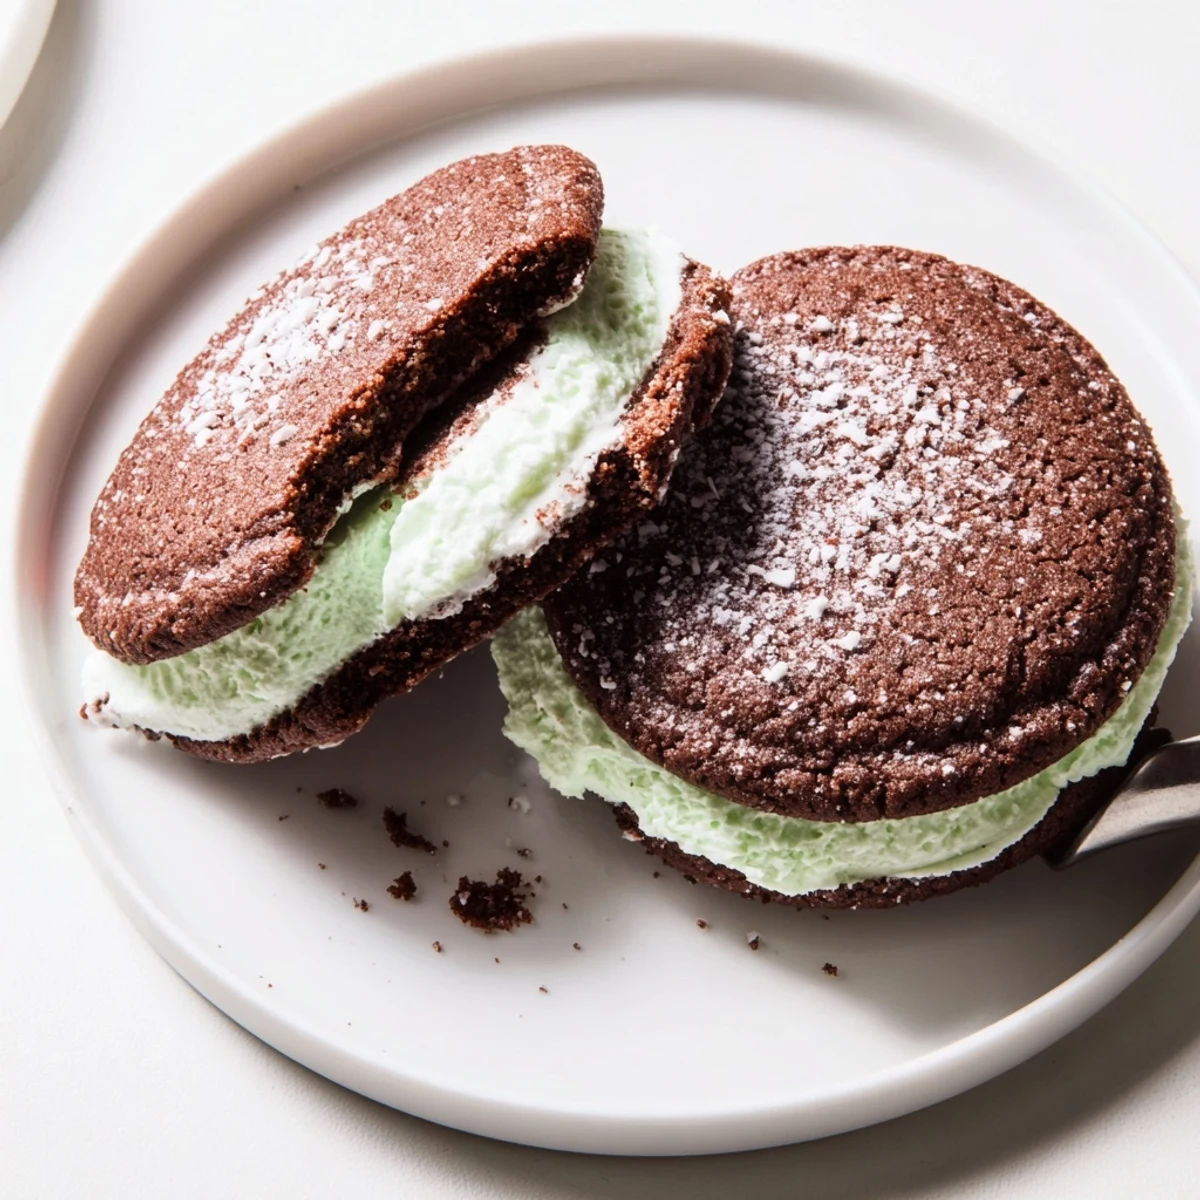
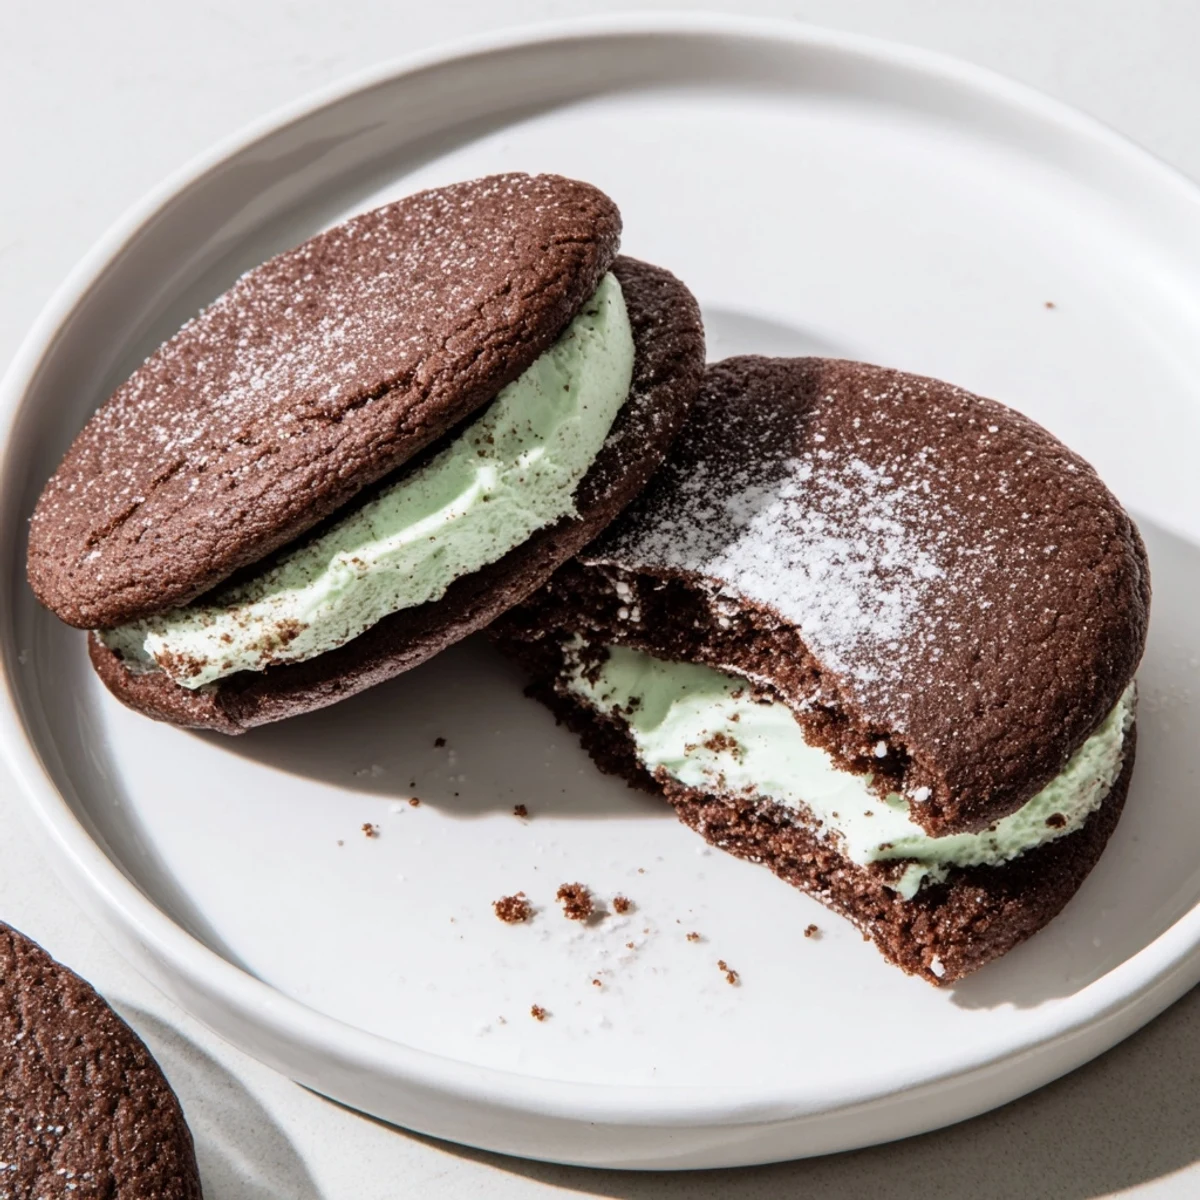
 These chocolate peppermint sandwich cookies pair tender cocoa rounds with a bright, fluffy peppermint buttercream. Make dough, chill briefly, scoop and bake at 350°F for 8–10 minutes until set; cool completely before filling. Pipe or spread about 1 tbsp of filling between cookie pairs, chill to set, and roll edges in crushed peppermint if desired. Yields about 18 sandwiches; store airtight in the fridge up to 5 days.
The kitchen smelled like a chocolate shop the afternoon my niece declared she wanted to make something fancy for her school bake sale. We had cocoa dust on the ceiling and peppermint extract on our fingers within twenty minutes. These cookies were the chaotic, wonderful result. They sold out before first period.
My niece insisted on piping the filling with a zip top bag she snipped the corner off of. It was messy and imperfect and every single cookie looked different, but nobody cared once they tasted them.
Ingredients
- All-purpose flour (1 cup, 130 g): Gives the cookies enough structure to hold up as sandwiches without turning cakey.
- Unsweetened cocoa powder (1/2 cup, 45 g): Use a decent quality one because this is where all the chocolate flavor comes from.
- Baking soda (1/2 tsp): Just enough lift to keep the cookies from being dense hockey pucks.
- Salt (1/4 tsp): Do not skip this, it wakes up every bit of chocolate flavor in the dough.
- Unsalted butter, softened (1/2 cup, 115 g): Pull it out an hour ahead or it will not cream properly with the sugar.
- Granulated sugar (3/4 cup, 150 g): Creates those slightly crisp edges that contrast beautifully with the soft filling.
- Large egg (1): Binds everything together and adds richness to the crumb.
- Vanilla extract (1 tsp): A quiet background note that rounds out the chocolate.
- Unsalted butter for filling (1/2 cup, 115 g): Make sure this is truly soft or your filling will have lumps you cannot fix.
- Powdered sugar, sifted (1 1/2 cups, 180 g): Sifting is non negotiable here, unless you enjoy biting into sugar pockets.
- Heavy cream or milk (2 tbsp): Loosens the filling to that perfect spreadable consistency.
- Peppermint extract (1/2 tsp): Start with less if you are unsure because it is surprisingly potent.
- Pinch of salt: Balances the sweetness in the filling so it never tastes cloying.
- Food coloring, optional: A drop or two of red or green makes them unmistakably festive.
Instructions
- Get your oven ready:
- Preheat to 350 degrees F and line two baking sheets with parchment paper so nothing sticks.
- Whisk the dry team:
- In a medium bowl, whisk together the flour, cocoa powder, baking soda, and salt until evenly blended and there are no cocoa clumps hiding in corners.
- Cream butter and sugar:
- Beat the softened butter and granulated sugar in a large bowl until the mixture looks pale and cloud like, then add the egg and vanilla and beat until silky smooth.
- Bring it all together:
- Gradually add the dry mixture to the wet, stirring gently until the last streak of flour disappears and you have a rich, dark dough that smells incredible.
- Shape and bake:
- Roll tablespoon portions into balls, flatten them slightly, and space them two inches apart on your sheets before baking for 8 to 10 minutes until just set at the edges.
- Cool with patience:
- Let the cookies rest on the hot sheets for two minutes, then move them to a wire rack and wait until they are completely cool before even thinking about filling.
- Whip up the filling:
- Beat the butter until creamy, then add powdered sugar, cream, peppermint extract, salt, and food coloring if using, and whip until the mixture is fluffy and light enough to spread like a dream.
- Build the sandwiches:
- Spread or pipe about a tablespoon of filling onto the flat side of half the cookies, then gently press the remaining cookies on top to make little sandwich treasures.
- Let them set:
- Pop the assembled cookies into the refrigerator for about 15 minutes so the filling firms up and everything holds together beautifully.
 Pin It
 That bake sale afternoon taught me something unexpected about food and generosity. My niece wrapped each imperfect cookie in a tiny square of wax paper tied with kitchen string, and kids fought over them like treasure.
Making Them Look Beautiful
Rolling the filled edges in crushed candy canes transforms these from simple sandwich cookies into something that stops people mid conversation at a holiday table. I put the crushed candy in a shallow bowl and spin each cookie gently on its side until the exposed filling is fully coated. The crunch of the candy against the soft filling is almost unfair.
Swapping the Flavor
If peppermint is not your thing, replace the extract with vanilla, almond, or even a half teaspoon of espresso powder for a mocha version that pairs brilliantly with coffee. My brother in law prefers the almond variation and has specifically requested it three holiday seasons running now. The base recipe is generous enough to handle almost any flavor twist you throw at it.
Storing and Sharing
These cookies keep beautifully in an airtight container in the refrigerator for up to five days, though they rarely last that long in my household. The cold actually improves the texture by making the filling slightly firm and fudge like.
- Always separate layers with parchment paper so the filling does not glue the cookies together overnight.
- Bring them to room temperature for about ten minutes before serving for the best texture and flavor.
- Avoid stacking more than three layers high or the bottom cookies may crack under the weight.
 Pin It
 Every December now, my niece calls to remind me it is cookie weekend, and we make a mess all over again. Some recipes become traditions without anyone planning it.
Recipe Questions
- → How long should I bake the cookies?
-
Bake at 350°F (175°C) for 8–10 minutes until the edges are set and centers no longer look wet. Let cookies rest on the baking sheet for 2 minutes, then transfer to a wire rack to cool completely before assembling.
- → What creates a tender cookie texture?
-
Creaming the butter and sugar until light, avoiding overmixing once flour is added, and not overbaking are key. Chilling the dough briefly helps maintain shape and yields neater, tender rounds.
- → How do I get a smooth, pipeable peppermint filling?
-
Beat softened butter until creamy, sift in powdered sugar, then add cream a little at a time until the texture is light and spreadable. Adjust peppermint extract sparingly—a little goes a long way.
- → Can I swap the peppermint flavor or colors?
-
Yes. Substitute vanilla extract for a classic cream filling or use a mix of extracts for different notes. Add a few drops of gel food coloring for festive hues; gel is best to avoid thinning the filling.
- → What’s the best way to store or freeze these sandwiches?
-
Store assembled sandwiches in an airtight container in the refrigerator for up to 5 days. To freeze, arrange baked, cooled cookies in a single layer with parchment between and freeze; assemble with filling after thawing for best texture.
- → Any tips for neat assembly and presentation?
-
Match cookies by size, use a piping bag for even dollops, and chill assembled sandwiches briefly to set the filling. For a festive finish, roll the edges in crushed peppermint or dip half in melted chocolate.
