 Pin It
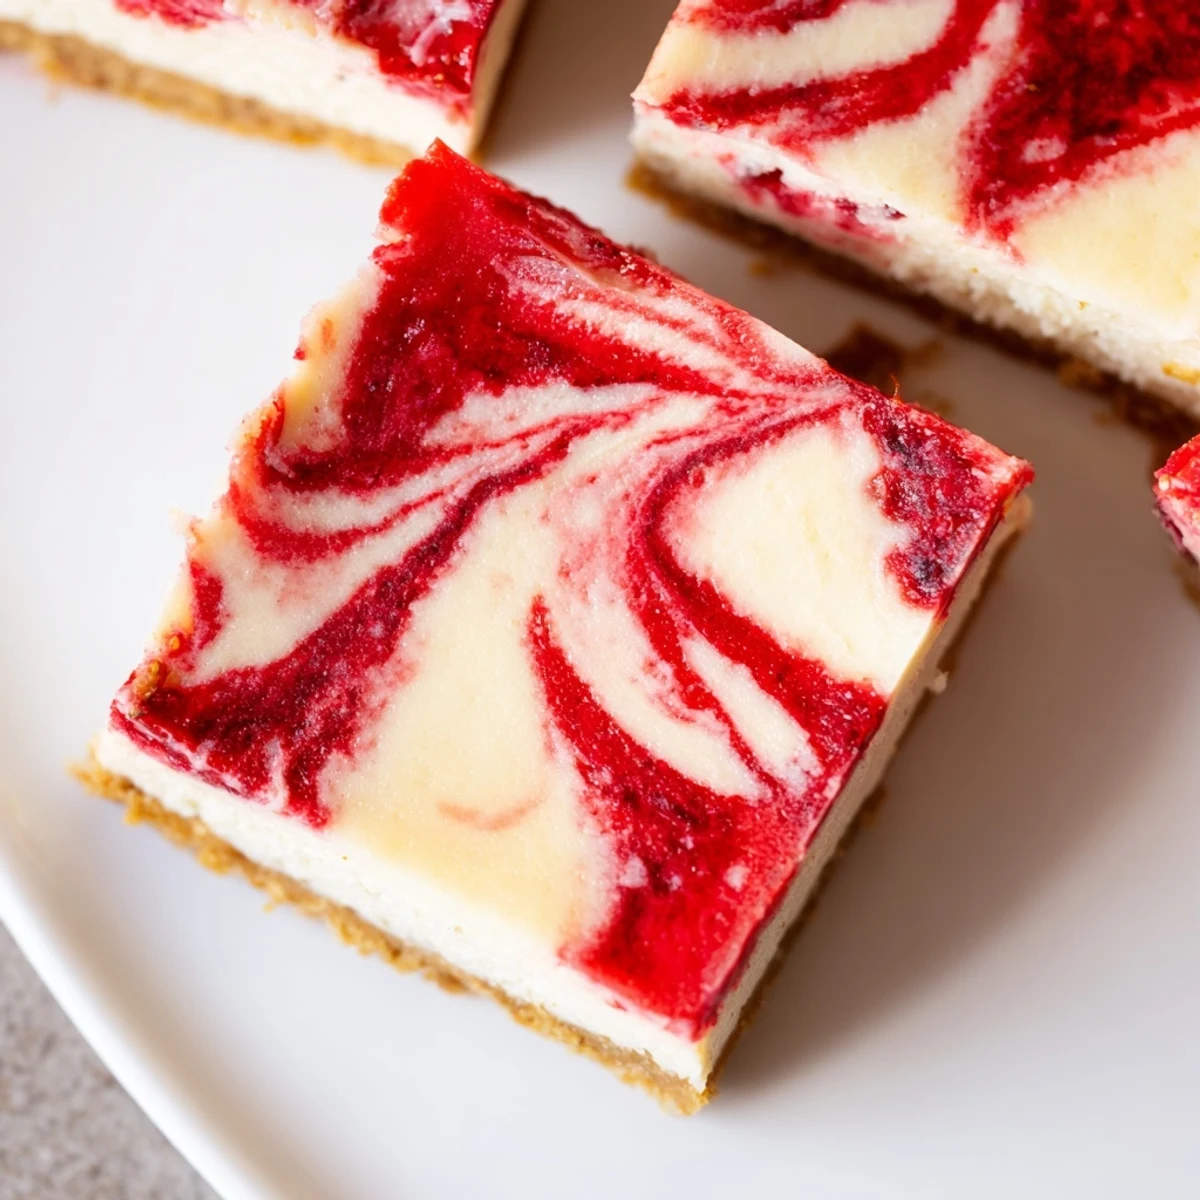
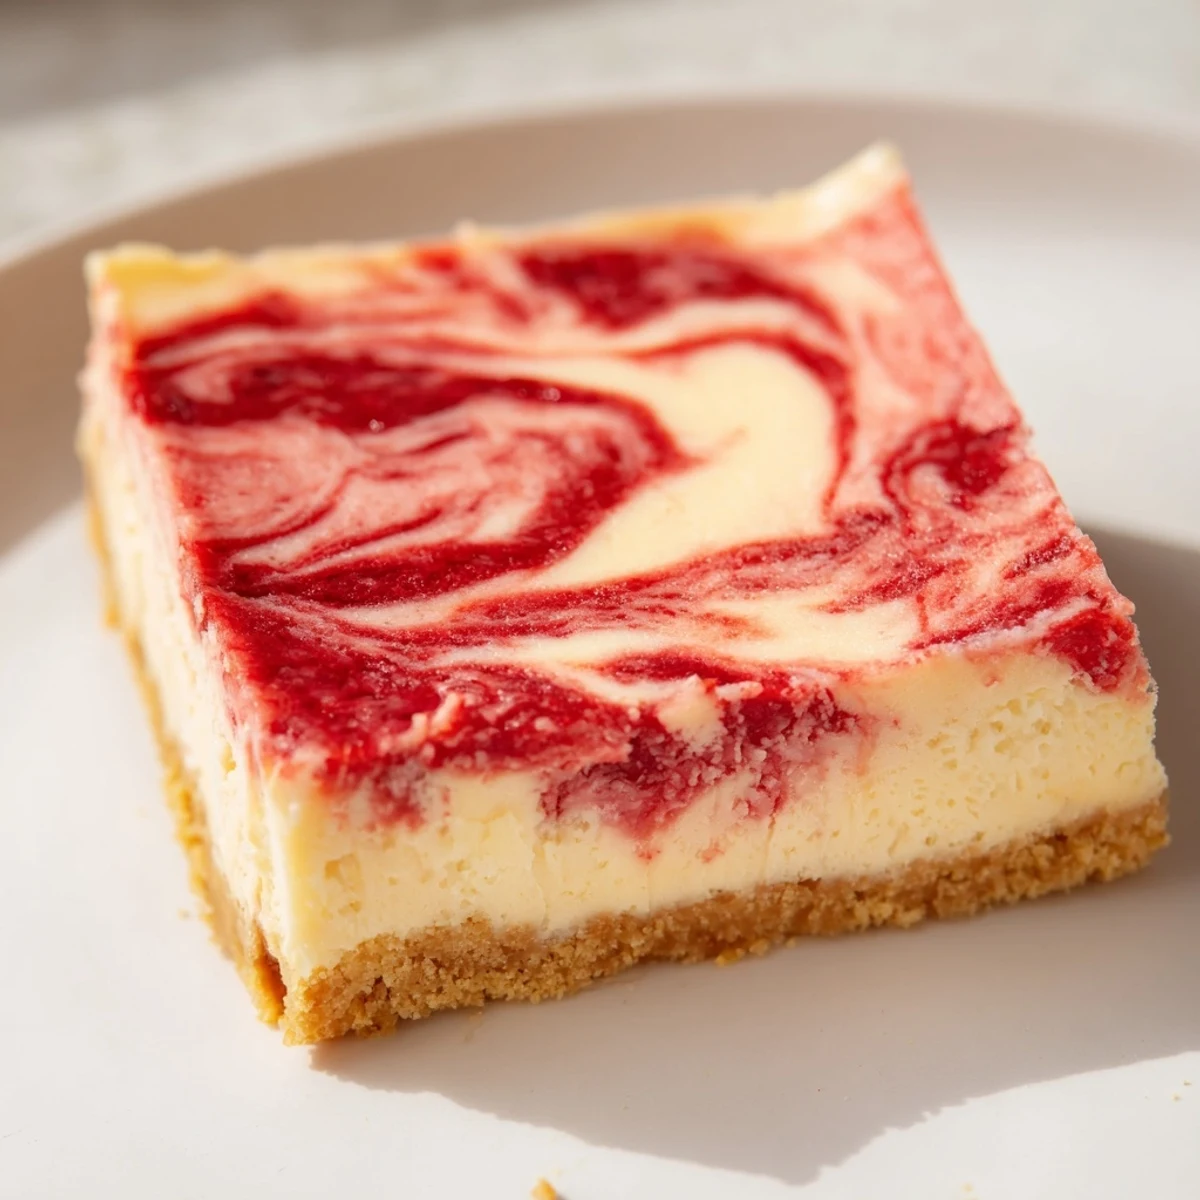
 These decadent cheesecake bars combine a rich, velvety cream cheese filling with a homemade strawberry swirl reduction that creates stunning marble patterns throughout. The buttery graham cracker crust provides the perfect crunchy foundation, while the filling achieves that coveted bakery-style creaminess thanks to room-temperature ingredients and careful baking technique.
After chilling for at least 2 hours, these bars cut cleanly into 16 elegant squares that hold their shape beautifully. The fresh strawberry puree adds natural fruit sweetness and a gorgeous pink ribbon effect throughout each bar. Top with fresh whipped cream for extra indulgence, or swap in raspberry or blueberry sauce for seasonal variations.
My kitchen smelled like a farmers market in June the afternoon these bars were born. I had punnet of strawberries sitting on the counter, slightly past their prime, and a block of cream cheese that needed using. What started as a lazy Sunday experiment turned into the most requested dessert in my entire friend group.
I brought a tray of these to my neighbor Lindas barbecue last summer and watched three adults quietly argue over the last corner piece. Her teenage son asked if I could make them for his school bake sale, and I have not been allowed to show up empty handed since.
Ingredients
- Graham cracker crumbs (1 1/2 cups, 150 g): The backbone of a crust that holds together without turning into concrete under the filling.
- Granulated sugar (1/4 cup plus 2 tbsp plus 3/4 cup, separate portions): Each amount serves a distinct purpose, so measure them into different bowls before you start and thank yourself later.
- Unsalted butter, melted (1/2 cup, 115 g): This is what transforms dry crumbs into something you actually want to bite into, so do not skimp.
- Fresh strawberries (1 cup, 150 g, hulled and chopped): Frozen works in a pinch but fresh berries give you that jewel toned swirl that makes people lean in closer.
- Lemon juice (2 tsp): A small splash that wakes up the berries and keeps the puree tasting bright instead of flatly sweet.
- Cream cheese, softened (16 oz, 450 g): Leave it out for at least an hour because cold cream cheese will leave you with lumps no amount of mixing can fix.
- Large eggs, room temperature (2): Room temperature eggs blend smoothly into the batter and help it set with a gentle, even wobble.
- Vanilla extract (1 tsp): The quiet flavor that ties the tangy cream cheese to the fruity swirl without competing with either.
- Sour cream (1/4 cup, 60 ml): This is my secret for a filling that tastes rich but still feels light on the palate.
- All-purpose flour (2 tbsp, 15 g): Just enough to stabilize the filling so it slices cleanly without cracking across the top.
Instructions
- Preheat and line the pan:
- Set your oven to 325 degrees F (160 degrees C) and line a 9 by 9 inch pan with parchment, leaving generous overhang on two sides like handles. This little trick will save you from the terrifying moment of prying bars from a sticky pan.
- Build the crust:
- Toss graham crumbs, a quarter cup of sugar, and melted butter together until every speck of crumb glistens. Press it firmly into the pan using the bottom of a measuring cup, then bake for eight minutes until it smells like toasted honey.
- Make the strawberry swirl:
- Pile the chopped strawberries, two tablespoons of sugar, and lemon juice into a small saucepan and set it over medium heat. Stir and mash with a spoon as it bubbles, watching the berries collapse into a glossy, syrupy reduction after five to seven minutes, then blend until smooth and set aside to cool.
- Whip up the filling:
- Beat the softened cream cheese in a large bowl until it is completely smooth and lump free, then pour in three quarters of a cup of sugar and beat again. Drop in one egg at a time, mixing thoroughly between each, then fold in the vanilla, sour cream, and flour until everything just comes together.
- Swirl and bake:
- Pour the filling over the baked crust and use a spatula to coax it into the corners. Drop spoonfuls of the cooled strawberry puree across the surface, then drag a knife or skewer through the pools in lazy figure eights to create that gorgeous marbled look. Bake for thirty to thirty five minutes until the edges are set but the center still jiggles like gelatin when you gently shake the pan.
- Chill and slice:
- Let the pan sit on the counter until it reaches room temperature, then slide it into the refrigerator for at least two hours. Grab the parchment handles, lift the whole slab out, and cut it into sixteen squares with a sharp knife wiped clean between each slice.
 Pin It
 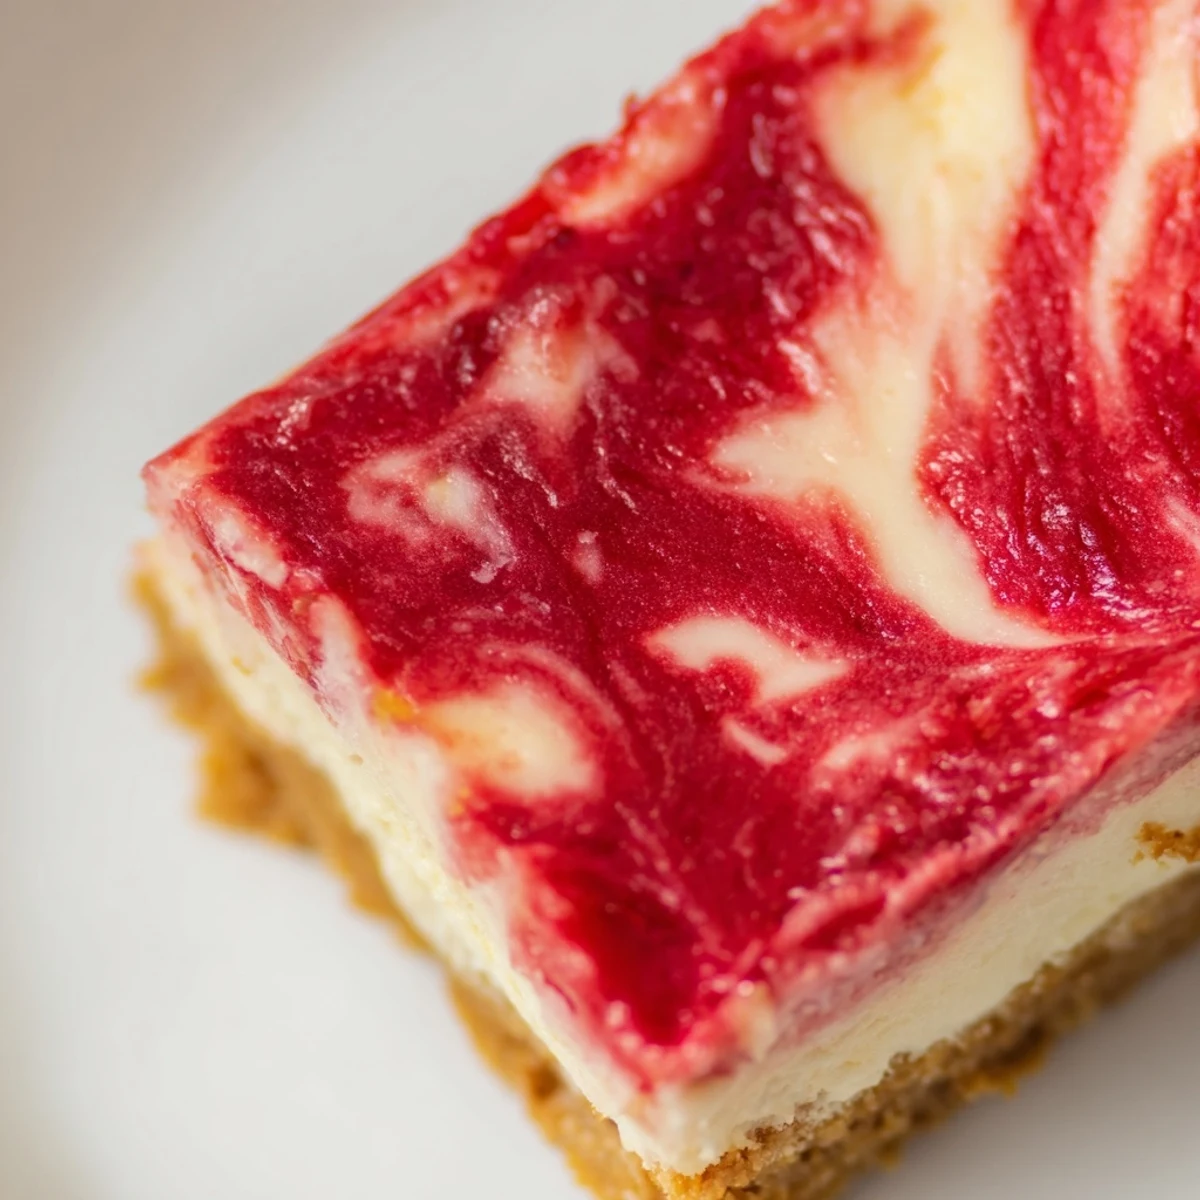 Pin It
 There is something quietly magical about pulling that first perfect slice away from the slab and seeing the swirl pattern cross section for the first time. Every bar looks slightly different, like edible fingerprints, and that tiny surprise never gets old for me.
Making It Your Own
Raspberry or blueberry sauce swapped in for the strawberry creates an entirely different dessert with almost zero extra effort. I once used a mix of leftover mixed berries from a smoothie phase and the deep purple swirl against the pale filling was stunning.
Storage That Actually Works
These bars keep beautifully in the refrigerator for up to five days if you can make them last that long. I layer them between sheets of parchment in an airtight container so the swirls do not smudge against each other.
Serving and Finishing Touches
A dollop of freshly whipped cream on top turns a casual afternoon treat into something that feels genuinely special without much effort. For a gluten free version, simply swap in gluten free graham crackers and a one to one flour blend, and nobody at the table will suspect a thing.
- Dust the serving plate with powdered sugar for a bakery style presentation that takes five seconds.
- Let chilled bars sit at room temperature for ten minutes before serving so the flavors open up.
- Always wipe your knife blade clean between cuts for the neatest squares possible.
 Pin It
 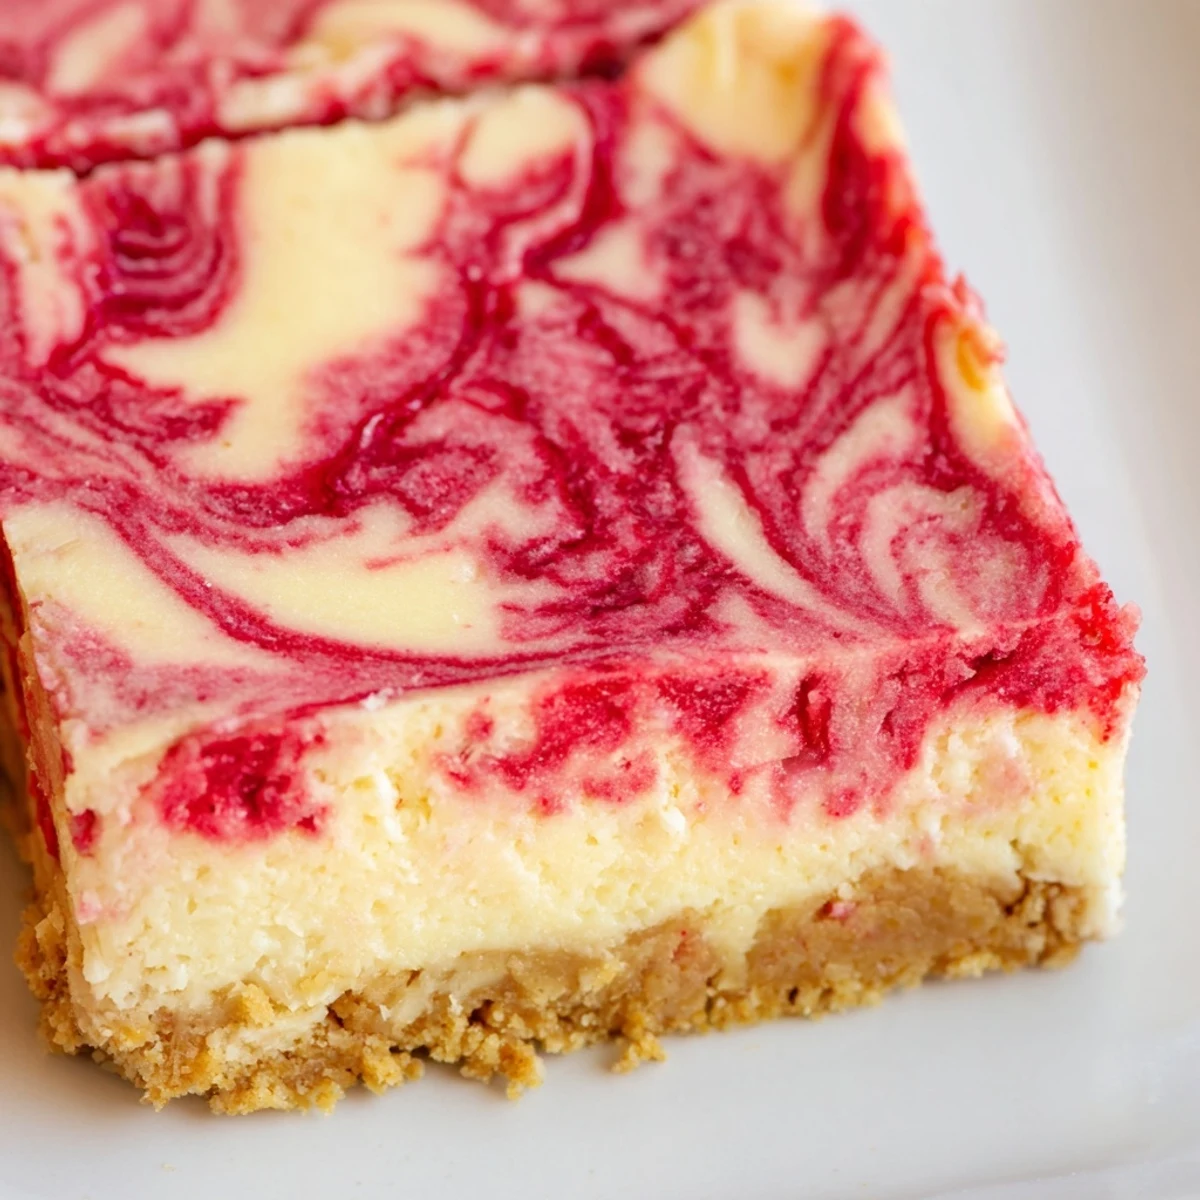 Pin It
 Share these with someone who thinks they do not like cheesecake and watch them change their mind before the second bite. That quiet moment of conversion is the whole reason I keep making them.
Recipe Questions
- → How long should cheesecake bars chill before serving?
-
Refrigerate for at least 2 hours after cooling to room temperature. This allows the cheesecake to set completely and achieve clean, neat cuts. For the best texture, let them chill overnight—the flavors meld together beautifully.
- → Can I use frozen strawberries instead of fresh?
-
Yes, frozen strawberries work perfectly for the swirl. Thaw them completely before cooking, and expect slightly more reduction time since frozen berries release more water. The final flavor and texture will be just as delicious.
- → Why is my cheesecake filling cracking?
-
Cracking usually happens from overbaking or overmixing the eggs. Bake just until the center is slightly jiggly—it will continue cooking as it cools. Also add eggs one at a time and mix only until combined to prevent incorporating too much air.
- → How do I get clean, neat cuts when slicing?
-
Use a sharp knife dipped in hot water and wiped clean between each cut. Chill the bars thoroughly—at least 2 hours but preferably overnight. Running the knife under hot water creates clean slices without dragging the filling.
- → Can I make these gluten-free?
-
Absolutely! Substitute gluten-free graham crackers for the crust and use a gluten-free all-purpose flour blend in the filling. The texture and taste remain virtually identical, making these bars inclusive for guests with dietary restrictions.
- → How should I store leftover cheesecake bars?
-
Store in an airtight container in the refrigerator for up to 5 days. Place parchment paper between layers if stacking to prevent sticking. These bars actually improve after a day or two as the flavors develop and the texture becomes even creamier.
