 Pin It
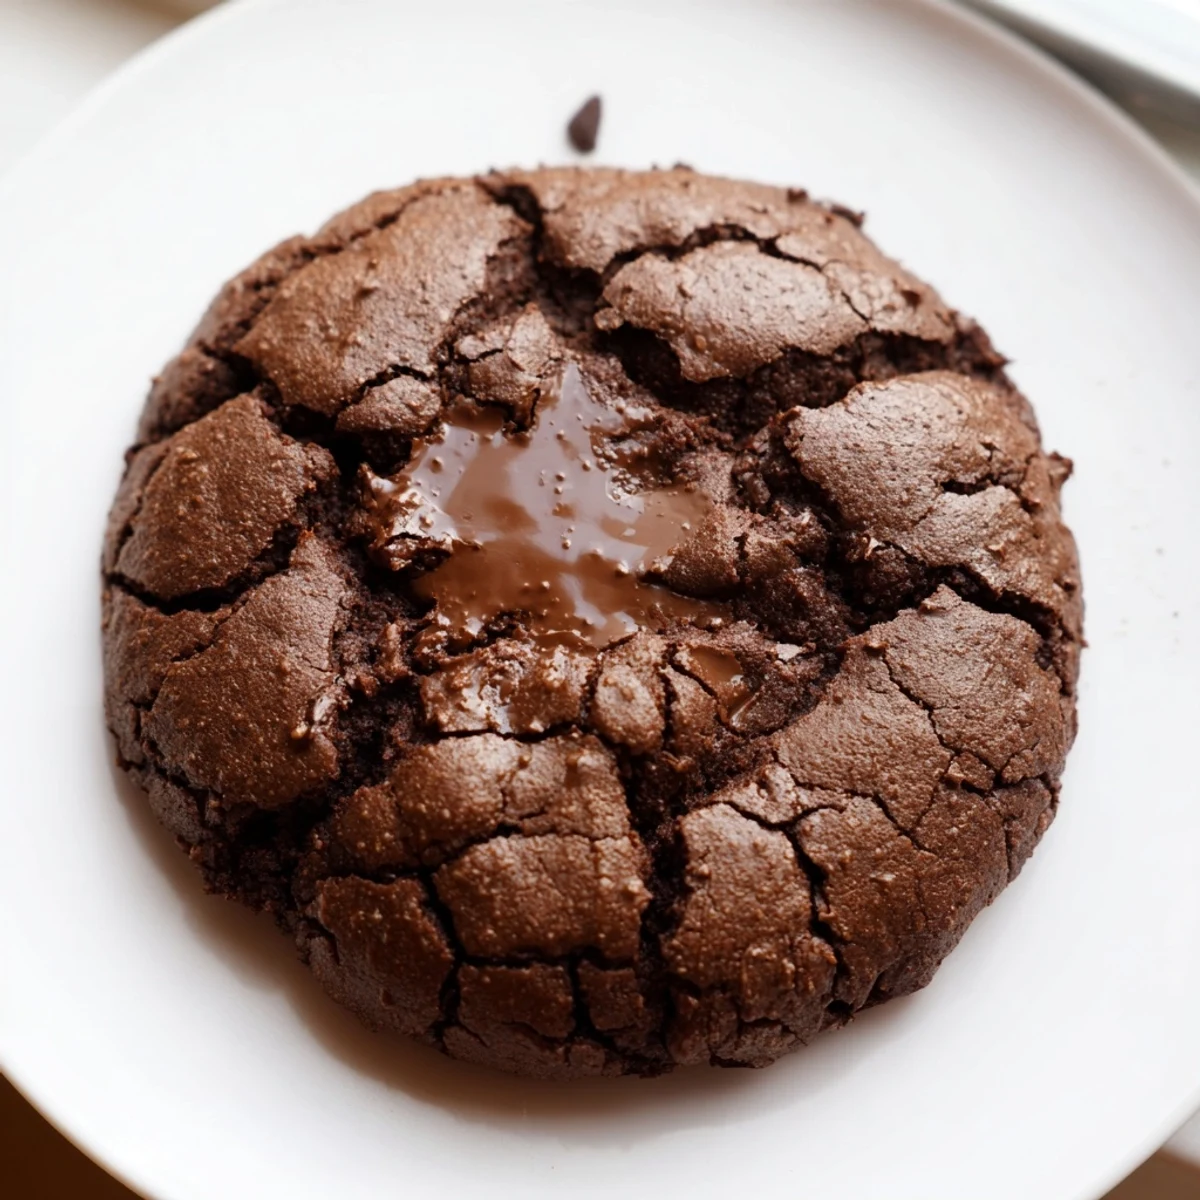
 These rich, chewy chocolate espresso cookies combine the deep flavors of cocoa powder and instant espresso with semisweet chocolate chips for an intensely satisfying treat. The dough comes together quickly with softened butter, both granulated and brown sugar for chewiness, and classic pantry staples.
Baking at 350°F for just 9-10 minutes ensures perfectly soft centers with slightly set edges. The espresso powder dissolved in hot water distributes evenly throughout the dough, creating a sophisticated coffee note that complements rather than overpowers the chocolate.
Customize by swapping chocolate varieties or adding toasted nuts. These cookies keep beautifully in an airtight container for up to five days, making them ideal for batch baking and sharing.
Last winter, during a particularly dreary February afternoon, I found myself craving something that felt like a warm hug in cookie form. I had been experimenting with coffee flavors in baking, and when these emerged from the oven, the entire kitchen smelled like a cozy café. My roommate wandered in, eyes half-closed from studying, and took one bite before declaring she needed four more for energy.
I made these for my book club last month, and before we even discussed the novel, everyone was obsessing over the cookies. Someone asked if I'd bought them from a bakery, which I took as the highest compliment. Now they're requested at every gathering, and I've learned to double the recipe.
Ingredients
- All-purpose flour: The structure builder, measure it properly by spooning and leveling for consistent results
- Unsweetened cocoa powder: Use Dutch-processed for a deeper, smoother chocolate flavor that balances the espresso
- Baking soda: Helps create those beautiful crackly tops as the cookies spread
- Salt: Essential for balancing sweetness and amplifying chocolate notes
- Instant espresso powder: Dissolve it completely to avoid gritty spots, it deepens the chocolate flavor remarkably
- Unsalted butter: Soften it properly, not melted, for the right cookie texture
- Granulated sugar: Creates crisp edges while the brown sugar keeps centers chewy
- Brown sugar: Packed brown sugar adds moisture and that irresistible chewiness
- Eggs: Room temperature eggs incorporate better for a uniform dough
- Vanilla extract: Pure vanilla rounds out all the bold flavors
- Semisweet chocolate chips: Fold them in gently so they distribute evenly throughout every bite
Instructions
- Prepare your oven and pans:
- Preheat to 350°F and line your baking sheets, the cookies will slide right off
- Whisk the dry ingredients:
- Combine flour, cocoa, baking soda, and salt in a medium bowl until everything is evenly distributed
- Dissolve the espresso:
- Stir the espresso powder into hot water until completely dissolved, let it cool slightly
- Cream the butter and sugars:
- Beat them for a full two minutes until the mixture looks pale and fluffy, this step creates the perfect texture
- Add the eggs and flavorings:
- Beat in eggs one at a time, then add vanilla and the cooled espresso mixture
- Combine everything:
- Gradually mix in the dry ingredients just until no flour streaks remain, do not overmix
- Fold in the chocolate chips:
- Use a spatula to gently incorporate them so every cookie gets plenty of chocolate
- Scoop and space:
- Drop tablespoon-sized mounds onto the sheets, giving them two inches to spread
- Cool completely:
- Let them rest on the pans for five minutes, then move to a wire rack to finish cooling
 Pin It
 My dad called me recently asking for the recipe because he'd tried them at my sister's house. Now he bakes them every Sunday morning, claiming they're better than the coffee shop cookies he used to buy. Something about these makes people feel taken care of.
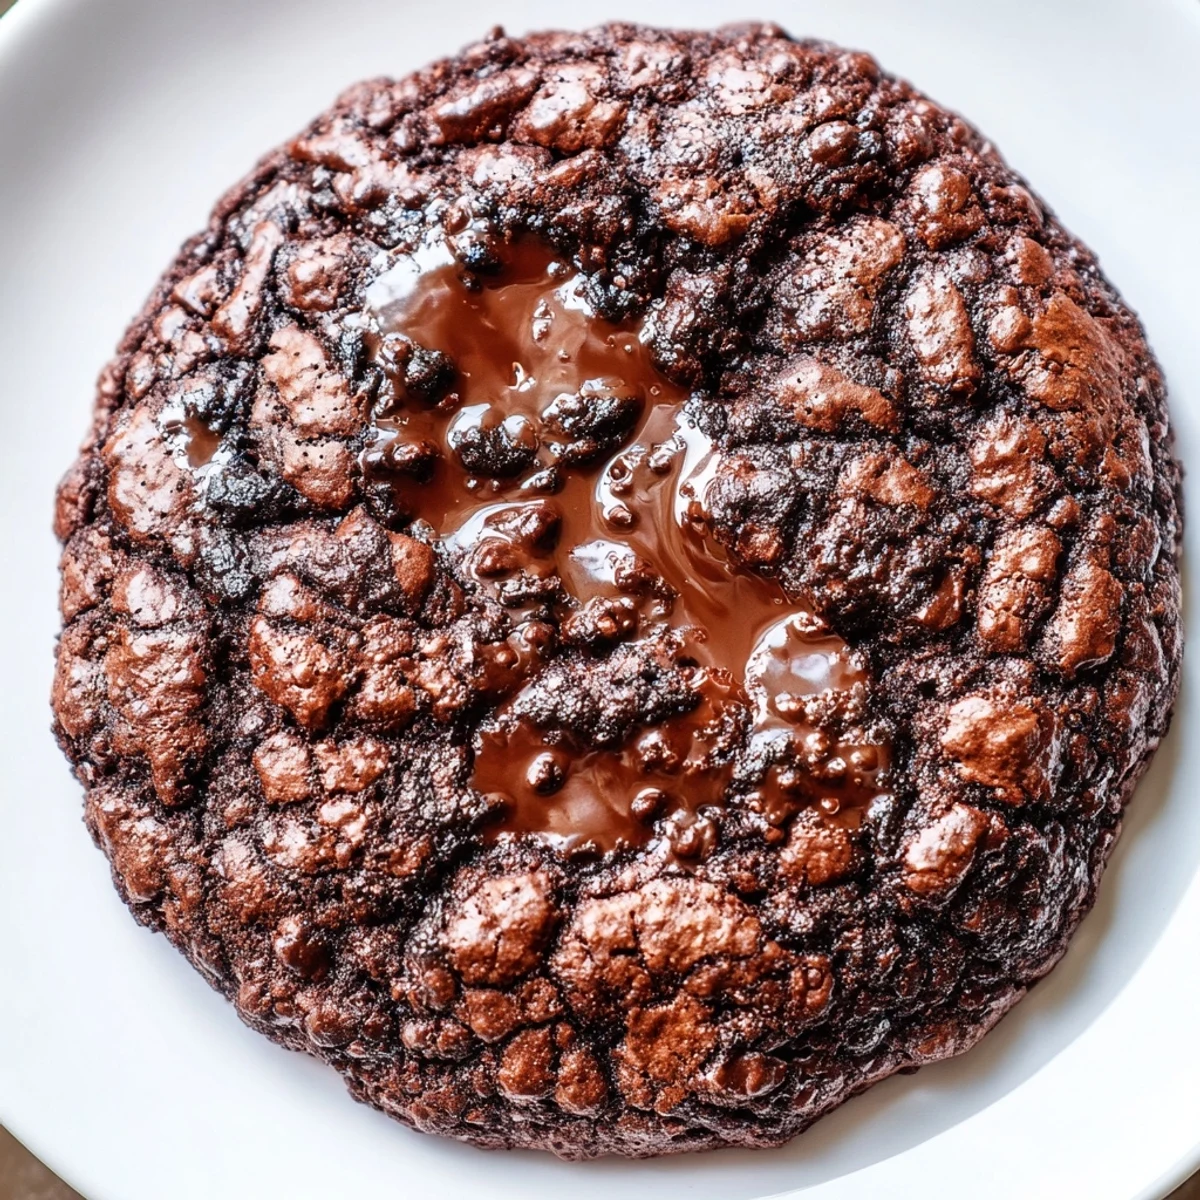
Getting the Texture Right
The key is removing them from the oven when they still look slightly underdone in the center. They'll firm up as they cool, creating that perfect contrast between chewy middles and crispy edges.
Customizing Your Cookies
I've added toasted pecans and swapped in dark chocolate chunks, both variations were incredible. The espresso pairs beautifully with almost any mix-in, from dried cherries to white chocolate.
Baking Like a Pro
Rotate your baking sheets halfway through if your oven has hot spots. Use a cookie scoop for uniform sizing, which ensures they all bake at the same rate.
- Chill the dough for 30 minutes if it feels too sticky
- Store cooled cookies with a slice of bread to keep them soft
- Warm them in the microwave for 10 seconds before serving
 Pin It
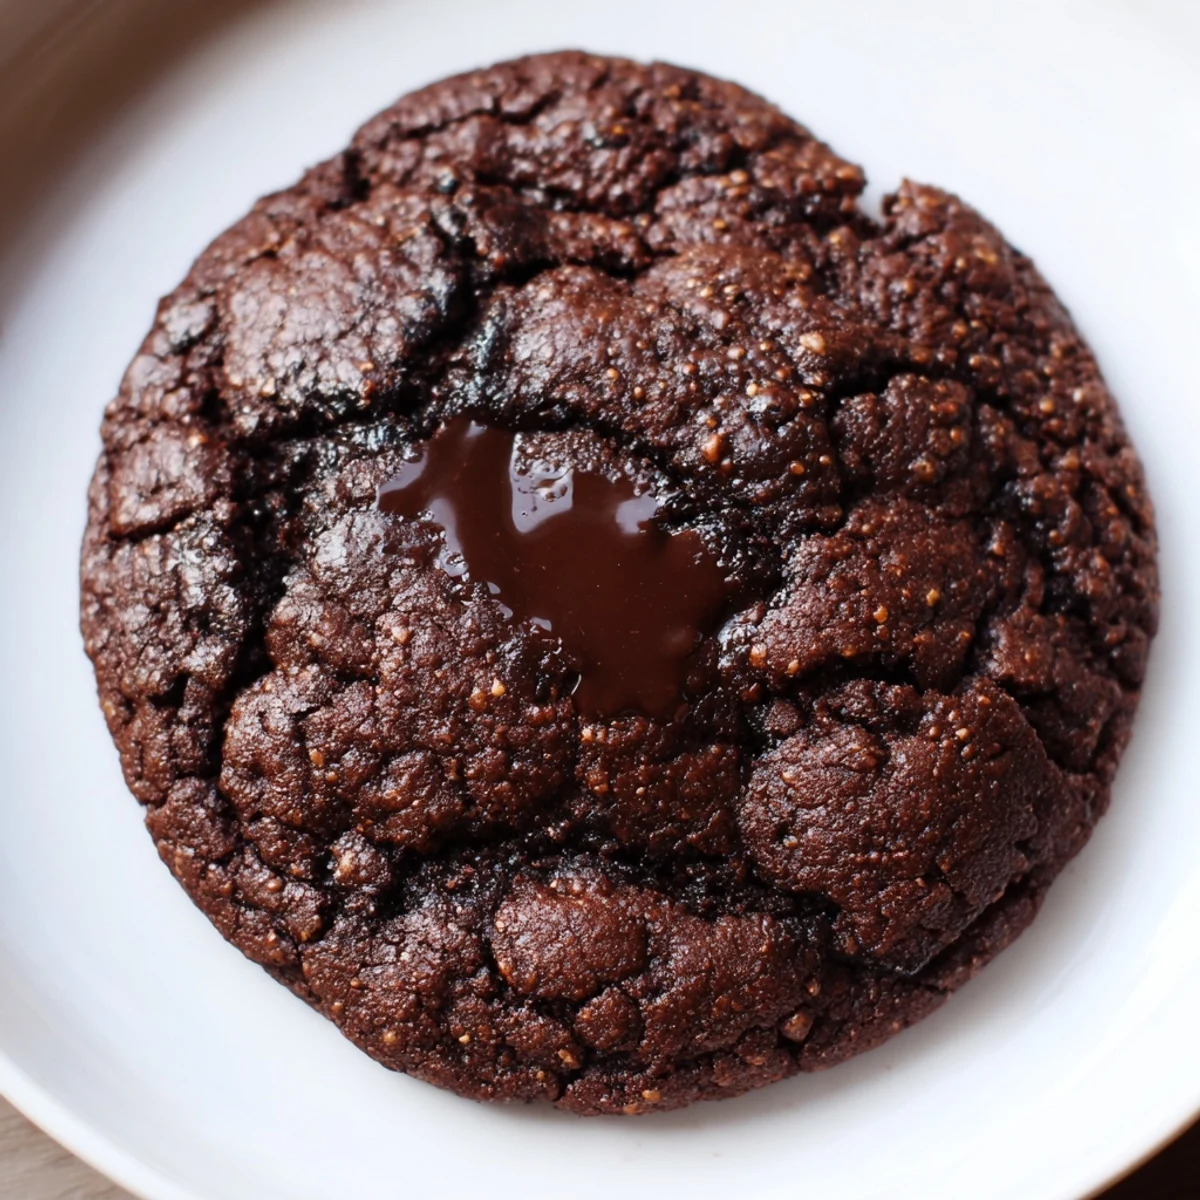
 There's something magical about the way these cookies make a regular afternoon feel special. Brew some coffee, grab a warm cookie, and take a moment to just enjoy.
Recipe Questions
- → Can I use regular coffee instead of espresso powder?
-
Yes, you can substitute 2 tablespoons of strongly brewed coffee reduced to 1 tablespoon, though the flavor will be slightly less concentrated. For best results, dissolve instant coffee granules in the hot water instead of espresso powder.
- → Why do my cookies turn out cakey instead of chewy?
-
Cakey texture usually comes from overmixing the dough or overbaking. Mix until just combined and remove from the oven when edges are set but centers still look slightly underdone. The brown sugar ratio also helps create chewiness.
- → Can I chill the dough before baking?
-
Absolutely! Chilling for 30 minutes to overnight enhances flavor development and prevents excessive spreading. If chilling longer than an hour, let dough sit at room temperature for 10-15 minutes before scooping.
- → What's the best way to store these cookies?
-
Store completely cooled cookies in an airtight container at room temperature for up to 5 days. Place parchment paper between layers to prevent sticking. For longer storage, freeze baked cookies for up to 3 months.
- → Can I make these dairy-free?
-
Substitute vegan butter sticks for the butter and use dairy-free chocolate chips. The texture and flavor will remain similar, though chill time may be needed if the vegan butter softens faster than traditional butter.
- → How do I know when the cookies are done?
-
The cookies are ready when edges look set and matte while centers still appear slightly soft and glossy. They'll continue cooking on the hot baking sheet, so removing at 9-10 minutes ensures perfect chewy texture.
