 Pin It
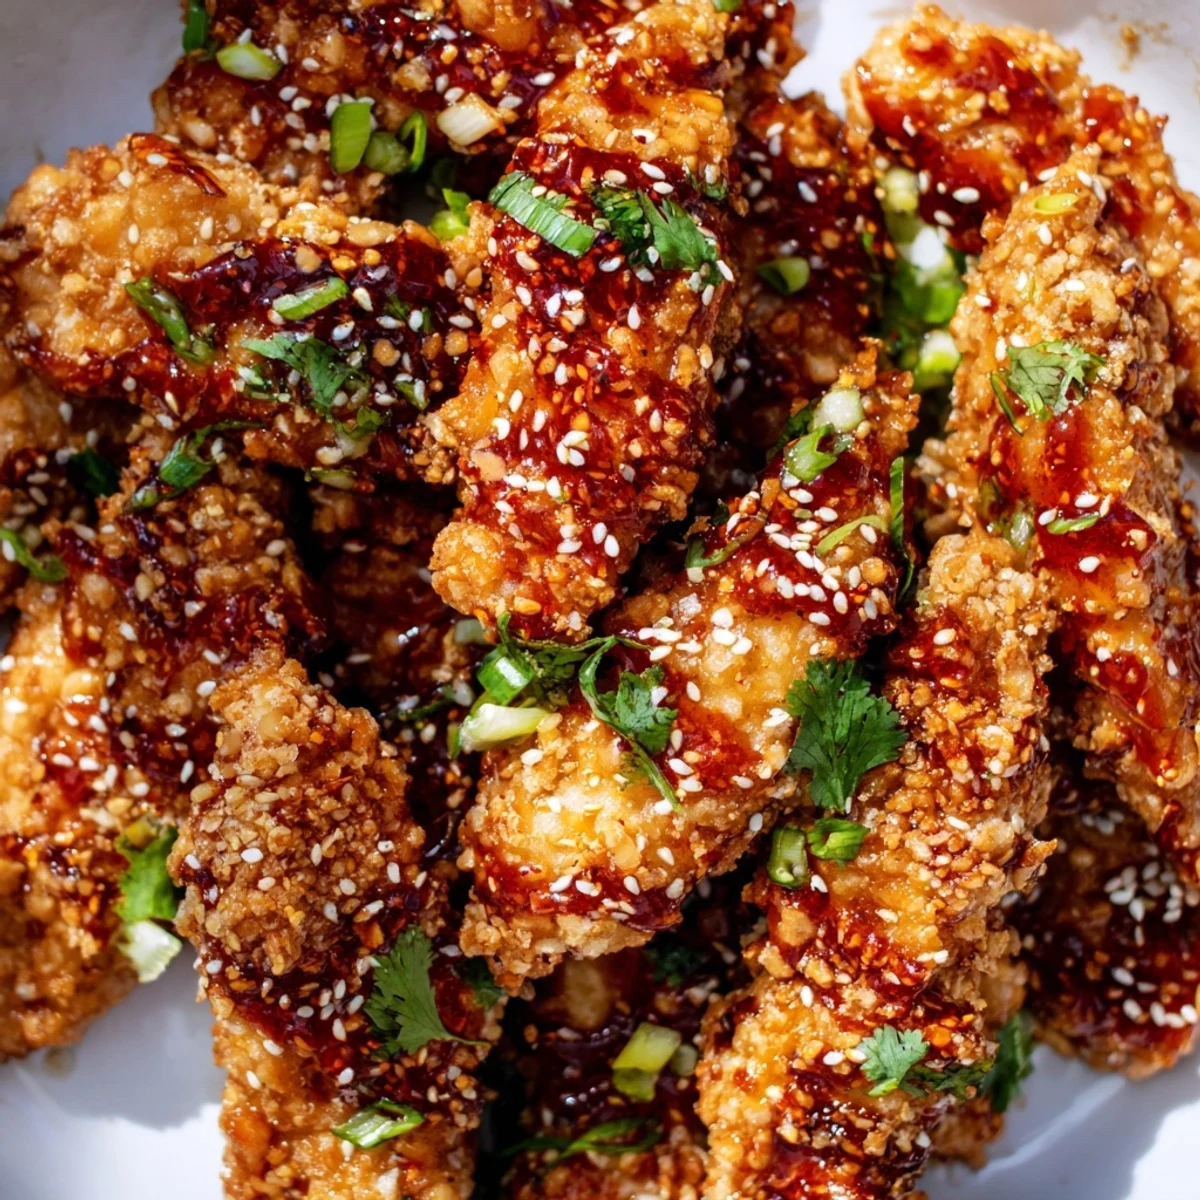
 These crispy chicken fingers feature a crunchy panko coating seasoned with garlic and smoked paprika. After baking until golden, they're tossed in a homemade sticky Thai sauce blending sweet chili, soy sauce, honey, and aromatic ginger and garlic.
The result is a perfect balance of textures—crunchy outside, tender inside—with a sauce that delivers sweet heat and umami depth. Ideal for gatherings, game days, or as an impressive starter that's ready in under an hour.
The first time I made these, my kitchen smelled like a street market in Bangkok. My roommate wandered in, following that incredible sweet-spicy aroma, and we ended up eating half the batch straight off the baking sheet while they were still too hot to properly handle.
Last summer, I made these for a friend who swore she hated takeout-style chicken fingers. She watched me coat them in panko, skeptical, then proceeded to eat five while telling me about her grandmother's recipe rules. Some exceptions are worth making.
Ingredients
- Chicken tenders: Cutting breasts into strips works perfectly, but tenders save you prep time and stay extra juicy
- Panko breadcrumbs: These Japanese crumbs create that shatteringly crisp exterior that regular breadcrumbs just cannot match
- Sweet chili sauce: The backbone of the glade, find a good quality brand or make your own if you have the time
- Fresh ginger and garlic: Do not substitute powder here, the fresh stuff blooms into something completely different in the hot sauce
- Sesame oil: Just a teaspoon adds that nutty depth that makes people ask what your secret ingredient is
Instructions
- Get everything ready:
- Set up three shallow bowls in assembly line fashion. Mix your panko with garlic powder and smoked paprika in the third bowl, and line that baking sheet with parchment paper now.
- Coat the chicken:
- Season your strips with salt and pepper, then dredge each piece in flour, shake off the excess, dip in egg, and finally press into the panko mixture until thoroughly coated.
- Bake until golden:
- Arrange on your prepared tray, give them a light spray of oil, and bake at 220°C for about 20 minutes, flipping once halfway through, until they are deeply golden and crisp.
- Make the magic sauce:
- While the chicken bakes, simmer sweet chili sauce, soy sauce, honey, rice vinegar, sesame oil, sriracha, garlic, and ginger in a small saucepan for 2 to 3 minutes until it thickens slightly.
- Bring them together:
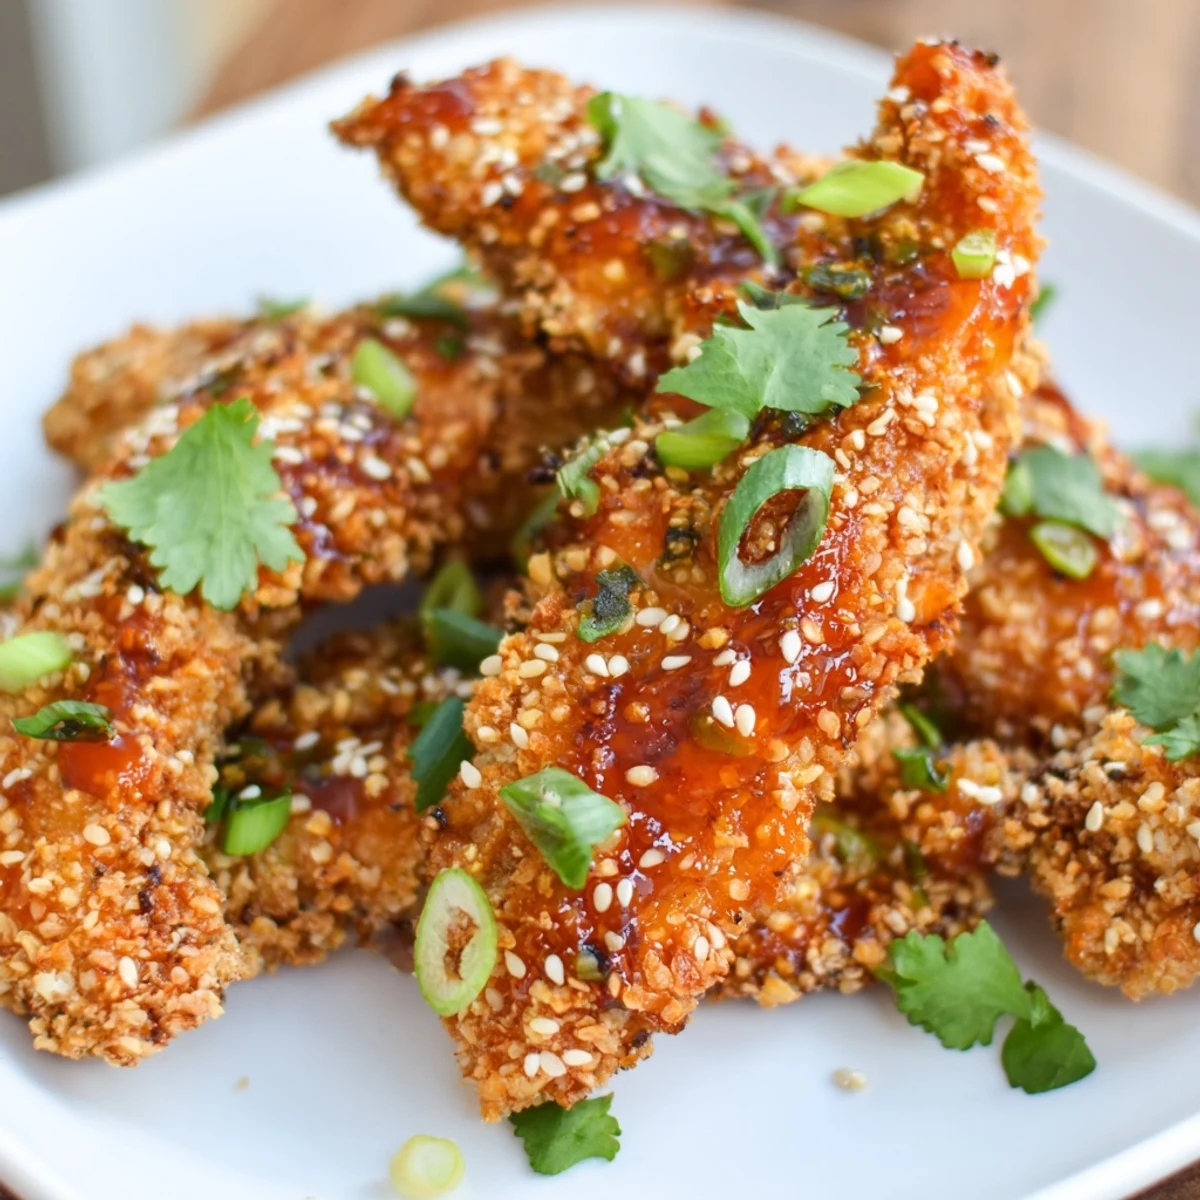
- Toss the hot, crispy chicken fingers in a large bowl with that warm sauce until every piece is glazed and gorgeous, then sprinkle with sesame seeds and sliced spring onions.
 Pin It
 My dad requests these every time he visits now. He stands by the stove, watching the sauce bubble, and tells me about his business travels to Thailand. The man who normally eats everything plain now asks for extra sriracha in his portion.
Making Ahead
You can bread the chicken strips up to 4 hours ahead and keep them refrigerated on a parchment-lined tray. The sauce can be made a day in advance and stored in an airtight container in the refrigerator.
The Broiler Trick
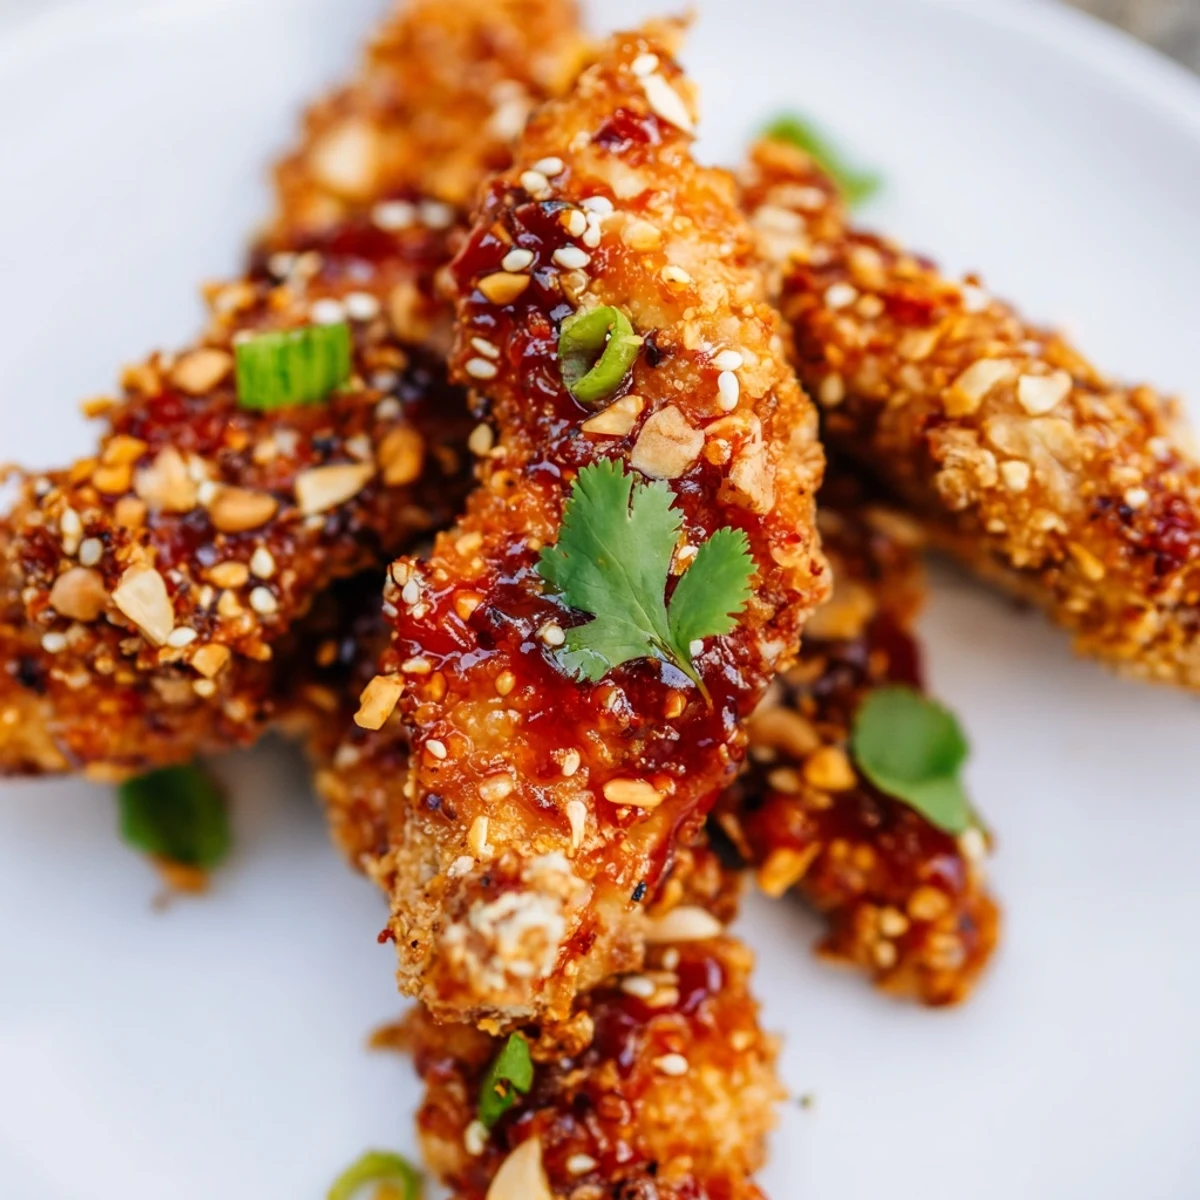
After tossing with the sauce, run them under the broiler for 60 seconds. The sugar in the glaze caramelizes and creates these incredible sticky, caramelized spots that make restaurant-quality food look amateur.
Serving Suggestions
These work as an appetizer, a party snack, or even a main dish with jasmine rice and a crisp cucumber salad on the side.
- Serve extra lime wedges on the side for squeezing over the top
- Keep napkins nearby because fingers will get gloriously messy
- Make double the sauce if you are serving rice on the side
 Pin It
 Somehow, no matter how many I make, there are never any leftovers. That is probably the best review a recipe can get.
Recipe Questions
- → How do I get the crispiest coating?
-
Press the panko mixture firmly onto the chicken strips after dipping in egg. Spray or brush lightly with oil before baking, and consider broiling for 2 minutes at the end for extra crunch.
- → Can I make these ahead of time?
-
You can bread the chicken strips up to 4 hours ahead and refrigerate. Bake fresh before serving, or bake completely and reheat in a 200°C oven for 5-7 minutes. Toss with sauce just before serving to maintain crispiness.
- → What can I substitute for sweet chili sauce?
-
Mix equal parts apricot preserves and sriracha, or combine honey with red pepper flakes and a splash of rice vinegar. This maintains the sweet heat profile while using common pantry ingredients.
- → How spicy are these chicken fingers?
-
The base version is mildly spicy, primarily from the sweet chili sauce. Adding sriracha increases the heat level. For a milder version, omit sriracha and reduce sweet chili sauce by half, adding more honey to balance.
- → Can I air fry these instead of baking?
-
Yes, cook at 200°C for 12-15 minutes, shaking halfway. Spray with oil for best results. Air frying creates an exceptionally crispy exterior while keeping the interior juicy.
- → What sides pair well with this dish?
-
Serve with jasmine rice, fresh vegetable sticks, or a crisp cucumber salad. The sweet and sticky flavors also complement light, refreshing sides like Asian slaw or steamed broccoli with sesame dressing.
