 Pin It
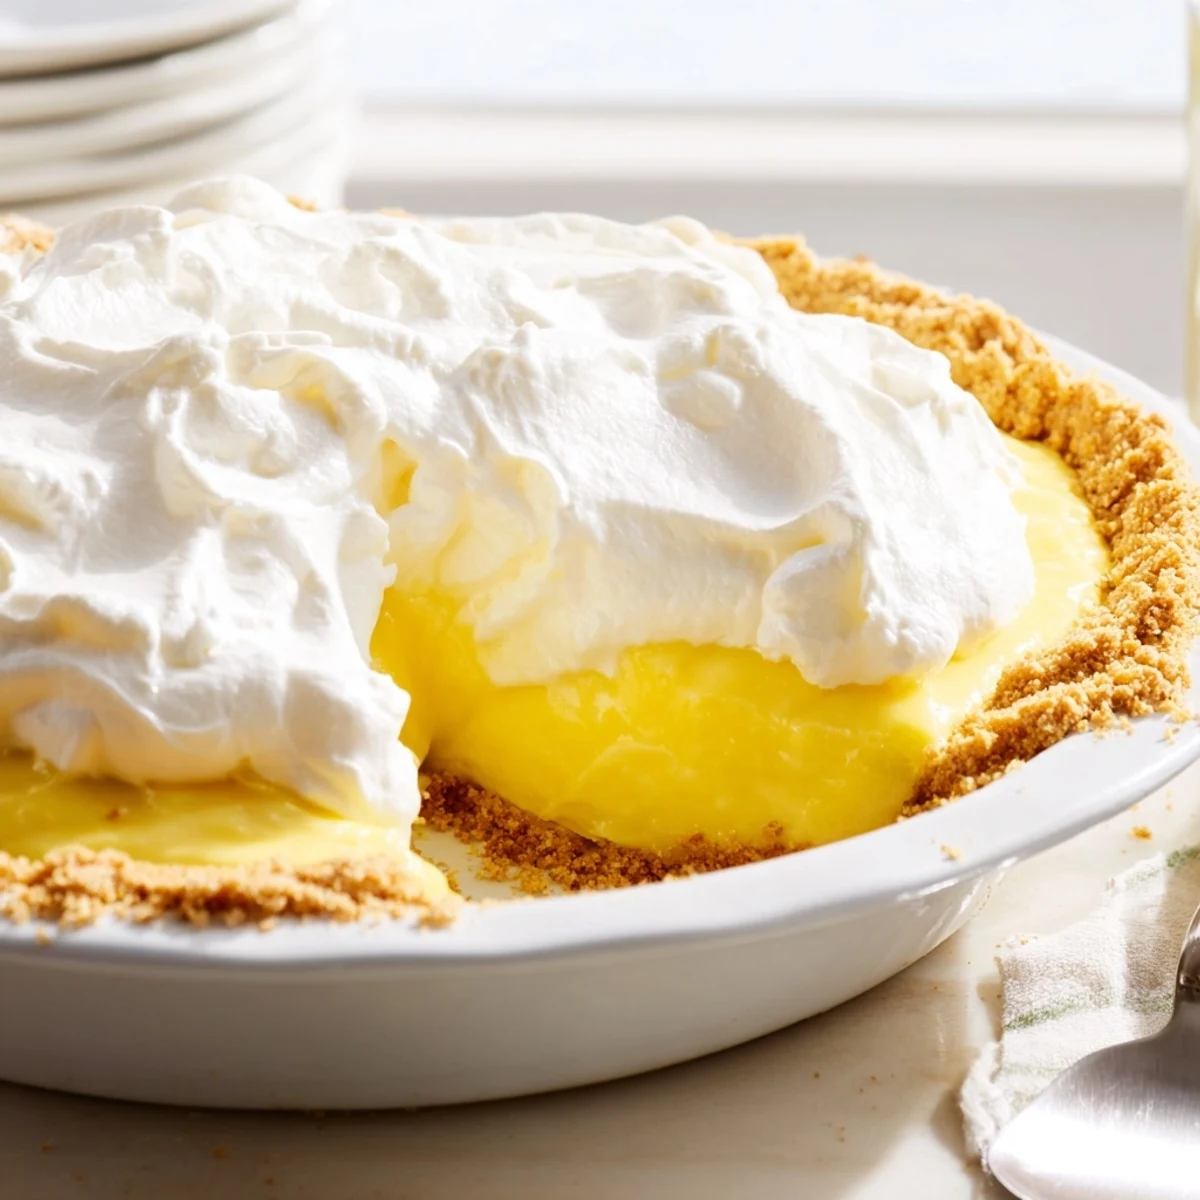
 This real lemon pie delivers a bright, tangy citrus filling made from freshly squeezed lemon juice and zest, thickened to a silky consistency with cornstarch and egg yolks.
The buttery graham cracker crust provides a satisfying crunch that contrasts beautifully with the smooth filling.
Topped with lightly sweetened whipped cream, this dessert is perfect for warm-weather gatherings, holidays, or anytime you crave something refreshing and indulgent.
The screen door slammed and my aunt walked in carrying a lemon pie that changed my entire summer. Something about that wobbly golden filling sitting in its sandy crumb crust made me forget every chocolate dessert I had ever loved. I stood there licking whipped cream off my fingers and decided right then that this recipe would be mine.
I burned the first batch of crust because I got distracted scrolling through old photos and forgot the oven was on. The smoke alarm sang opera for ten straight minutes and my dog hid under the bed. The second attempt came out golden and perfect and I ate two slices standing at the counter before anyone else got home.
Ingredients
- Graham cracker crumbs (1 1/2 cups): Crush them fine but not dusty, because a few rough bits give the crust that satisfying crunch that holds up against the soft filling.
- Granulated sugar (1/4 cup for crust, 1 cup for filling): The small amount in the crust balances the butter while the full cup in the filling tempers the lemon tartness without muting it.
- Unsalted butter (6 tbsp melted for crust, 2 tbsp for filling): Melted butter binds the crumbs into something that actually holds together when you slice, and the two tablespoons at the end give the filling a glossy, velvety finish.
- Cornstarch (2 tbsp): This is the thickening hero that turns a watery lemon mixture into something that sits proudly in a slice.
- All-purpose flour (1 tbsp): Works alongside the cornstarch for a more stable set that does not weep or separate after chilling.
- Salt (1/4 tsp): Just enough to wake up every flavor and keep the pie from tasting flat.
- Water (1 cup): Creates the base liquid that carries the lemon flavor and lets the starch do its job properly.
- Lemon zest (2 tsp grated): Rub the zest into the sugar with your fingers before adding liquid, because those natural oils are where the perfume lives.
- Fresh lemon juice (1/2 cup, about 2 to 3 lemons): Only fresh squeezed will do, since the bottled kind tastes metallic and flat next to real citrus.
- Egg yolks (3 large, lightly beaten): They add richness and help the filling set with a custardy smoothness that egg whites alone cannot achieve.
- Heavy whipping cream (1 cup): Whipped to stiff peaks and piled high, this is the cloud that makes every bite feel like a celebration.
- Powdered sugar (2 tbsp): Sweetens the cream just enough without making it cloying.
- Vanilla extract (1/2 tsp): A whisper of warmth in the topping that ties everything together.
Instructions
- Build the crust:
- Heat your oven to 350 degrees. Toss the graham crumbs, sugar, and melted butter together until everything feels like damp sand, then press firmly into a 9 inch pie dish going up the sides. Bake for 8 to 10 minutes until fragrant and lightly golden, then set aside to cool completely.
- Start the filling:
- Whisk sugar, cornstarch, flour, and salt together in a saucepan so no lumps hide in the corners. Pour in the water gradually while whisking, then add the lemon zest and juice. Set the pan over medium heat and stir without stopping until the mixture thickens and begins to bubble, roughly 4 to 6 minutes.
- Temper the yolks:
- Scoop a few spoonfuls of the hot mixture into your beaten yolks while whisking furiously so the eggs warm gently instead of scrambling. Pour everything back into the saucepan and cook for another 2 minutes, stirring until the filling turns thick, glossy, and deeply golden.
- Finish and assemble:
- Take the pan off the heat and stir in the butter until it melts into the filling completely. Pour this warm lemon custard into your cooled crust and let it sit at room temperature until it is no longer warm to the touch, then refrigerate for at least 2 hours.
- Whip and top:
- Beat the heavy cream with powdered sugar and vanilla until it holds stiff peaks that do not droop when you lift the whisk. Spread or pipe it generously over the chilled pie, slice into 8 pieces, and serve cold.
 Pin It
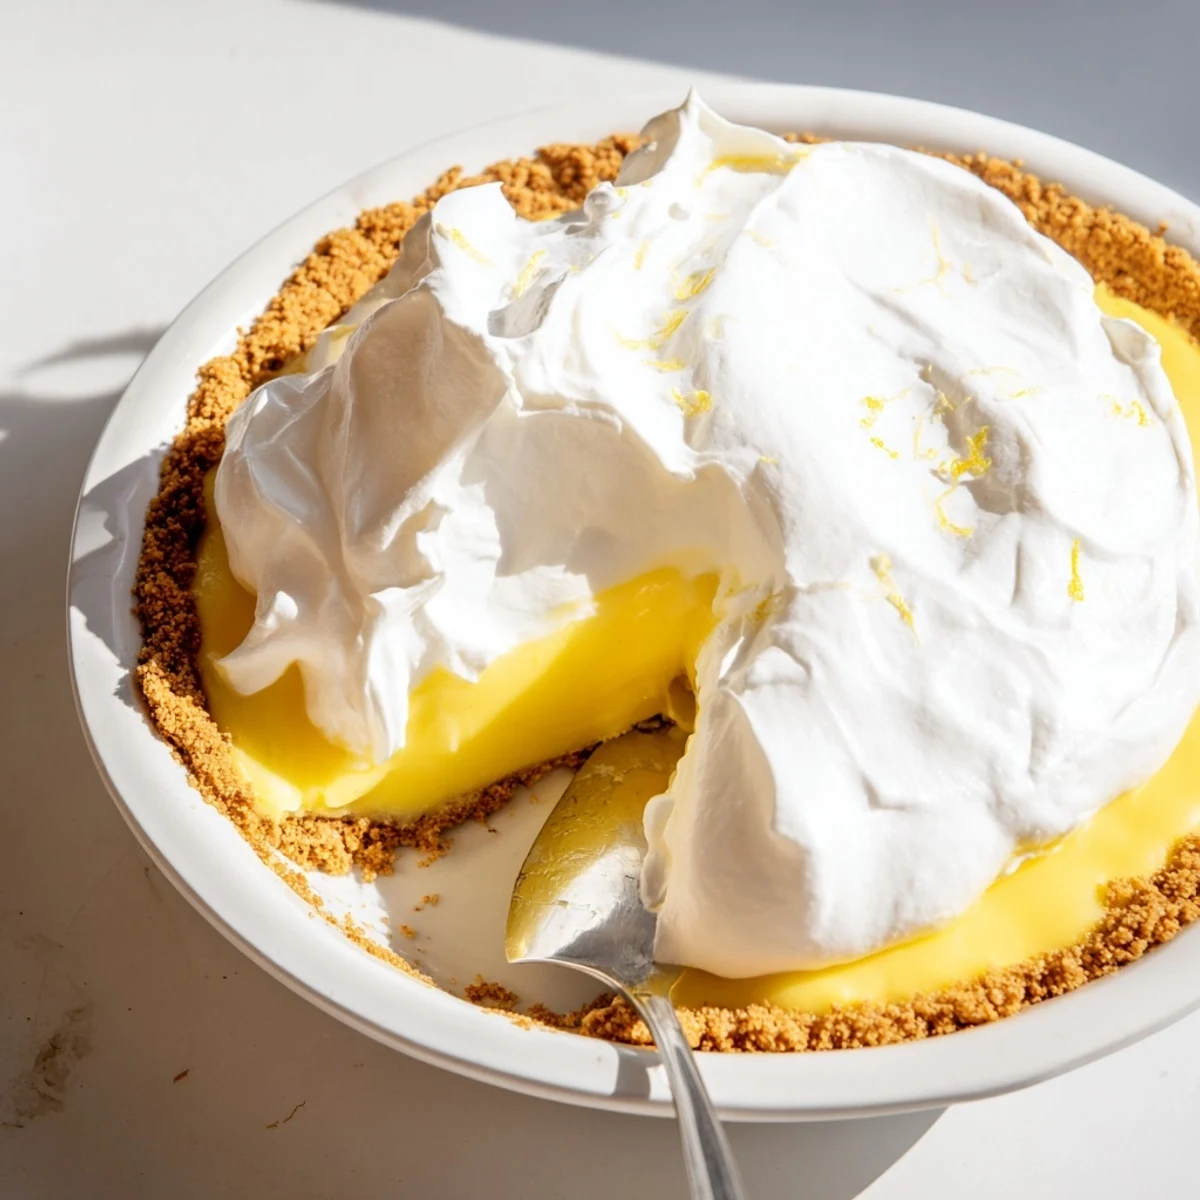
 My neighbor knocked on the door the evening I made my third attempt at this pie, and I handed her a slice on a paper napkin. She stood on the porch eating it in silence, closed her eyes halfway through, and told me it reminded her of her grandmother. I went back inside and ate my own slice feeling like I had learned something important about what food can carry.
When Life Gives You Options
You can swap the whipped cream topping for a classic meringue if you want that toasted, bakery case look. Broil it just long enough to get golden peaks, watching it like a hawk because the line between perfect and charred is about thirty seconds. Fresh berries scattered on top add a pop of color and a little tartness that plays beautifully against the sweet cream.
Getting Ahead of Yourself
This pie actually improves after a night in the refrigerator because the filling settles into a firmer, more sliceable texture. Cover it loosely with plastic wrap once it is completely cool to keep the surface from picking up fridge flavors. The crust softens slightly overnight but honestly that barely matters once you taste the filling.
Tools and Troubleshooting
A heavy bottomed saucepan makes all the difference for the filling because it distributes heat evenly and prevents the cornstarch from clumping at the bottom. Keep a silicone spatula nearby for scraping the corners where thickened filling likes to hide and burn. An electric mixer turns the whipping cream from a chore into a two minute task.
- If your filling looks lumpy, strain it through a fine mesh sieve before pouring into the crust.
- Extra lemon zest stirred in at the end gives you a more intense punch without any extra effort.
- Always chill the pie on a flat shelf so the filling sets evenly instead of sliding to one side.
 Pin It
 Some recipes earn a permanent spot in your kitchen not because they are fancy but because they make people close their eyes when they take the first bite. This lemon pie does exactly that every single time.
Recipe Questions
- → How do I know when the lemon filling is thick enough?
-
The filling is ready when it coats the back of a spoon and holds a line when you run your finger through it. It should bubble gently and appear glossy, which typically takes 4-6 minutes over medium heat with constant stirring.
- → Can I use bottled lemon juice instead of fresh?
-
Freshly squeezed lemon juice is strongly recommended for the brightest, most natural flavor. Bottled juice can taste flat or slightly bitter and won't provide the same vibrant tang that makes this pie shine.
- → Why do I need to temper the egg yolks?
-
Tempering gradually raises the temperature of the egg yolks so they don't scramble when added to the hot mixture. Slowly whisking in small amounts of the hot filling first ensures a smooth, silky texture without any cooked egg lumps.
- → How long should the pie chill before serving?
-
The pie needs at least 2 hours in the refrigerator to fully set. For the cleanest slices, chill it overnight. Cutting into a warm or room-temperature pie will cause the filling to run and the slices won't hold their shape.
- → Can I make the graham cracker crust from scratch?
-
Yes, simply pulse whole graham crackers in a food processor until fine crumbs form. Mix with melted butter and sugar, then press firmly into your pie dish. Pre-baking the crust for 8-10 minutes helps it stay crisp against the moist filling.
- → What can I substitute for the whipped cream topping?
-
A classic meringue topping is a traditional alternative. Whip egg whites with sugar until stiff peaks form, spread over the filling, and broil until lightly golden. You can also serve slices plain or with a dollop of Greek yogurt.
