 Pin It
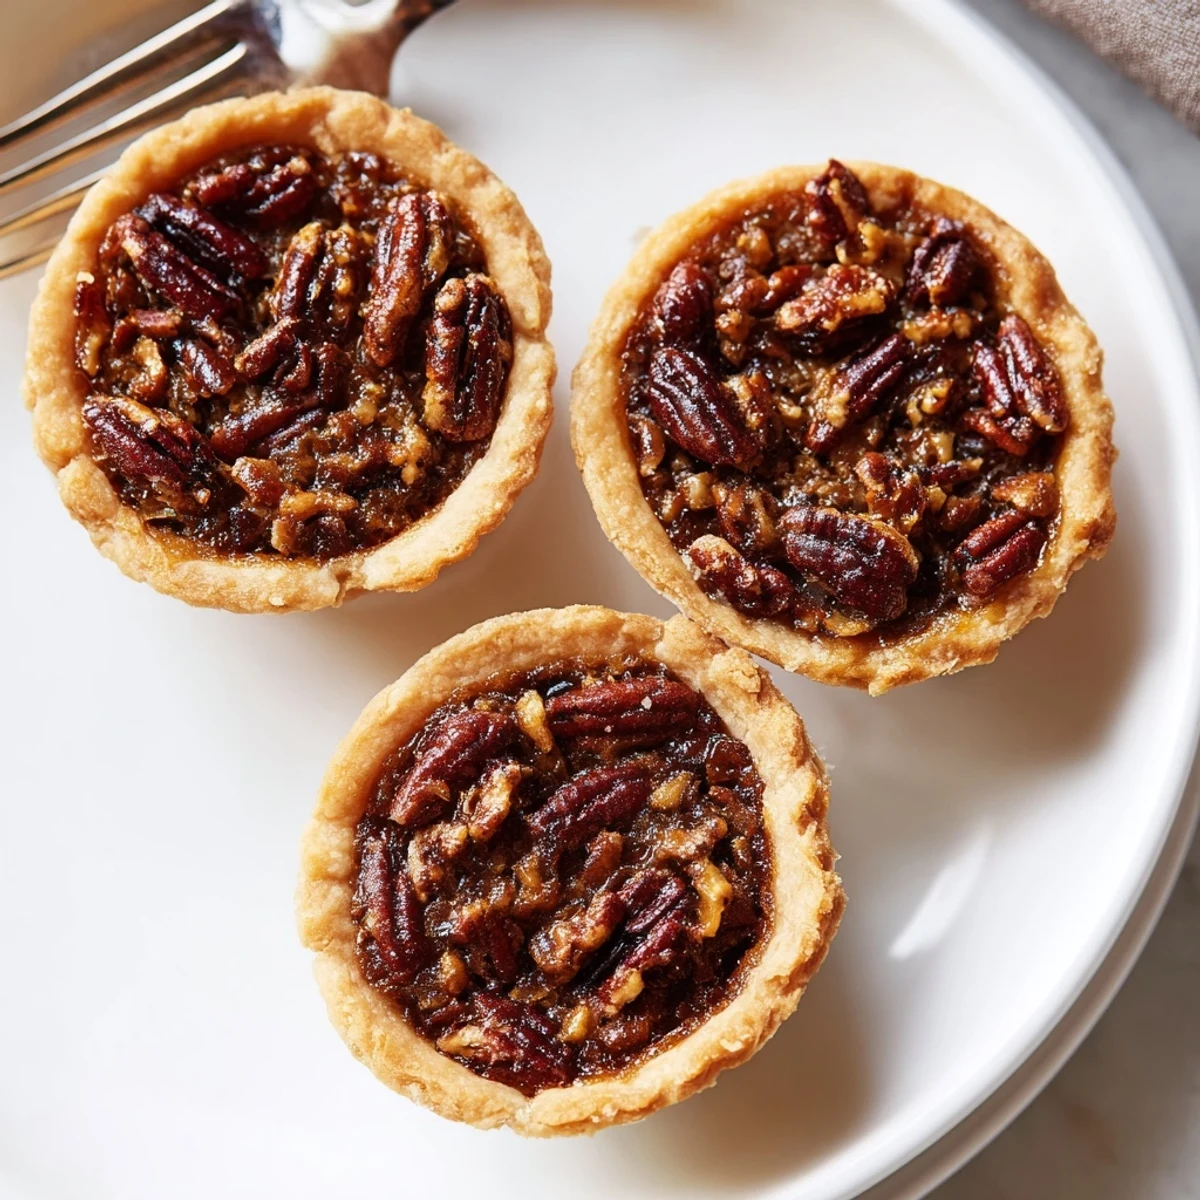
 These individual-sized pecan tarts combine tender, flaky pastry with a sweet, nutty filling that caramelizes beautifully in the oven. The miniature format makes them perfect for holiday entertaining, dinner parties, or gift-giving. Each two-bite treat delivers the classic flavors of traditional pecan pie without the commitment of slicing a whole pie.
The filling achieves that sought-after gooey texture through the perfect balance of brown sugar and corn syrup, while the homemade crust ensures optimal buttery flavor. You can easily prepare the dough in advance or use store-bought shortcuts for even faster assembly. The toasted pecans add essential crunch and deep nutty aroma throughout.
The smell of brown sugar and pecans baking still takes me back to my grandmother's tiny kitchen, where I'd perch on a stool watching her work magic with a muffin tin and whatever nuts she had on hand. Those afternoons taught me that good things really do come in small packages, especially when it comes to dessert. I've been making these bite-sized pies for every holiday gathering since, and they disappear faster than anything else on the table.
Last Thanksgiving, my niece announced she was too full for dessert until she spotted these little beauties cooling on the counter. She ended up eating three while helping me transfer them to the serving platter, claiming that mini desserts don't really count. Now she requests them for every family celebration, and I've learned to double the recipe.
Ingredients
- All-purpose flour: The foundation for a tender, flaky crust that holds up beautifully to the rich filling
- Cold unsalted butter: Keeping it ice-cold is the secret to creating those irresistible flaky layers in your crust
- Light brown sugar: Adds a deeper, more complex sweetness than white sugar with just the right molasses undertone
- Light corn syrup: Creates that classic gooey, set texture we all love in pecan pie without overwhelming the other flavors
- Pecans: Toast them beforehand for an extra layer of nutty flavor that makes these truly exceptional
Instructions
- Get your oven ready:
- Preheat to 350°F and generously grease your mini muffin pan, getting into all the corners so these little pies release easily later.
- Make the crust dough:
- Mix flour and salt in a bowl, then work in cold butter until you see coarse, pebble-sized crumbs throughout.
- Bring it together:
- Drizzle in cold water a tablespoon at a time, mixing gently just until the dough holds together when you pinch it.
- Shape your mini shells:
- Roll the dough out and cut circles, then gently press each one into the muffin cups, letting the dough come slightly up the sides.
- Whisk the filling:
- Combine brown sugar, corn syrup, melted butter, egg, vanilla, and salt until completely smooth.
- Add the nuts:
- Fold in the chopped pecans until every piece is coated in that sweet, glossy mixture.
- Fill and bake:
- Spoon about a tablespoon of filling into each crust and bake 22 to 25 minutes until set and golden.
- Cool completely:
- Let them rest 10 minutes in the pan, then carefully transfer to a wire rack to finish cooling.
 Pin It
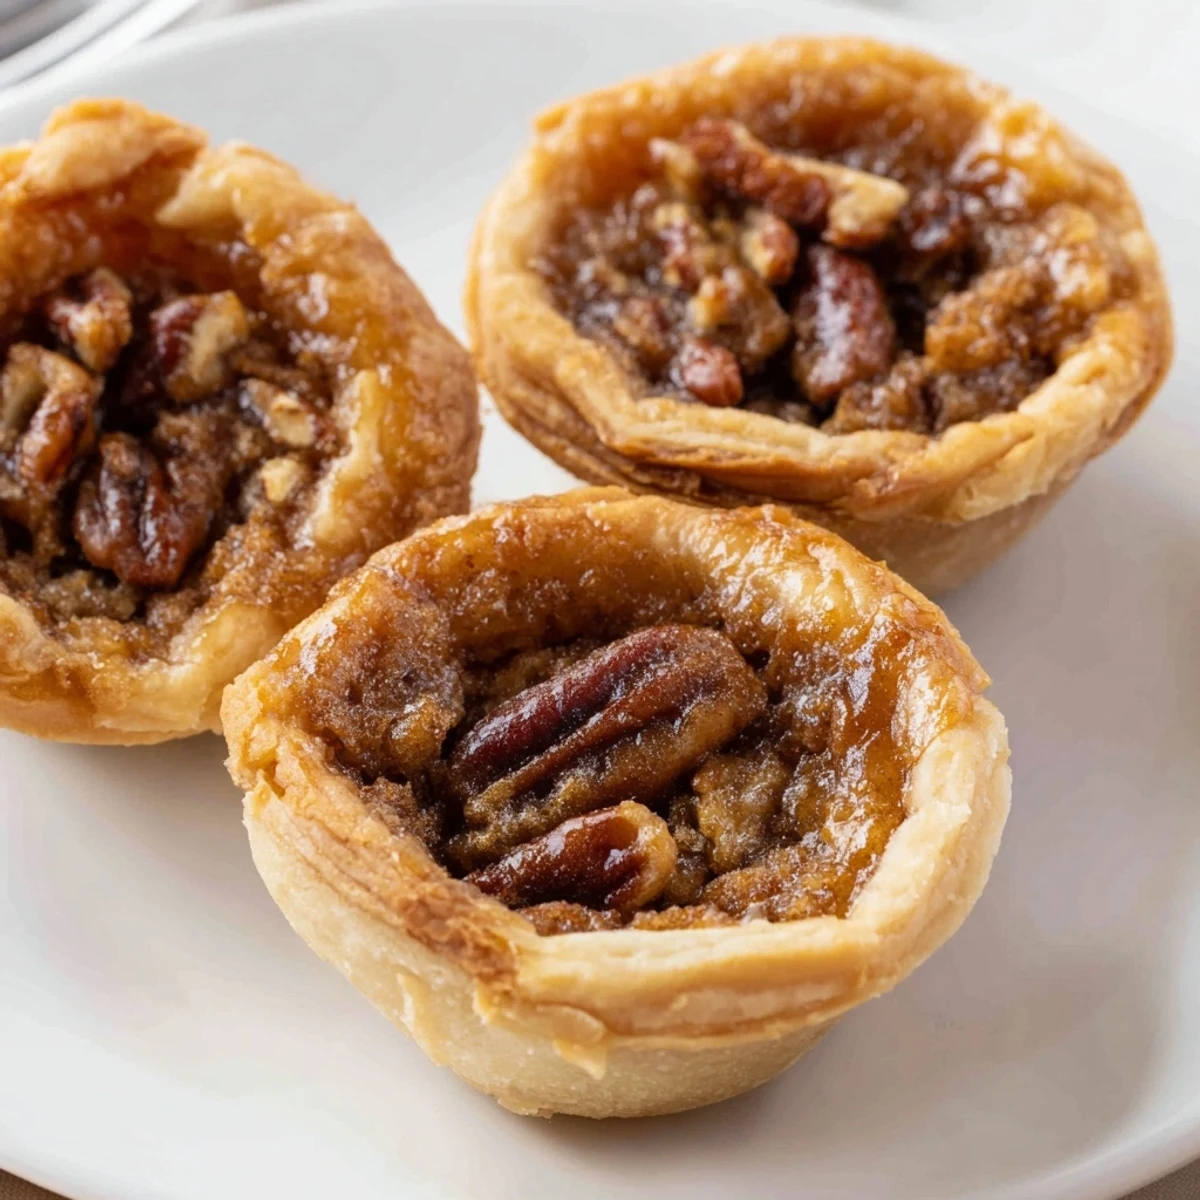
 My friend Sarah once tried to rush the cooling process and ended up with pecan pie everywhere but in the crusts. We spent the next hour scraping delicious filling off the pan with spoons, laughing so hard we could barely breathe. Now we call them learning experiences and always set a timer.
Making These Ahead
I've learned that these mini pies actually taste better the next day, when the flavors have had time to meld and the crust has softened slightly. You can bake them up to two days in advance and store them in an airtight container at room temperature.
Serving Suggestions
While these are perfectly delicious on their own, a small dollop of freshly whipped cream or a scoop of vanilla ice cream takes them over the top. I've also served them alongside a cheese plate, where the salty, creamy cheese balances the sweet, nutty pies beautifully.
Perfecting Your Technique
The key to professional-looking mini pies is working quickly and keeping everything cold, especially the butter and dough. If your kitchen runs warm or the dough starts feeling soft, pop it in the fridge for 10 minutes before continuing.
- Use a measuring spoon to ensure even portions of filling in each crust
- Rotate the pan halfway through baking for evenly golden pies
- Let the pan cool on a wire rack, not directly on your countertop
 Pin It
 There's something so satisfying about watching people's faces light up when they see these tiny, perfect pies waiting for them. Happy baking, and may your kitchen always smell like brown sugar and warm pecans.
Recipe Questions
- → Can I make the dough ahead of time?
-
Yes, prepare the crust dough up to 2 days in advance and refrigerate wrapped tightly in plastic. Let it soften slightly at room temperature for 10-15 minutes before rolling out for easier handling.
- → What's the best way to remove the pies from the pan?
-
Let them cool in the pan for exactly 10 minutes after baking. Run a thin knife around the edges of each cup, then gently twist to lift. Using a silicone mini muffin pan also makes removal easier.
- → Can I freeze these for later?
-
Absolutely. Once completely cooled, freeze in a single layer, then transfer to an airtight container. They'll keep for up to 3 months. Thaw at room temperature for 1 hour before serving.
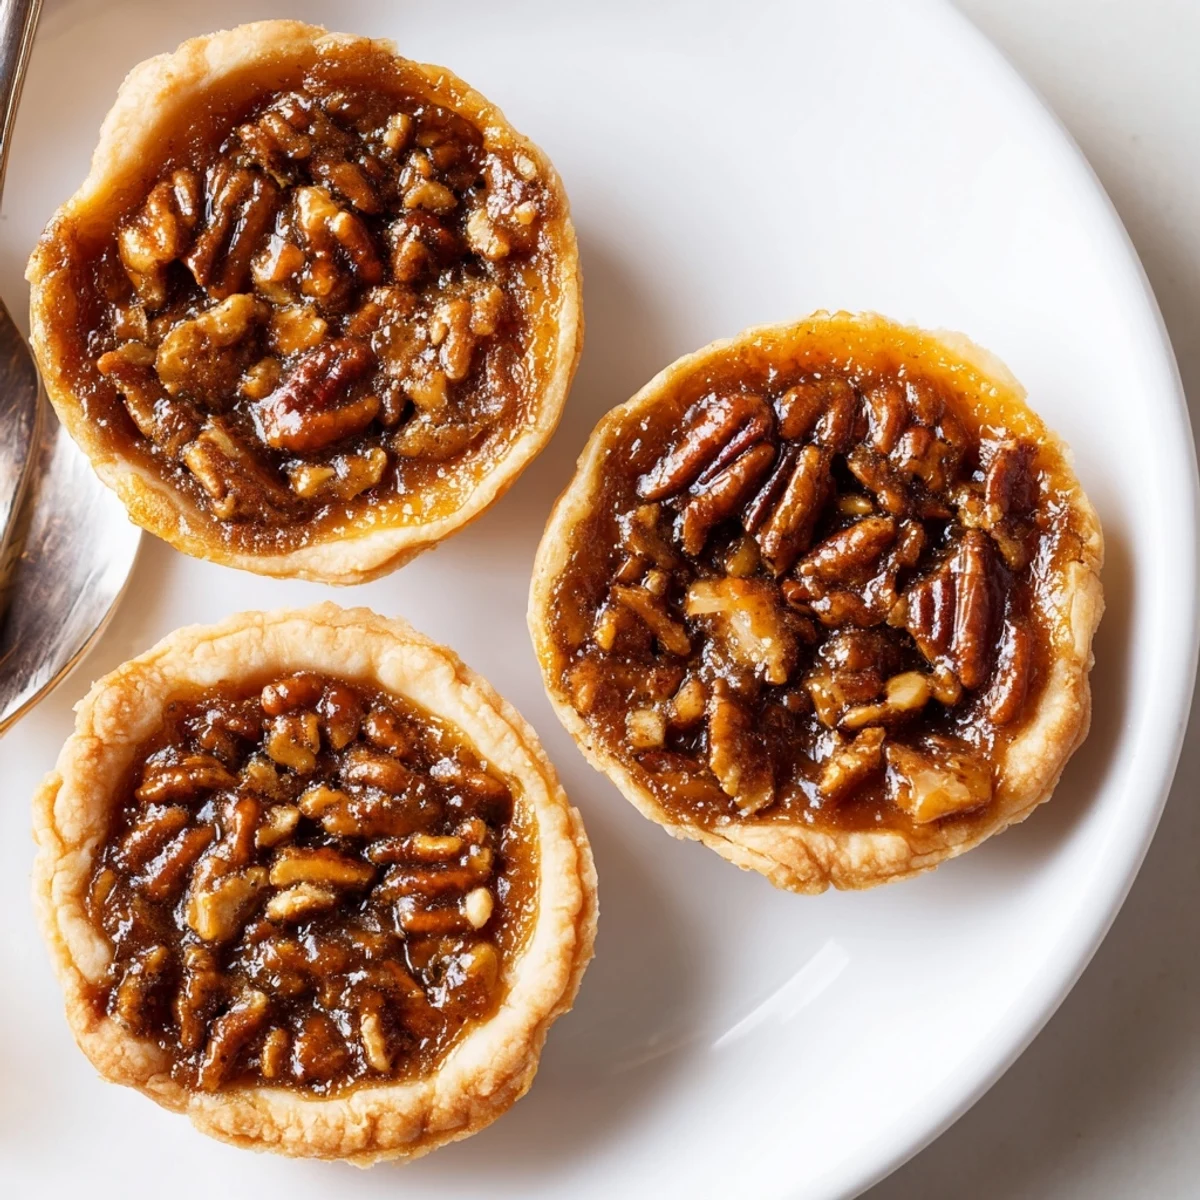
- → Why do my pecans float to the top?
-
This is normal and actually desirable. The pecans naturally rise, creating that signature crunchy top layer. If you prefer them distributed throughout, chop them into smaller pieces before folding into the filling.
- → Can I use store-bought pie crust?
-
Certainly. Use refrigerated pie dough and cut circles the same way. Roll it slightly thinner than usual since mini cups need less dough than a full pie. This cuts preparation time significantly.
