 Pin It
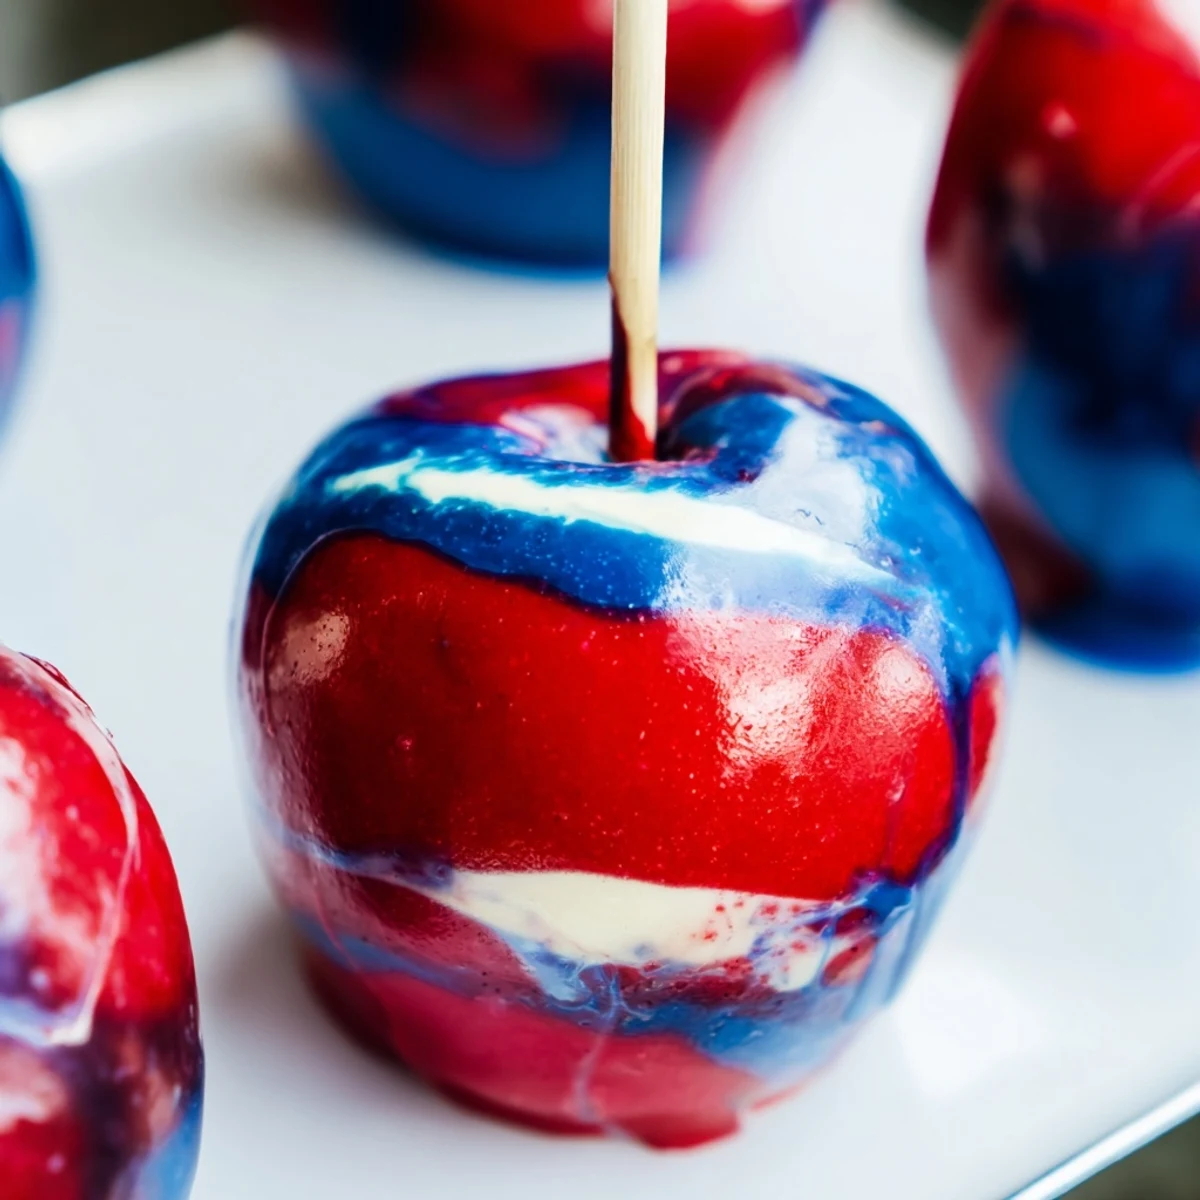
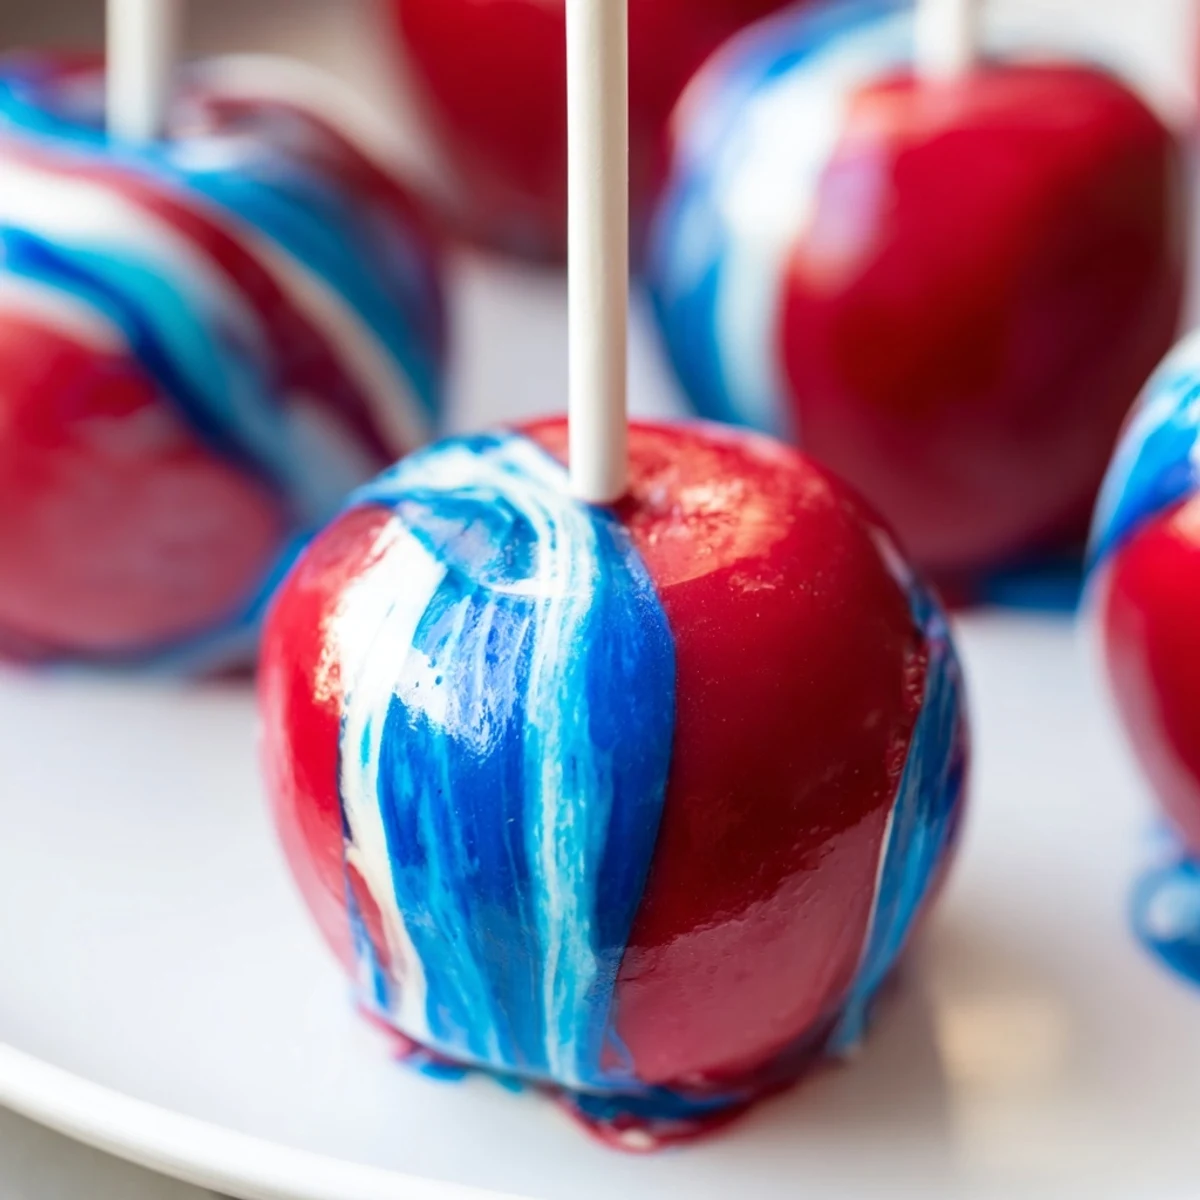
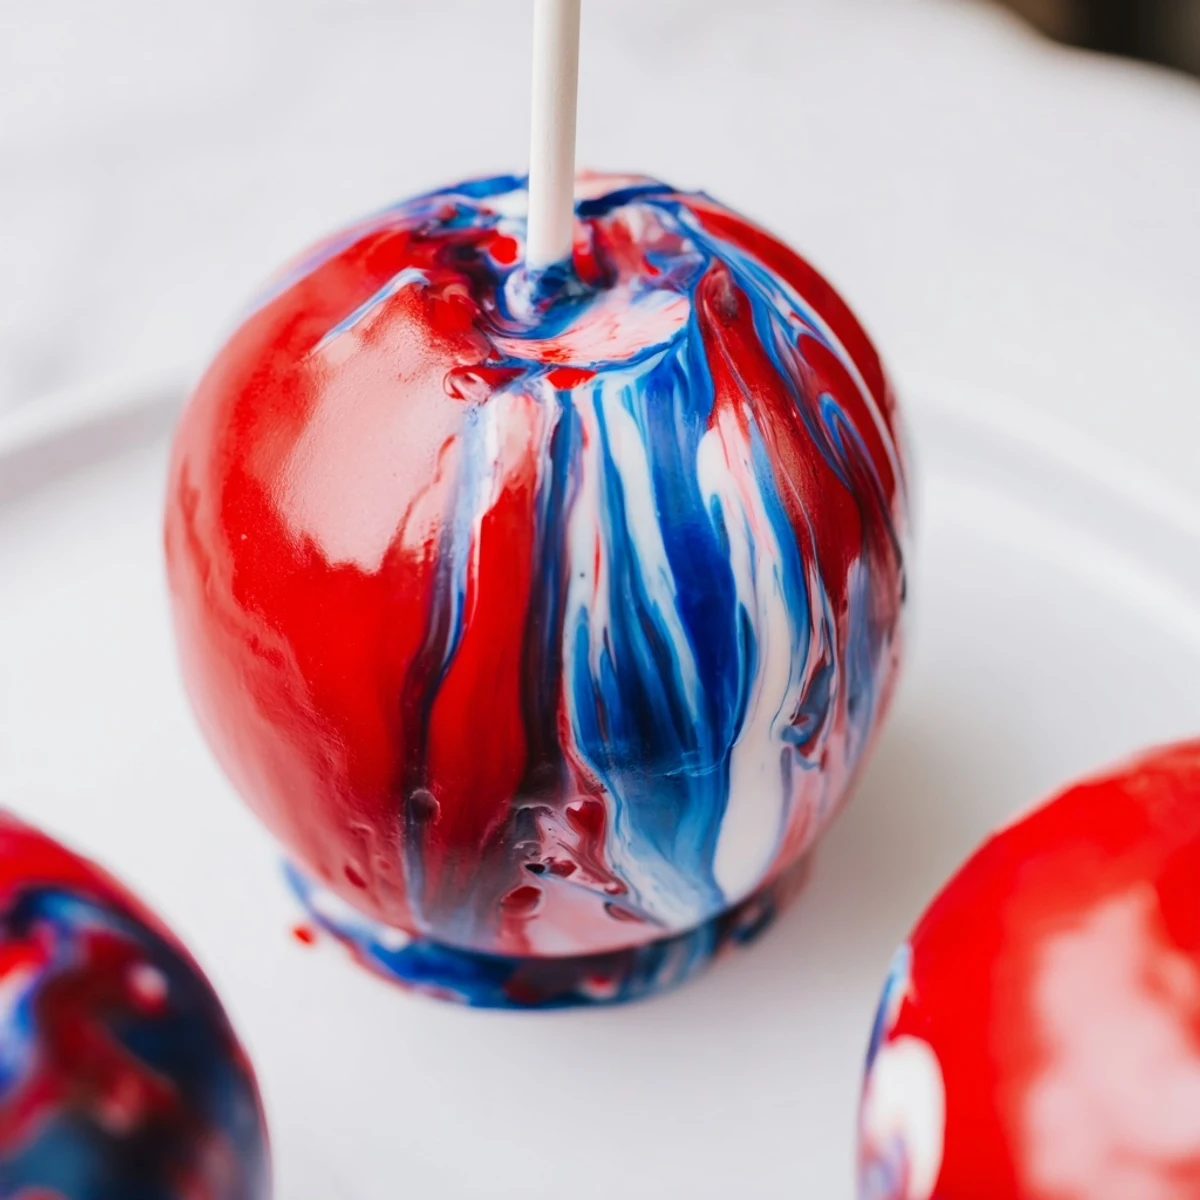
 These marbled candy apples feature crisp apples coated in a glossy, vibrantly swirled candy shell. The process involves making a hard crack candy syrup with sugar, water, and corn syrup, then adding gel food colorings to create beautiful marbled patterns. Each apple is dipped individually and allowed to set, resulting in eye-catching treats perfect for dessert tables and celebrations.
The first time I saw marbled candy apples at a autumn festival, I couldn't stop staring at them. Each apple looked like a tiny galaxy trapped in glass. I came home determined to recreate that magic, and honestly, my first batch looked like a science experiment gone wrong. But that beautiful mess taught me everything I know about the art of controlled chaos in the kitchen.
I made these for my niece's birthday party last year and set them out on a simple white cake stand. The kids actually gasped when they saw them, and the adults were just as captivated. By the end of the party, the only evidence they'd existed were a few wooden sticks and happy sticky smiles.
Ingredients
- 8 medium apples: Granny Smith or Fuji work beautifully because their tartness balances the intense sweetness and their firm texture holds up under the weight of the candy coating
- 8 sturdy wooden sticks: Insert them firmly into the stem end, but not all the way through or the juice will seep out and make your candy shell cloudy
- 2 cups granulated sugar: Don't be tempted to reduce this or your candy won't reach proper temperature and won't set into that satisfying hard crack
- 3/4 cup water: Helps dissolve the sugar initially, but don't worry, it will cook off completely
- 1/2 cup light corn syrup: This prevents crystallization and gives your coating that gorgeous glass-like shine
- 1/2 tsp vanilla extract: Optional, but adds a lovely depth that cuts through the pure sugar
- Red, blue, and white gel food coloring: Gel coloring is essential here because liquid coloring will make your candy seize up and turn grainy
Instructions
- Get your station ready:
- Line a baking sheet with parchment paper or a silicone mat and have your apples washed, dried, and skewered. Any moisture on the apples will prevent the candy from sticking.
- Dissolve the sugar:
- Combine sugar, water, and corn syrup in a heavy-bottomed saucepan. Stir over medium heat just until the sugar disappears, then stop stirring completely.
- Watch the temperature:
- Bring to a boil over high heat without stirring. Clip on your candy thermometer and cook until it hits exactly 300°F, the hard crack stage. This usually takes about 15-20 minutes.
- Create the marble magic:
- Remove from heat immediately and stir in vanilla if using. Add drops of red, blue, and white gel coloring directly into the syrup. Use a wooden skewer to swirl gently just once or twice, you want distinct streaks, not a uniform color.
- Dip and swirl:
- Working quickly before the syrup thickens, dip each apple and rotate it to catch the marbled patterns. Let excess drip for a moment, then set on your prepared sheet.
- Let them set:
- The candy shell will harden completely in about 15 minutes. Don't rush this or you'll end up with fingerprints in your beautiful finish.
 Pin It
 These apples have become my go-to for whenever I need to bring something that makes people pause and ask "how did you do that?" There's something deeply satisfying about serving food that looks professional but was made in my own slightly messy kitchen.
Choosing Your Apples
I've learned the hard way that not all apples are created equal for candy coating. Soft varieties like Red Delicious might mealy and can release too much juice, creating bubbles under your candy shell. Stick with crisp, tart apples that can hold their own against all that sugar.
Color Combinations
While red, blue, and white create that dreamy galaxy effect, don't be afraid to experiment. Orange and yellow swirled together look like actual sunset flames, while purple and green create an almost mermaid-scale effect. Just remember, a little gel coloring goes a very long way.
Troubleshooting Your Candy
If your syrup starts to look grainy or crystallize while cooking, you can sometimes save it by adding a tablespoon of water and dissolving the crystals again. However, if you've already stirred after the boiling began, you might need to start over with fresh ingredients.
- Keep a small bowl of ice water nearby to test your candy stage if you're unsure about your thermometer
- If your syrup thickens too much between dips, place it back over the lowest heat setting just until it loosens up
- Never double this recipe in one pot, the temperature becomes uneven and your coating will never set properly
 Pin It
 There's something almost meditative about watching that sugar turn from clear to golden to that perfect glass-like finish. These marbled apples aren't just dessert, they're a reminder that sometimes the most beautiful things in the kitchen come from embracing a little chaos.
Recipe Questions
- → What type of apples work best for candy coating?
-
Medium firm apples like Granny Smith or Fuji work best. They hold up well to the candy coating process and provide the perfect crunch. Make sure to wash and thoroughly dry them before starting.
- → How do I achieve the marbled effect?
-
Add a few drops of different colored gel food colorings to the hot candy syrup, then gently swirl with a wooden skewer. Don't fully mix - you want visible streaks for the marbled effect. Swirl briefly between each apple dip to maintain the pattern.
- → What's the hard crack stage temperature?
-
The hard crack stage is reached at 300°F (150°C). Use a candy thermometer to monitor the temperature precisely. Remove from heat immediately once this temperature is reached.
- → How long do these candy apples last?
-
Store finished apples at room temperature for up to 24 hours. The candy shell will harden as it cools, creating a protective coating around the apple.
- → Can I use different color combinations?
-
Absolutely! Try various color combinations for different occasions - festive red and green for holidays, pastels for spring, or bold colors for parties. Gel food coloring provides the most vibrant results.
