
 Pin It
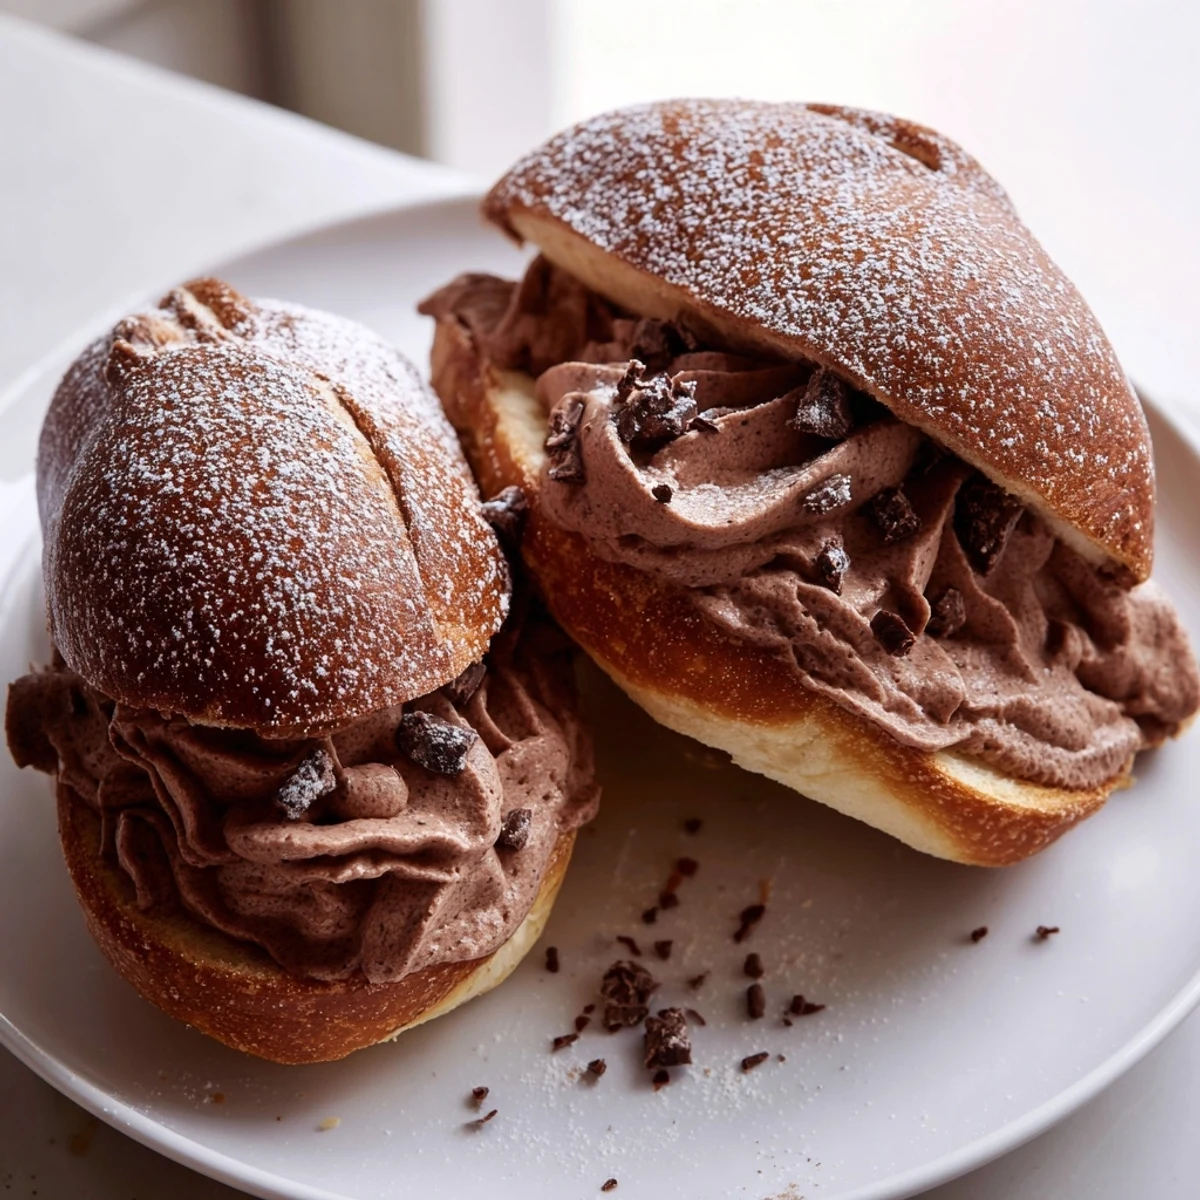
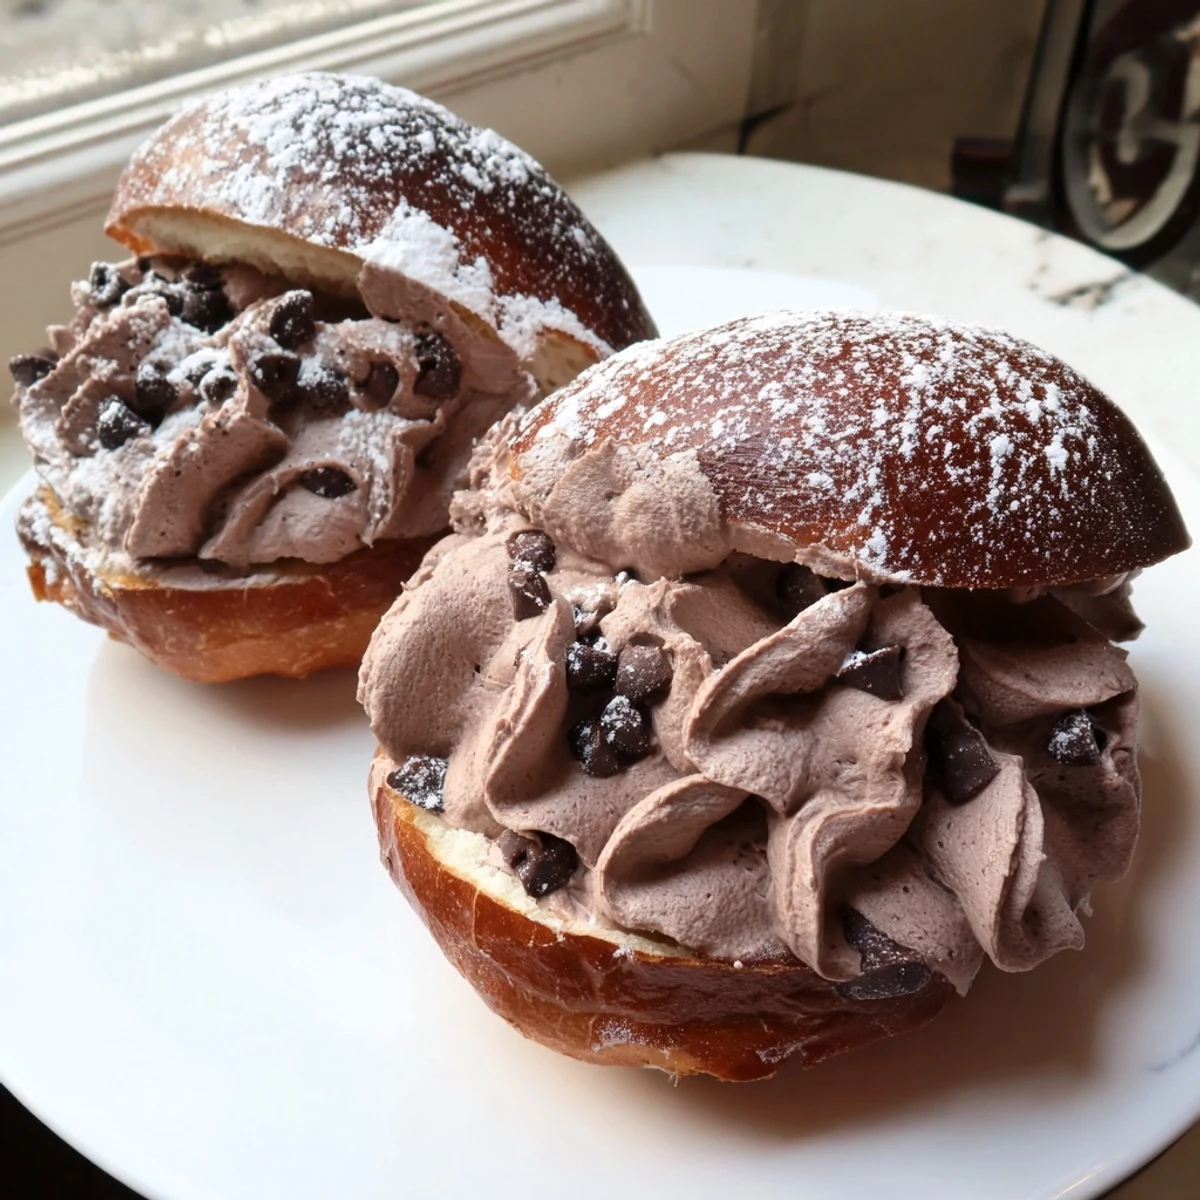
 Italian chocolate maritozzi are soft, pillowy sweet buns enriched with dark cocoa powder and studded with chopped chocolate. Once baked to golden perfection, each bun is sliced and filled with a luscious chocolate whipped cream made from heavy cream and melted dark chocolate.
These indulgent pastries are a chocolate lover's twist on the traditional Roman breakfast bun. They require some patience for the dough to rise, but the result is well worth the wait. Serve them fresh with a shot of espresso for an authentic Italian experience.
The rain was hammering against the kitchen window the afternoon I stumbled across maritozzi in a crumbling Roman cookbook wedged between my landlady's abandoned paperbacks. I had been looking for a phone number to call the plumber, but instead I found a photo of these absurdly plush buns split open and overflowing with cream. Three hours later my tiny apartment smelled like a pastry shop and I had forgotten entirely about the leaky faucet.
My neighbor Lucia knocked on the door that evening asking if I had burned something, and when I handed her a maritozzi still warm from the oven she stood in the hallway eating the whole thing without saying a word. She came back twenty minutes later with a bottle of wine and asked when I was making them again.
Ingredients
- All-purpose flour (350 g): Gives the bun enough structure to hold all that cream without collapsing.
- Unsweetened cocoa powder (40 g): Use a quality Dutch-processed cocoa if you can find it, the flavor difference is real.
- Whole milk, lukewarm (120 ml): Temperature matters here, it should feel like a warm bath on your wrist, not hot enough to kill the yeast.
- Granulated sugar (60 g): Balances the deep bitterness of the cocoa and feeds the yeast at the same time.
- Active dry yeast (7 g): Check the expiry date because dead yeast has ruined more baking days than I care to admit.
- Large egg (1): Enriches the dough and gives the buns their tender crumb.
- Unsalted butter, softened (40 g): Leave it out for an hour before you start, cold butter tears the dough and makes you work harder.
- Vanilla extract (1/2 tsp for dough, 1 tsp for filling): I use the cheap stuff for dough and save the real vanilla for the filling where you can actually taste it.
- Salt (1/2 tsp): Do not skip this, salt makes chocolate taste more like itself.
- Dark chocolate, chopped (60 g for dough): These little pockets of melted chocolate inside the bun are what separate this from an ordinary sweet roll.
- Heavy whipping cream (300 ml): Cold cream whips faster, so keep it in the fridge until the exact moment you need it.
- Dark chocolate, melted and cooled (70 g for filling): Let it come to room temperature before folding it in or it will seize the cream into ugly lumps.
- Powdered sugar (30 g for filling): Dissolves seamlessly into the cream where granulated sugar would leave grit behind.
- Egg yolk (1) and milk (2 tbsp for brushing): This wash gives the buns that glossy bakery window shine.
Instructions
- Wake up the yeast:
- Stir the yeast and a spoonful of sugar into the lukewarm milk and set it somewhere warm and draft-free for ten minutes. When the surface looks bubbly and slightly puffed, you are ready to go.
- Build the dry foundation:
- Whisk together the flour, cocoa powder, remaining sugar, and salt in a large bowl until the color is even and there are no cocoa clumps hiding in corners.
- Bring everything together:
- Make a well in the center and drop in the egg, vanilla, softened butter, and the foamy yeast mixture. Stir with a wooden spoon until you have a shaggy, sticky mass that barely holds together.
- Knead with patience:
- Turn the dough onto a lightly floured surface and knead for eight to ten minutes by hand until it becomes smooth and springs back when you poke it gently. Toss in the chopped chocolate during the last two minutes so the pieces distribute without melting into the dough.
- Let it rise:
- Transfer the dough to a clean oiled bowl, cover it with a damp towel or plastic wrap, and leave it alone for one to two hours until it has puffed to double its size.
- Shape the buns:
- Gently deflate the dough and divide it into eight even pieces. Roll each into a plump oval and set them on a parchment lined baking tray with a few centimeters of space between them.
- Second rise:
- Cover the tray loosely and let the shaped buns rest for forty minutes while you preheat the oven to 180 degrees Celsius.
- Brush and bake:
- Whisk the egg yolk with two tablespoons of milk and brush it gently over each bun. Bake for fifteen to eighteen minutes until the tops feel set and a tap on the bottom sounds hollow, then cool completely on a wire rack.
- Make the chocolate cream:
- Whip the cold heavy cream with powdered sugar and vanilla to firm peaks that hold their shape when the whisk is lifted. Pour in the cooled melted chocolate and fold gently with a spatula until the color is uniform and no white streaks remain.
- Fill and serve:
- Slice each cooled bun lengthwise with a serrated knife, leaving one side attached as a hinge. Pipe or spoon a generous amount of chocolate cream into each bun, dust with powdered sugar if you like, and serve immediately while the contrast between the soft bun and the cool filling is at its best.
 Pin It
 I brought a tray of these to a friend's birthday picnic last spring and watched six adults go completely silent for a full two minutes, which is the highest compliment any pastry can receive.
The Right Tools Make It Easier
A stand mixer with a dough hook saves your arms during the long knead, but I have done it by hand plenty of times and the buns turn out exactly the same. The only non-negotiable is a serrated knife for splitting them cleanly without compressing the soft interior.
A Few Words on Chocolate
Since cocoa and chocolate are carrying most of the flavor here, reach for something you would eat on its own. A seventy percent bar gives you depth without bitterness taking over, and I have found that cheaper chocolate makes a flatter, duller bun every single time.
How to Store Leftovers
Filled maritozzi are best eaten the same day but you can keep the unfilled buns in an airtight container for up to three days and fill them as needed. You can also freeze the baked unfilled buns for a month and thaw them at room temperature before adding the cream.
- Wait to fill them until right before serving for the best texture contrast.
- If the cream weeps overnight in the fridge a quick whip with a spoon brings it back.
- Never microwave a filled maritozzi unless you enjoy cleaning cream off every surface of your microwave.
 Pin It
 These buns are a little project and absolutely worth every minute, especially when you watch someone bite into one and their eyes go wide with surprise at that chocolate cream center.
Recipe Questions
- → Can I make the dough the night before?
-
Yes, you can prepare the dough and let it rise slowly in the refrigerator overnight. This cold fermentation actually develops deeper flavor. Let the dough come to room temperature before shaping and proceeding with the second rise.
- → What type of chocolate works best for the filling?
-
Use good quality dark chocolate with 60-70% cocoa content for a rich, balanced flavor. You can substitute milk chocolate if you prefer a sweeter filling, but reduce the powdered sugar slightly to compensate.
- → How should I store leftover maritozzi?
-
Store filled maritozzi in the refrigerator for up to 2 days. The whipped cream filling requires refrigeration. For best results, store the unfilled buns at room temperature and fill them just before serving.
- → Can I freeze the baked buns?
-
Yes, you can freeze the baked unfilled buns for up to 1 month. Wrap them tightly in plastic wrap and place in a freezer bag. Thaw at room temperature, then fill fresh with the chocolate whipped cream before serving.
- → Why is my dough not rising properly?
-
Ensure your yeast is fresh and active by checking the expiration date. The milk should be lukewarm (about 37°C/98°F), not hot, as high temperatures kill yeast. Also, keep the dough in a warm, draft-free spot during rising for best results.
- → Can I use a stand mixer instead of kneading by hand?
-
Absolutely. Use a stand mixer fitted with a dough hook on medium-low speed for about 6-8 minutes. The dough should be smooth, elastic, and slightly tacky but not sticky when properly kneaded.