 Pin It
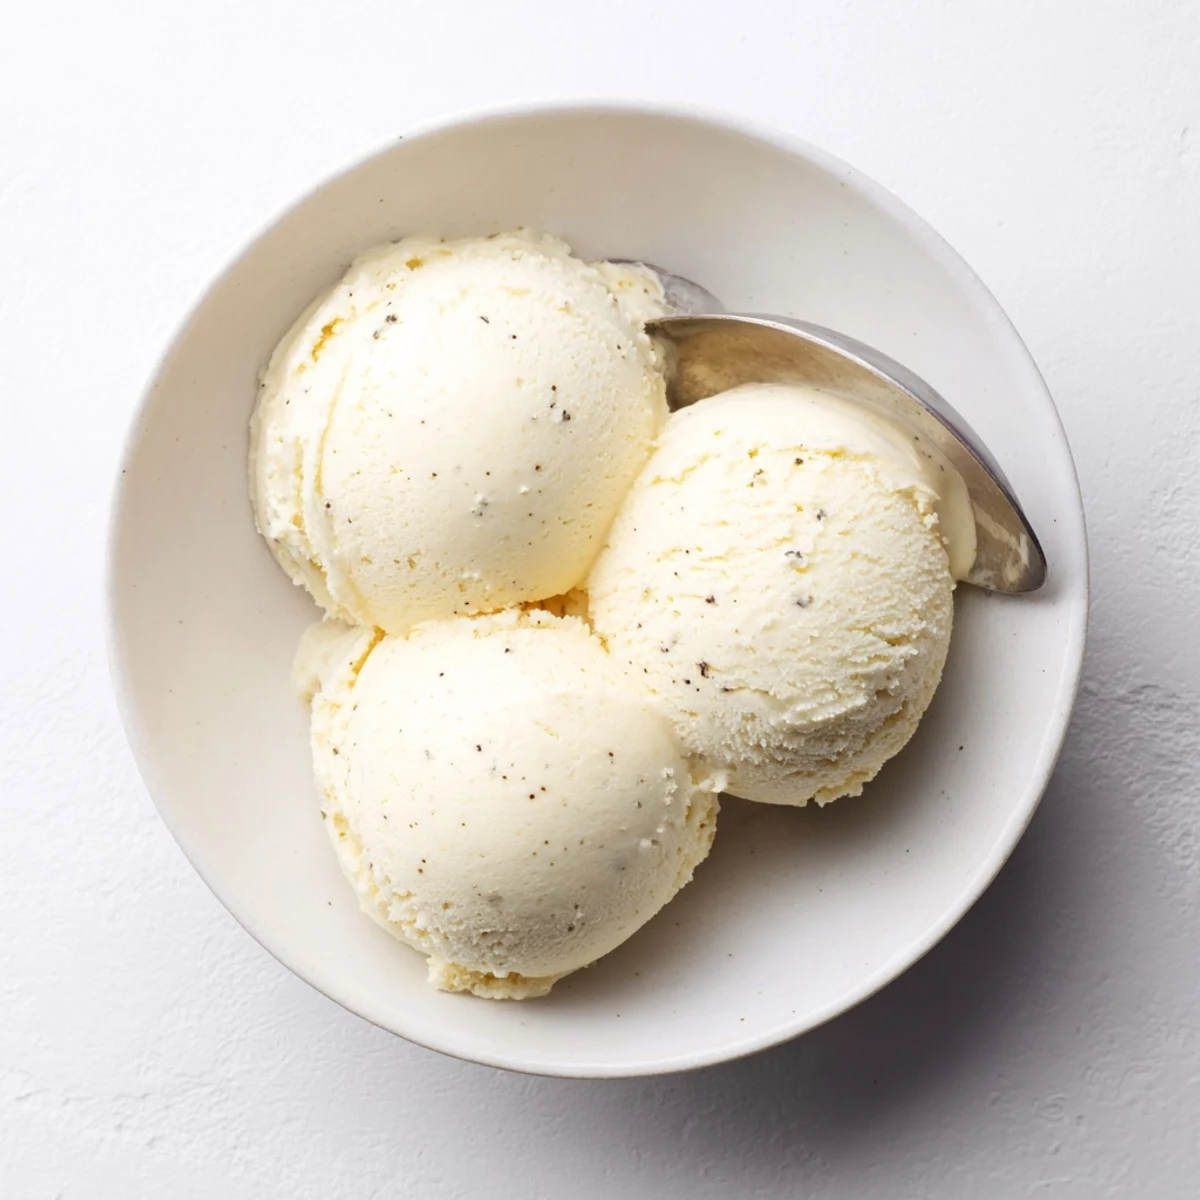
 Craft luscious, restaurant-quality vanilla ice cream at home with this classic French custard method. The result is an exceptionally smooth, creamy texture that rivals premium artisanal brands. This versatile base welcomes endless mix-ins from fresh berries to chopped nuts and chocolate chunks. While the process requires some patience for chilling and freezing, the hands-on time is minimal. The secret lies in properly tempering the eggs and cooking the custard just until it coats the back of a spoon. Perfect for serving alongside warm desserts or building impressive sundaes.
The sound of the ice cream maker churning on my back porch is permanently wired to summer in my brain. That low, rhythmic rumble meant something magical was happening inside that wooden bucket, and within minutes the whole yard would smell like sweet cream and possibility. Homemade vanilla ice cream is one of those things that sounds fussy until you actually make it once, and then you realize the store bought version has been lying to you your entire life.
My neighbor Deb walked over one July afternoon with a bag of just picked peaches and caught me mid temper, egg yolks in one hand and a whisk in the other. She stood in the kitchen doorway watching me pour steaming cream into the bowl and said it looked like witchcraft. Two hours later we were eating the softest, most delicate peach swirl ice cream straight out of the machine with spoons, no bowls required.
Ingredients
- 2 cups heavy cream: The fat content here is doing the heavy lifting, so do not even think about substituting half and half unless you want icy disappointment.
- 1 cup whole milk: Whole milk balances the cream perfectly and keeps the final texture from feeling too dense or waxy on your tongue.
- 3/4 cup granulated sugar: This amount gives you a clean sweetness that lets the vanilla shine without turning the base into candy.
- 5 large egg yolks: The yolks are your thickening power and your richness, and using exactly five gives you that luxurious mouthfeel without tasting eggy.
- 1 tablespoon pure vanilla extract: Use the real stuff here, not imitation, because this recipe is essentially a stage for vanilla to perform on.
- 1/4 teaspoon salt: Just a pinch wakes up every flavor and makes the sweetness taste more complex and rounded.
Instructions
- Warm the cream:
- Pour the cream, milk, and half the sugar into your saucepan and set it over medium heat. Watch it carefully and pull it off the moment you see steam curling up from the surface, because boiled cream will scorch and ruin the whole batch.
- Whisk the yolks:
- In a bowl, combine the egg yolks with the rest of the sugar and the salt, then whisk aggressively until the mixture turns pale and looks slightly thicker. This takes about a minute of determined whisking and your arm will feel it.
- Temper the eggs:
- Slowly ladle the hot cream into the yolk mixture while whisking constantly so the eggs warm up gently instead of scrambling. This is the part where patience truly matters, so pour in a thin stream and do not rush.
- Cook the custard:
- Return everything to the saucepan over low heat and stir with a wooden spoon without stopping. You are looking for the moment when the custard coats the back of the spoon and a finger dragged through it leaves a clean line.
- Add vanilla and strain:
- Take the pan off the heat, stir in the vanilla extract, then pour the custard through a fine mesh sieve into a clean bowl. Straining catches any tiny cooked egg bits and guarantees a perfectly smooth base.
- Chill thoroughly:
- Let the custard cool to room temperature, then cover it and slide it into the fridge for at least four hours or preferably overnight. Fully chilled custard churns faster and freezes with a better texture.
- Churn in the machine:
- Pour the cold custard into your ice cream maker and let it run according to the directions, usually about twenty minutes. It is done when it looks like soft serve and has doubled in volume.
- Freeze until firm:
- Scrape everything into a freezer safe container, press plastic wrap directly against the surface to prevent ice crystals, and freeze for at least two hours before scooping.
 Pin It
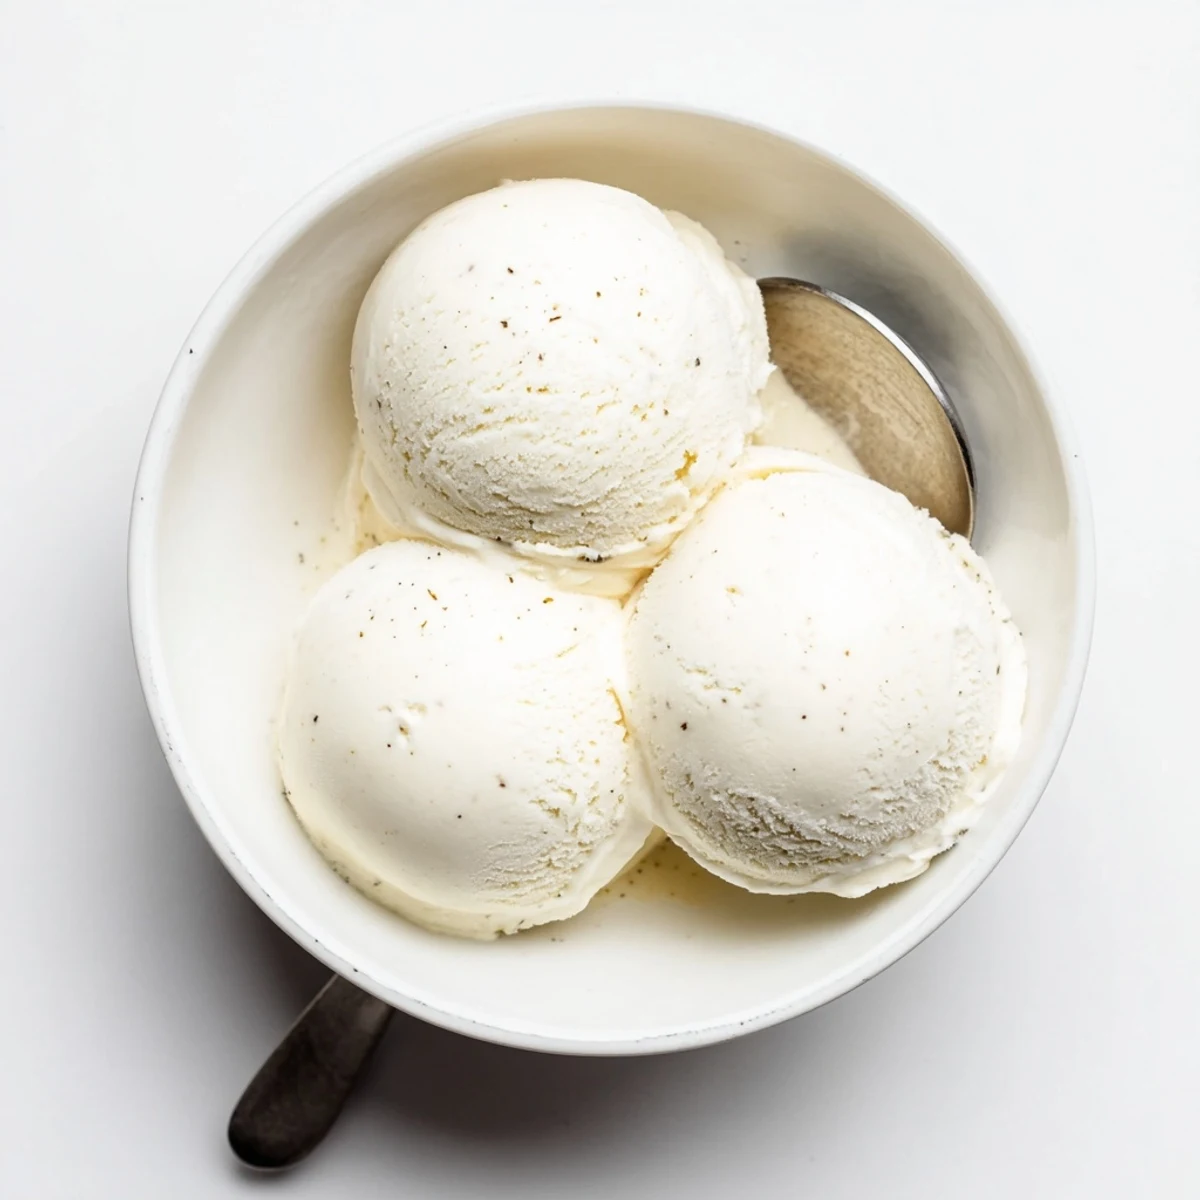
 Serving this to a group of friends who have only ever eaten ice cream from a carton is genuinely thrilling. Watching their faces shift from polite curiosity to wide eyed surprise on the first bite reminds you why cooking for people matters at all.
The Custard Troubles I Survived
Scrambled custard happens to everyone eventually, and the first time it happened to me I nearly threw the whole pot away. Then I learned that pouring it through a strainer saves almost any custard as long as the scrambling is minor, and that little piece of knowledge has rescued more desserts than I can count.
Getting Creative With Mix Ins
The moment the churning stops and you have that pillowy soft base is your window for adding anything you want. Fold in chopped chocolate, toasted nuts, crushed cookies, caramel ribbons, or fresh fruit pieces and the ice cream will catch and hold them beautifully as it finishes firming up in the freezer.
Storage And Serving Suggestions
Homemade ice cream freezes harder than commercial brands because it lacks stabilizers, so pull it from the freezer about ten minutes before you plan to serve it. A warm scoop and a little patience go a long way toward getting that perfect round ball on top of a cone or in a bowl.
- Press a layer of parchment or plastic wrap directly onto the surface before lidding to minimize ice crystals forming on top.
- A sprinkle of flaky sea salt on top of vanilla ice cream is a revelation worth trying at least once.
- This base also makes an incredible foundation for ice cream sandwiches using your favorite soft cookies.
 Pin It
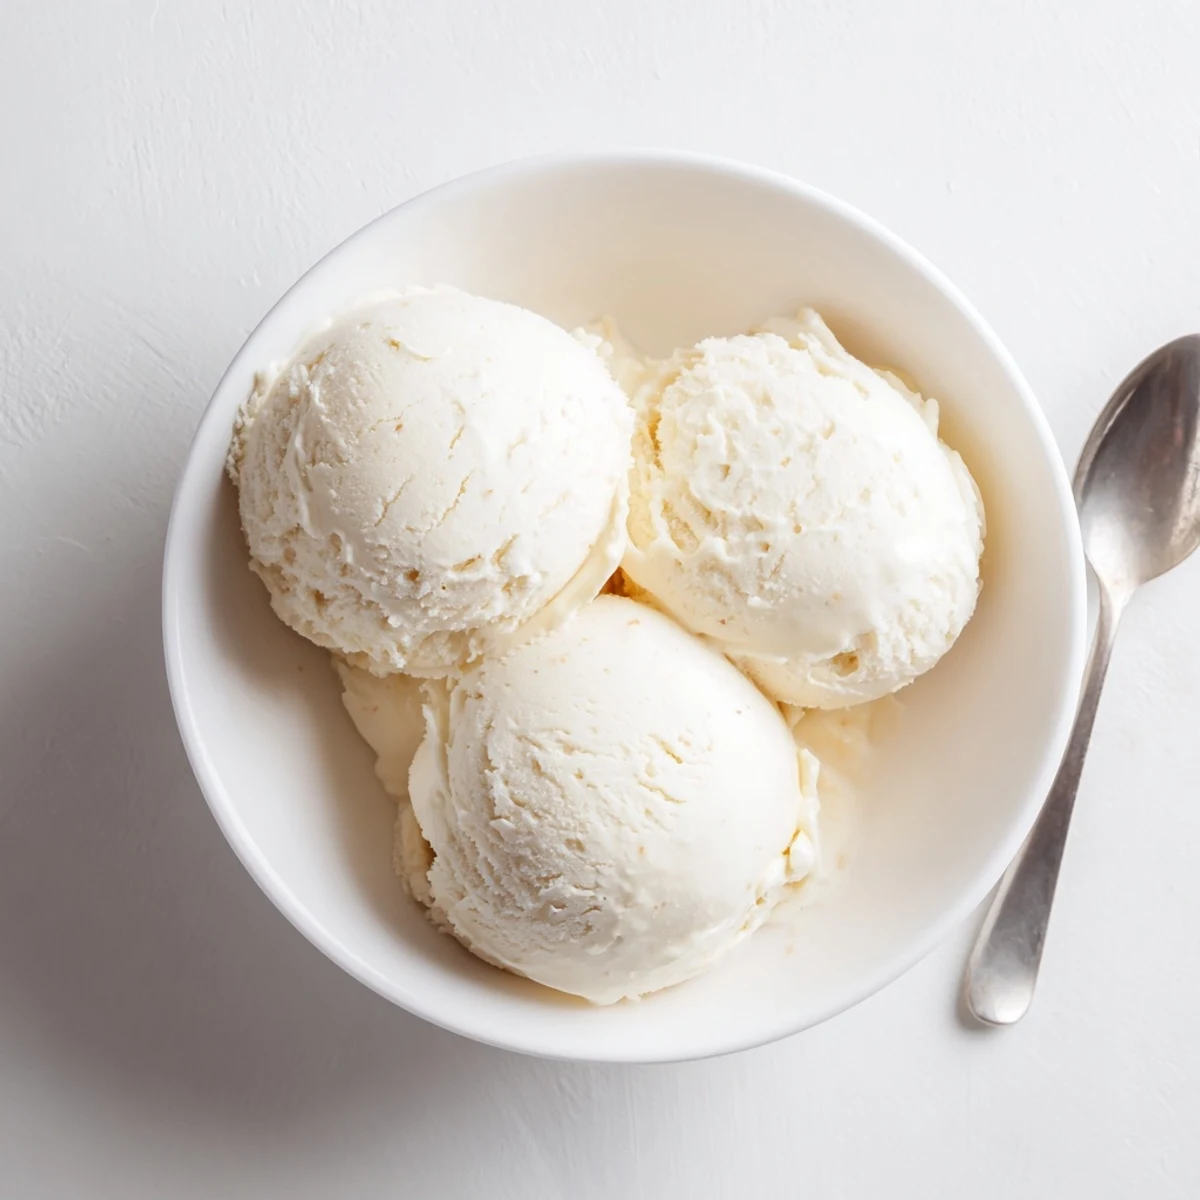
 There is something profoundly satisfying about making ice cream from scratch with your own hands, eggs, and cream. Every scoop carries the effort and care you put into it, and that is a kind of sweetness no store can sell you.
Recipe Questions
- → Why is my ice cream icy instead of creamy?
-
Icy texture usually results from insufficient churning, improper fat content, or skipping the chilling step. Ensure your custard chills thoroughly before freezing and use full-fat dairy products for the smoothest results.
- → Can I make this without an ice cream maker?
-
Yes! Pour the chilled custard into a shallow container and freeze. Every 30 minutes for the first 3 hours, vigorously whisk or blend to break up ice crystals. The texture won't be quite as smooth but still delicious.
- → How long does homemade ice cream last?
-
Properly stored in an airtight container, homemade ice cream maintains best quality for 1-2 weeks. Ice crystals may form over time, but a quick stir before serving helps restore creaminess.
- → Why do I need to temper the eggs?
-
Tempering gradually heats the eggs to prevent scrambling when combined with hot cream. This technique creates a smooth, silk custard base essential for premium texture and proper emulsification.
- → Can I reduce the sugar?
-
Sugar does more than sweeten—it lowers freezing point for scoopability and contributes to smooth texture. Reducing sugar more than 25% may result in harder, icier finished product.
- → What's the difference between Philadelphia and French-style?
-
Philadelphia-style uses just cream and milk without eggs for a lighter taste. French-style (this recipe) includes egg yolks for a richer, custard-based dessert with velvety mouthfeel and longer shelf life.
