 Pin It
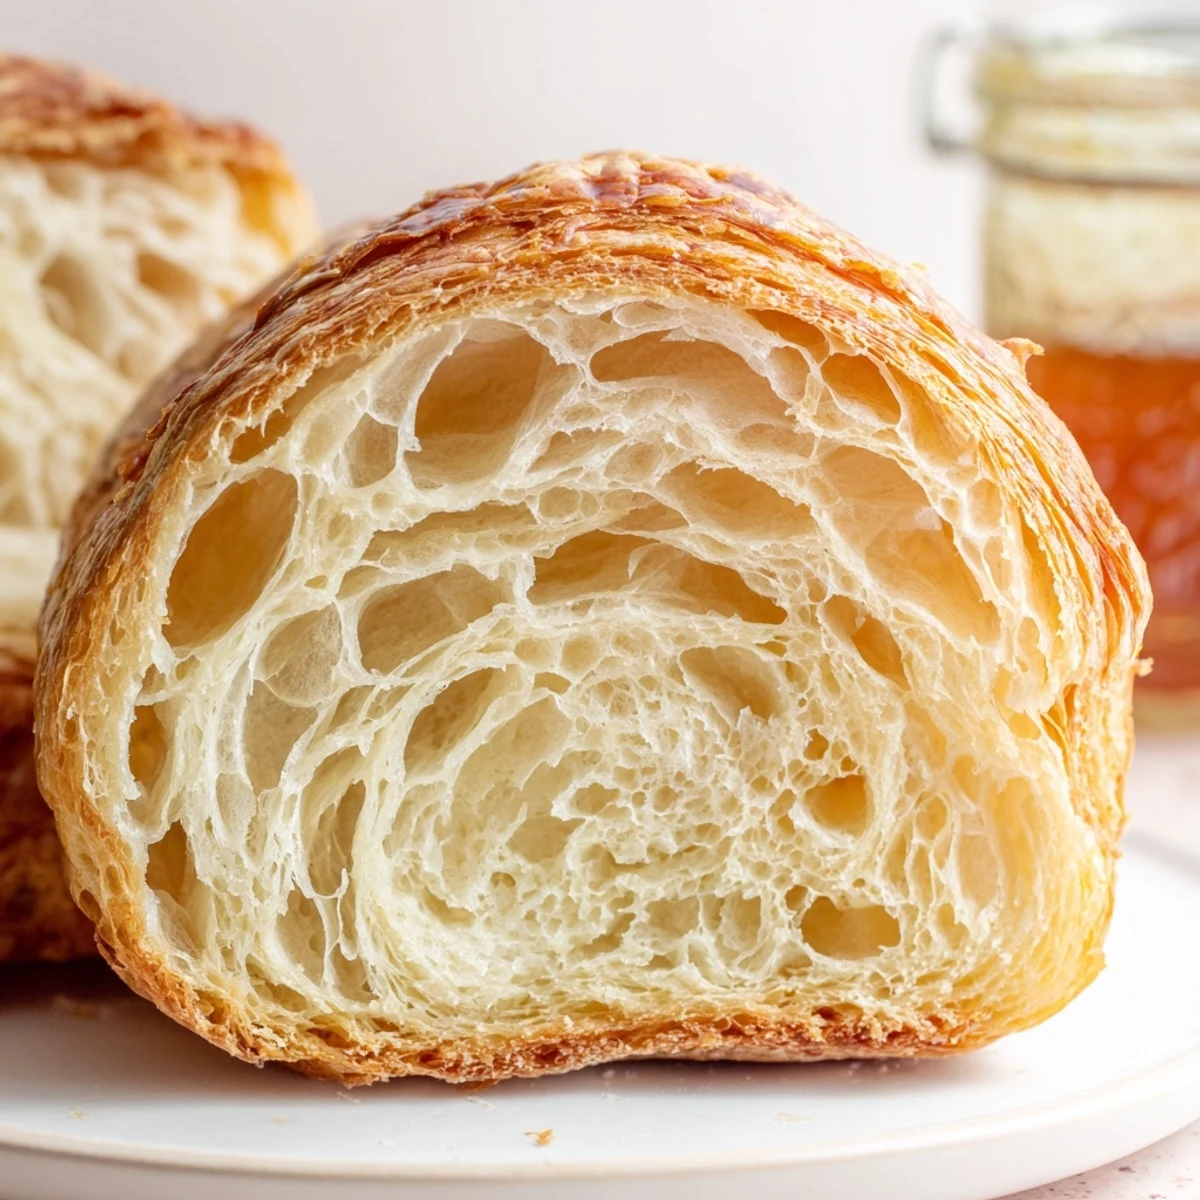
 Create bakery-style laminated dough at home with this French-inspired loaf. The process involves rolling cold butter into enriched dough, then folding and chilling multiple times to develop distinct flaky layers. After three complete turns, the dough is shaped into a loaf, baked until golden, and yields tender slices with signature croissant texture.
There is nothing quite like the smell of butter and yeast drifting through the house on a quiet Sunday morning. I first attempted this croissant bread during a snowy weekend when I wanted something impressive but not as fussy as individual croissants. The kitchen was freezing, which actually worked in my favor for keeping that butter block cold. My roommate wandered in around hour three, sleepy-eyed, and asked if I had secretly become a French baker overnight.
I made this bread for my mothers birthday brunch last spring, nervous because she is the one who taught me how to handle dough. She watched me do the folds, nodding approval, and told me stories about her own attempts at laminated dough in her tiny apartment oven. When we finally sliced into it, the sound was perfect, that distinctive shatter of buttery layers. She asked for the recipe before she even finished her first piece.
Ingredients
- All-purpose flour (440 g): Bread flour makes it too tough, while cake flour cannot handle the butter load
- Instant yeast: Place it on the opposite side of the bowl from salt, or you will kill the yeast before it even starts working
- Unsalted butter (285 g total): Keep the butter block for layering extremely cold, but use it softened in the dough for proper mixing
- Whole milk: Warm it to about body temperature, anything hotter will shock the yeast and anything colder will slow things down too much
- Large eggs: Room temperature eggs incorporate better into the dough and give you a smoother texture
Instructions
- Mix the initial dough:
- Combine the flour, sugar, salt, and yeast in your bowl, keeping yeast and salt separated. Add the warm milk, melted butter, and egg, then mix until you have a sticky, shaggy dough that clings together.
- Knead until smooth:
- Work the dough for seven to ten minutes, either by hand or with a dough hook, until it feels elastic and smooth when you stretch it. Place it in a greased bowl, cover, and let it rise for one hour until it has doubled in size.
- Chill the dough:
- Punch down the risen dough and shape it into a rough rectangle, then wrap it and chill for thirty minutes to firm up the gluten.
- First lamination:
- Roll the cold dough into a twelve by sixteen inch rectangle and arrange the cold butter slices over two-thirds of the surface, leaving the third nearest you bare.
- First fold:
- Fold the unbuttered third over the center buttered section, then fold the remaining third over that like you are folding a letter. Rotate the dough ninety degrees so the opening faces you before rolling again.
- Second fold:
- Roll back out to twelve by sixteen inches and repeat the tri-fold, then wrap and chill for another thirty minutes to let the butter firm up again.
- Complete the turns:
- Do two more rounds of rolling, folding, and chilling for a total of three complete turns, which will create those distinct flaky layers throughout the bread.
- Shape the loaf:
- After the final chill, roll the dough to about eight by sixteen inches and roll it tightly from the short end into a cylinder, sealing the edge well.
- Final rise:
- Place the loaf seam-side down in a greased loaf pan, cover loosely, and let it rise for about one hour until it is puffed and doubled.
- Bake to golden perfection:
- Preheat your oven to 375°F, brush the risen loaf with egg wash, and bake for thirty-five to forty minutes until deeply golden, tenting with foil if it browns too quickly.
- Cool completely:
- Let the bread rest in the pan for ten minutes, then move it to a wire rack to cool fully before slicing into those beautiful layers.
 Pin It
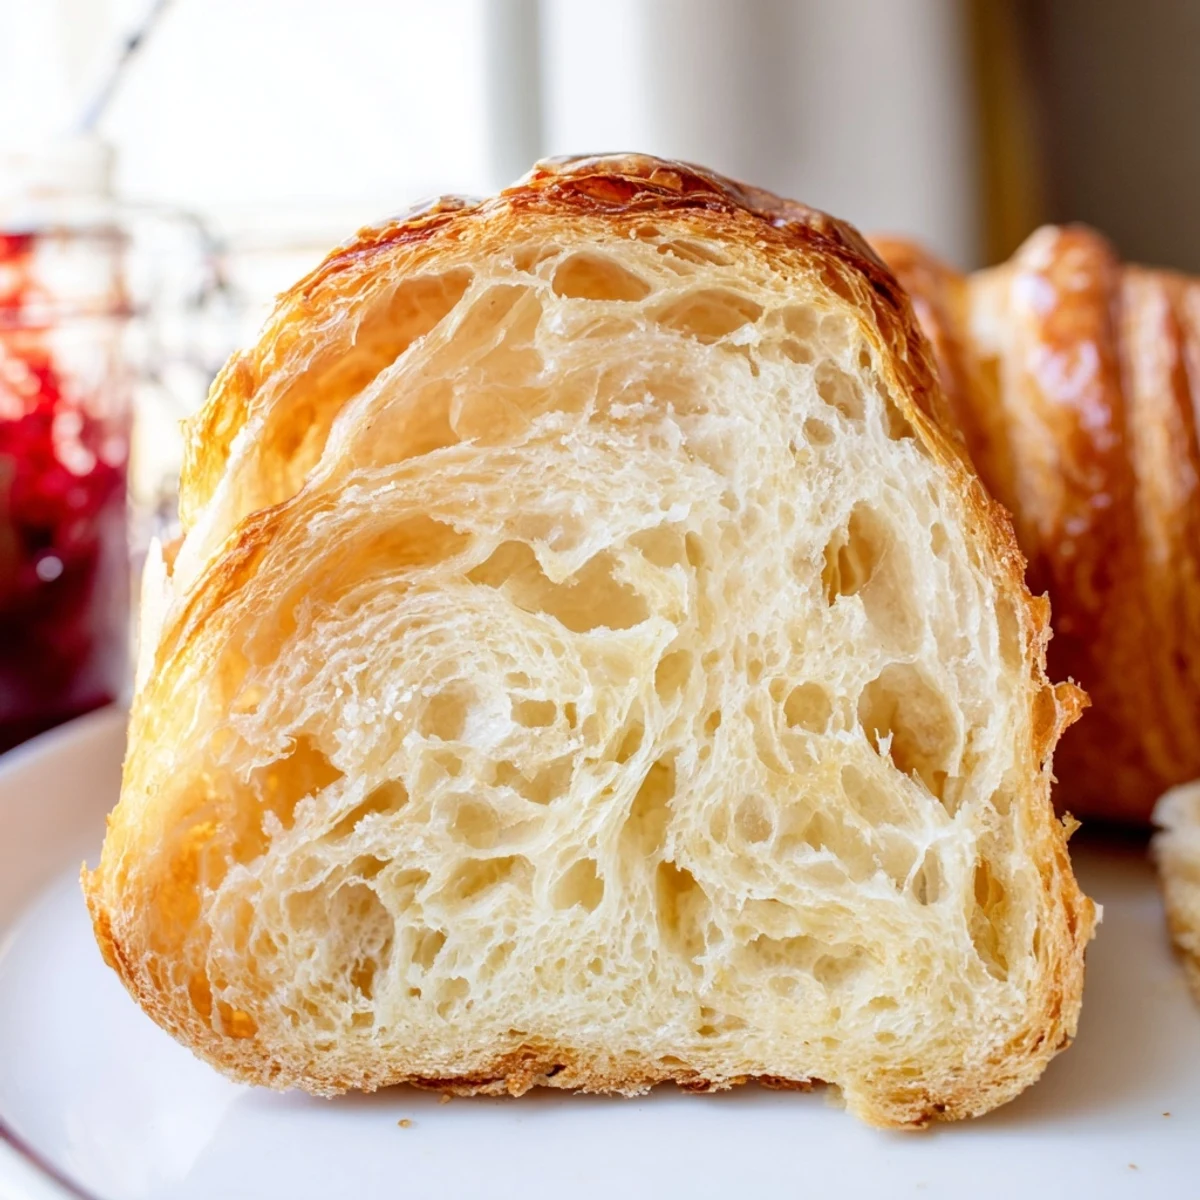
 This bread has become my go-to when I need to bring something to weekend brunches. People always assume it took professional skill, but really it is just patience and keeping your kitchen cool. Last month my friend Sarah called me at 7am, panicked because her first attempt was leaking butter everywhere, and I walked her through the chilling steps over the phone. She sent me a photo of her perfect loaf later that afternoon, beaming like she had won a baking competition.
Temperature Management
The most critical factor in this recipe is keeping your butter cold enough to create distinct layers but warm enough to stay pliable. I have learned that working on a cool marble surface or even placing a baking sheet under my rolling pin helps maintain the right temperature. In summer, I will chill my rolling pin in the freezer for ten minutes before starting each fold.
Customization Options
While the classic version is stunning on its own, you can add dimension by sprinkling cinnamon sugar over the butter during the final lamination. My brother prefers it with dark chocolate chips scattered across the dough before the final roll, creating pockets of melted chocolate throughout. Just remember that wet ingredients will make your layers fuse together, so stick with dry additions.
Storage and Serving
This bread is actually better on day two, once the flavors have had time to settle and the crust has softened slightly. Store it wrapped in parchment paper rather than plastic, which lets it breathe while staying fresh. For the ultimate breakfast experience, toast thick slices until the edges are golden and crisp, then serve with salted butter that melts into all those warm layers.
- Slice with a serrated knife using a gentle sawing motion to avoid compressing the layers
- Individual slices freeze beautifully and can go straight from freezer to toaster
- If the crust feels too soft after storage, refresh it in a 350°F oven for five minutes
 Pin It
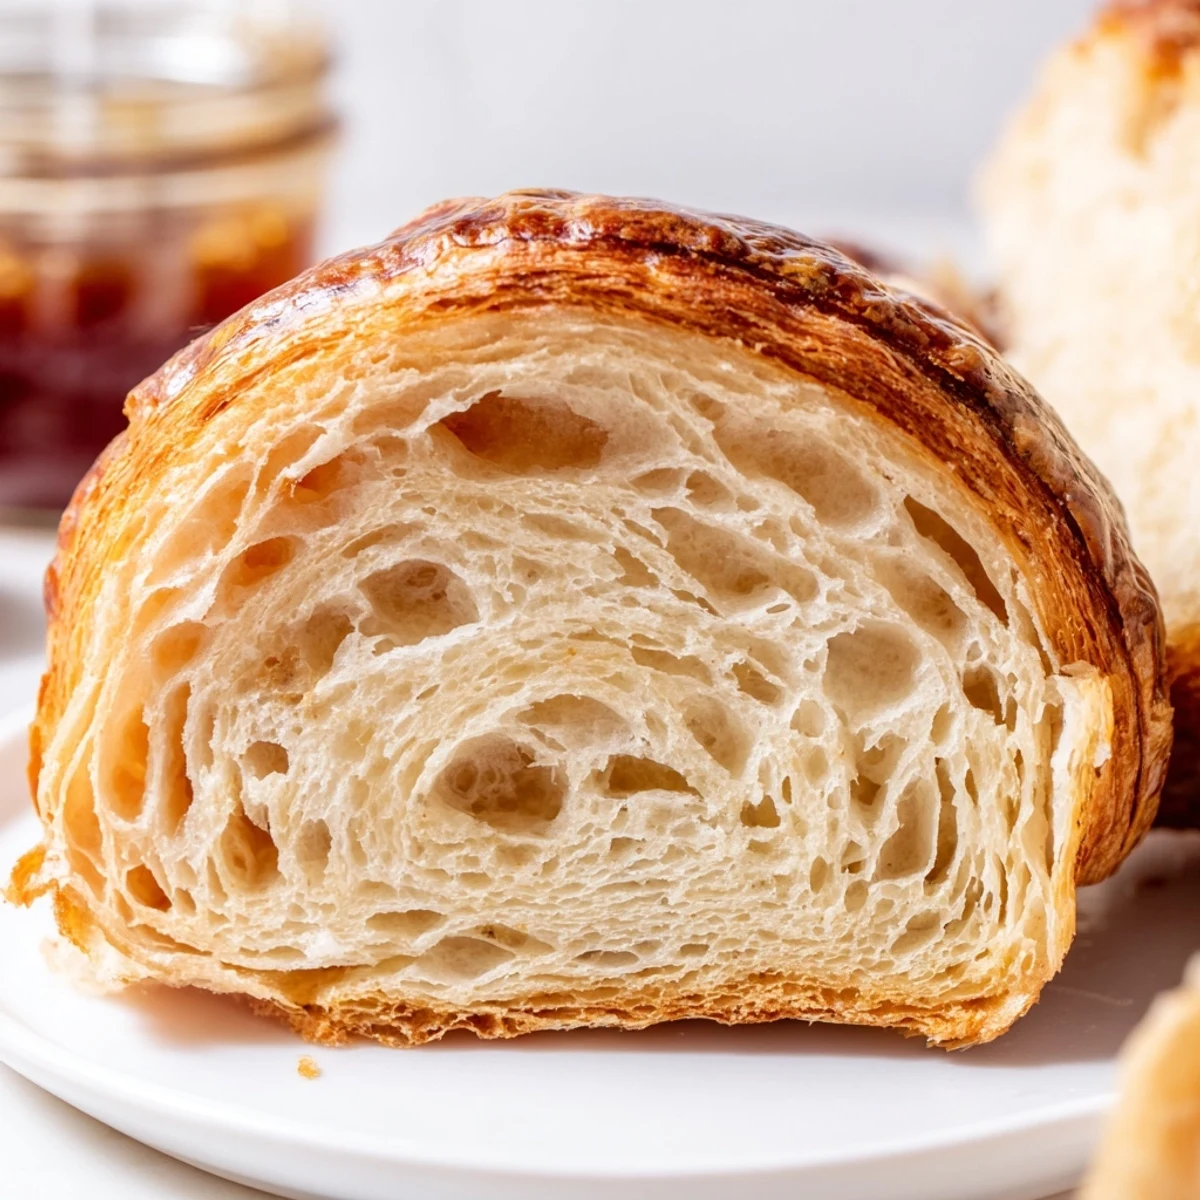
 There is something deeply satisfying about pulling a golden, flaky loaf from the oven and knowing you created every single layer with your own hands. Start this on a leisurely weekend morning when you have nowhere to be, and enjoy the rhythm of the folds.
Recipe Questions
- → Why is croissant bread considered hard to make?
-
The difficulty comes from lamination—incorporating cold butter into dough through multiple folds. Maintaining proper temperature is crucial. If butter gets too warm, it melts into layers instead of staying separate. If too cold, it tears through dough. The process requires patience and attention to detail during rolling and chilling phases.
- → Can I skip the chilling steps?
-
Skipping chill time will ruin the texture. Chilling firms the butter, ensuring clean layers during folding. Without proper chilling, butter softens and blends into dough, resulting in dense bread rather than flaky layers. Each 30-minute chill is essential for professional results.
- → How do I know when it's done baking?
-
The loaf should reach deep golden brown on top. Tap the center—it should sound hollow. An instant thermometer inserted into the middle should read 190-200°F. If top browns too quickly, tent with foil during final 10 minutes. Underbaking yields gummy texture, so full baking time is critical.
- → Can I add fillings like cinnamon or chocolate?
-
Absolutely. Before final rolling and shaping, sprinkle cinnamon-sugar or chocolate chips over the rolled dough. Roll tightly from the short end as instructed. Sweet additions pair beautifully with the buttery layers. Avoid overfilling—too much can prevent proper layering and rising.
- → How should I store croissant bread?
-
Store wrapped at room temperature for 2 days maximum. Beyond that, freeze slices in airtight bags. To refresh, toast frozen slices directly—no thawing needed. Refrigeration dries out the loaf quickly. The high butter content makes this particularly susceptible to staling, so enjoy fresh or freeze promptly.
- → What's the purpose of the egg wash?
-
Egg wash creates an attractive glossy finish and promotes even browning. The proteins and sugars in egg caramelize during baking, yielding that professional bakery appearance. Milk thins the egg for easier brushing while contributing to golden color. Brush gently to avoid deflating the risen loaf.
