 Pin It
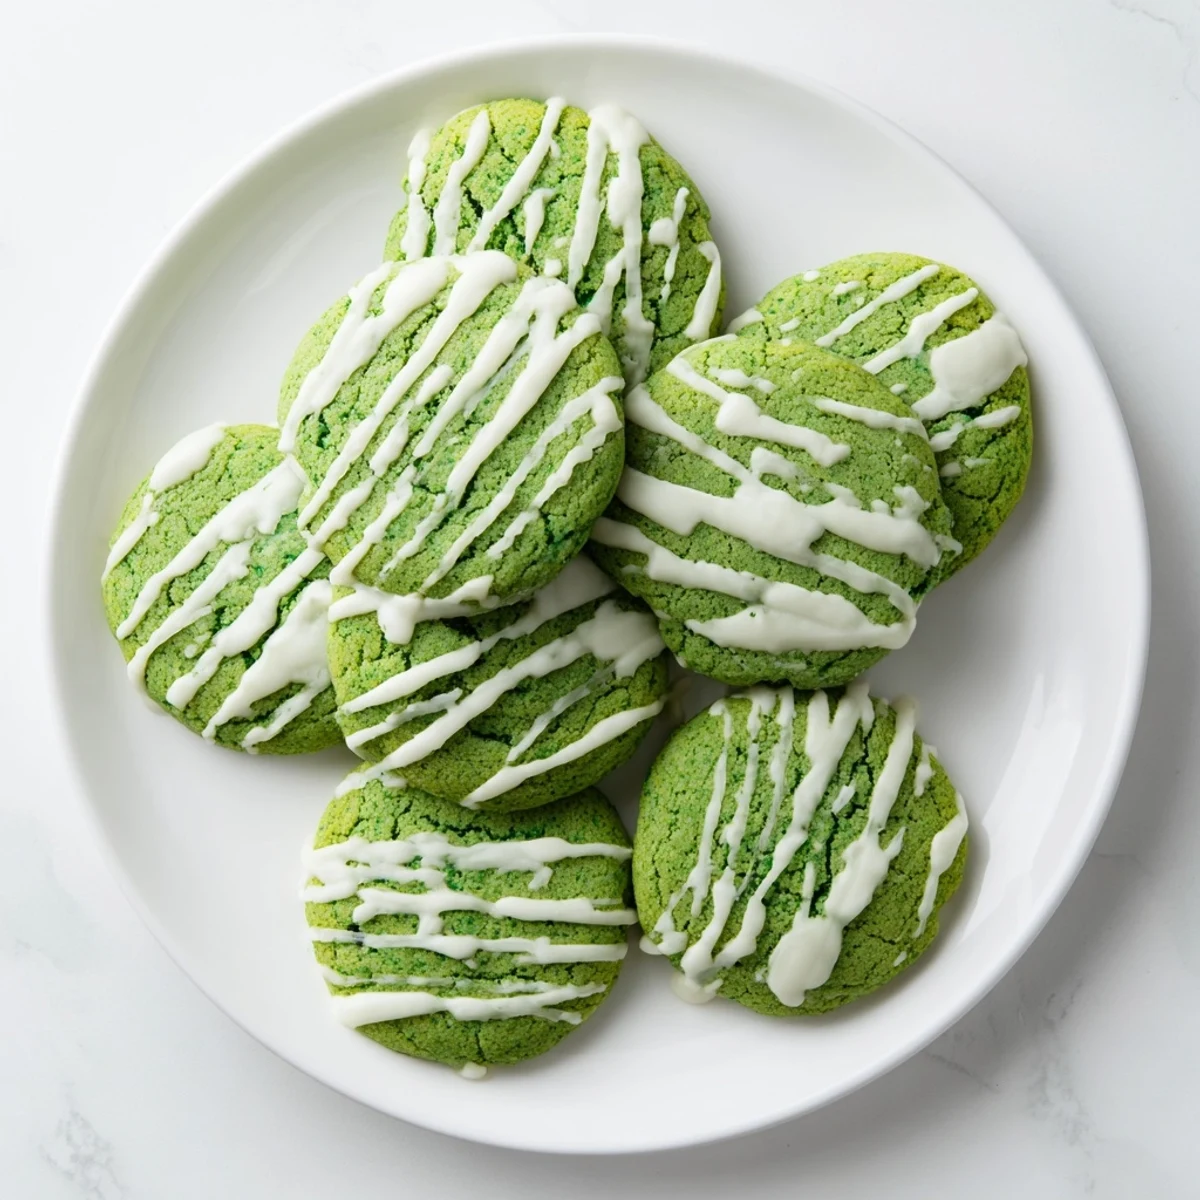
 These soft, vibrant green treats feature a tender crumb and beautiful color that makes them perfect for holidays and special celebrations. The dough comes together quickly with basic pantry ingredients, while white food coloring creates that signature velvet hue. After baking until edges are set but centers remain soft, a generous white chocolate drizzle adds the perfect sweet finishing touch.
The method is straightforward: cream butter and sugars until fluffy, add eggs and milk with vanilla and vinegar, then incorporate dry ingredients until just combined. A touch of green gel coloring transforms the classic cocoa-based dough into something festive and eye-catching. The white chocolate topping, melted with a bit of coconut oil for smoothness, creates an elegant contrast against the vibrant green base.
The first time I made green cookies, my youngest walked into the kitchen, eyes wide, and whispered, "Are we eating Grinch food today?" That accidental holiday magic stuck with me. These soft, velvet-textured treats have become our snow day tradition, when the world outside matches the vibrant color inside. The white chocolate drizzle was my husband's addition, claiming every great cookie deserves a crown.
Last Christmas, my sister insisted these cookies belonged on her cookie exchange platter. She came over at 9 AM in her pajamas, and we spent three hours covered in green food dye and white chocolate splatters. Her daughters still talk about "the cookie day" whenever they see green frosting anywhere. Sometimes the best recipes are the ones that bring people into your kitchen, flour dust and all.
Ingredients
- All-purpose flour: The backbone of your cookie, providing structure while keeping that soft, cake-like texture we all crave
- Unsweetened cocoa powder: Just enough to deepen the flavor without turning these into chocolate cookies, creating a sophisticated taste profile
- Baking powder and baking soda: This double-acting team ensures your cookies puff up beautifully and stay tender for days
- Unsalted butter: Softened to room temperature, this creates pockets of air when creamed, leading to that irresistible texture
- Granulated and brown sugar: The brown sugar adds moisture and depth while white sugar creates crisp edges—using both gives you the best of both worlds
- Eggs: Large eggs bind everything together and add richness, creating structure while keeping the cookie tender
- Whole milk: Adds moisture and helps create that soft, velvety crumb that makes these cookies so special
- Pure vanilla extract: Never skip this—even in green cookies, vanilla provides a warm, familiar base note that balances the visual drama
- White vinegar: The secret ingredient that activates your baking soda and creates chemical reactions for tenderness you cannot achieve any other way
- Green food coloring: Gel coloring gives you vibrant color without adding extra liquid, which would throw off your carefully balanced dough
- White chocolate: The sweet, creamy counterpoint to your tangy, tender cookie, creating that perfect sweet-tart balance
- Coconut oil: Adding just a teaspoon helps your melted white chocolate achieve that perfect drizzling consistency without seizing
Instructions
- Prepare your baking space:
- Preheat your oven to 350°F (175°C) and line two baking sheets with parchment paper, because nothing ruins the joy of fresh cookies like scrubbing burnt sugar off baking sheets later
- Whisk your dry foundation:
- In a medium bowl, combine the flour, cocoa powder, baking powder, baking soda, and salt until everything is evenly distributed—this step prevents overmixing later when you combine wet and dry ingredients
- Cream your butter and sugars:
- Beat the softened butter with both sugars until the mixture looks pale and fluffy, about 2 to 3 minutes, incorporating air bubbles that will make your cookies lighter and more tender
- Add your eggs one at a time:
- Beat each egg thoroughly before adding the next, ensuring proper emulsification and creating that stable structure that keeps your cookies from spreading too thin
- Build the flavor base:
- Mix in the milk, vanilla extract, white vinegar, and green food coloring until your batter looks like something leprechauns might actually serve, watching the color swirl into something magical
- Combine wet and dry ingredients:
- Gradually add your dry mixture to the wet, mixing just until you no longer see visible flour, because overmixing develops gluten and makes tough cookies instead of tender ones
- Scoop and space your cookies:
- Drop rounded tablespoons of dough onto your prepared baking sheets, leaving about 2 inches between each scoop because these will spread and you do not want them to merge into one giant green cookie
- Bake to perfection:
- Bake for 10 to 12 minutes until edges look set but centers still feel slightly soft, because the residual heat will finish cooking them while they cool
- Let them rest briefly:
- Allow cookies to cool on the baking sheets for 5 minutes before transferring them to a wire rack, because moving them too soon will make them fall apart and nobody wants broken cookies
- Melt the white chocolate:
- Heat your white chocolate with the coconut oil in 20 second bursts, stirring between each interval, because white chocolate scorches easily and seized chocolate is a tragedy you can avoid
- Drizzle with abandon:
- Using a fork or piping bag, drizzle your melted white chocolate across each cooled cookie in whatever pattern feels right to you, because the beauty is in the imperfection anyway
 Pin It
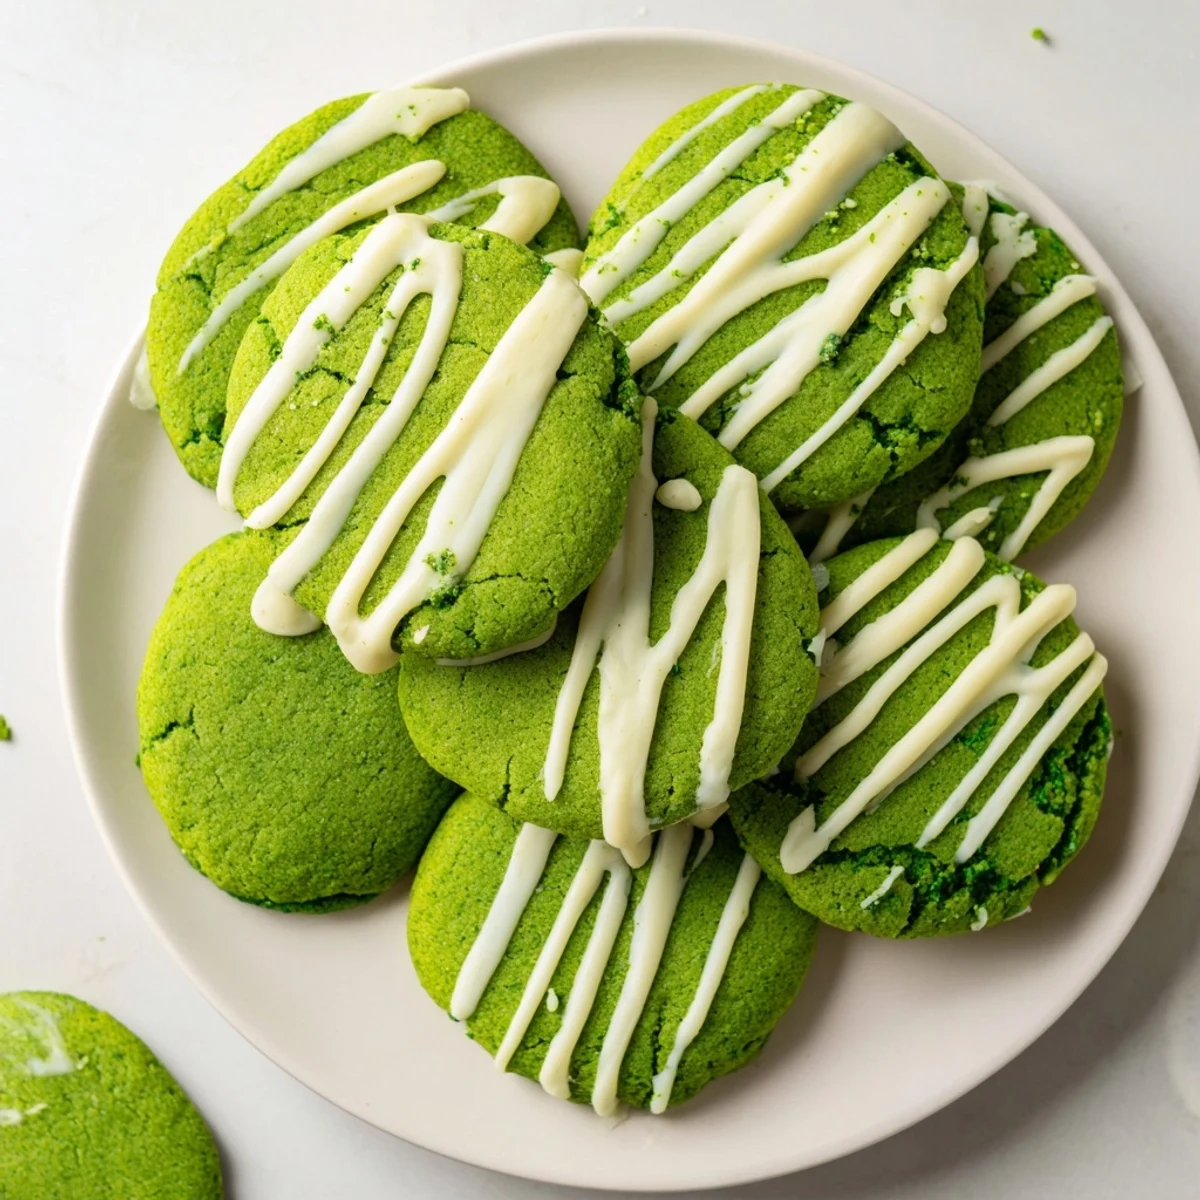
 My neighbor texted me at 11 PM one night, frantic because she needed to bring something to her daughter's school St. Patricks Day celebration the next morning. We made these together in her tiny apartment kitchen, her two preschoolers "helping" by getting green food coloring everywhere except the bowl. She sent me a picture later that day of an empty platter and said the teacher asked for the recipe three times. Now she makes them every year, and we text each other photos of our green hands afterward.
Getting That Perfect Green
Gel food coloring is absolutely worth the extra trip to the store. Liquid coloring throws off your liquid ratios and leaves you with dense, sad cookies. Start with less than you think you need, because you can always add more but you cannot take it back. I once accidentally made forest green cookies that looked more like something you would find on a hiking trail than in a cookie jar.
Mastering the Drizzle
The drizzle technique that looks most professional is actually the easiest one: hold your spoon or piping bag about six inches above the cookies and move your hand back and forth in a steady motion while someone slowly rotates the baking sheet. My niece calls this "making cookie spiderwebs." The white chocolate sets quickly, so work efficiently once you start. If your chocolate thickens too much, pop it back in the microwave for just five seconds.
Storage and Timing
These cookies stay perfectly soft for three days if stored in an airtight container, after which they start to lose that just-baked magic. The white chocolate drizzle will keep at room temperature without melting, so no need to refrigerate. If you are making these for a specific event, the drizzle can be done up to 24 hours in advance.
- Layer your cookies between sheets of wax paper in your storage container to prevent them from sticking to each other
- If your brown sugar has turned into a solid rock, microwave it for 15 seconds with a damp paper towel on top
- Room temperature ingredients combine more smoothly, so pull everything out about 30 minutes before you start baking
 Pin It
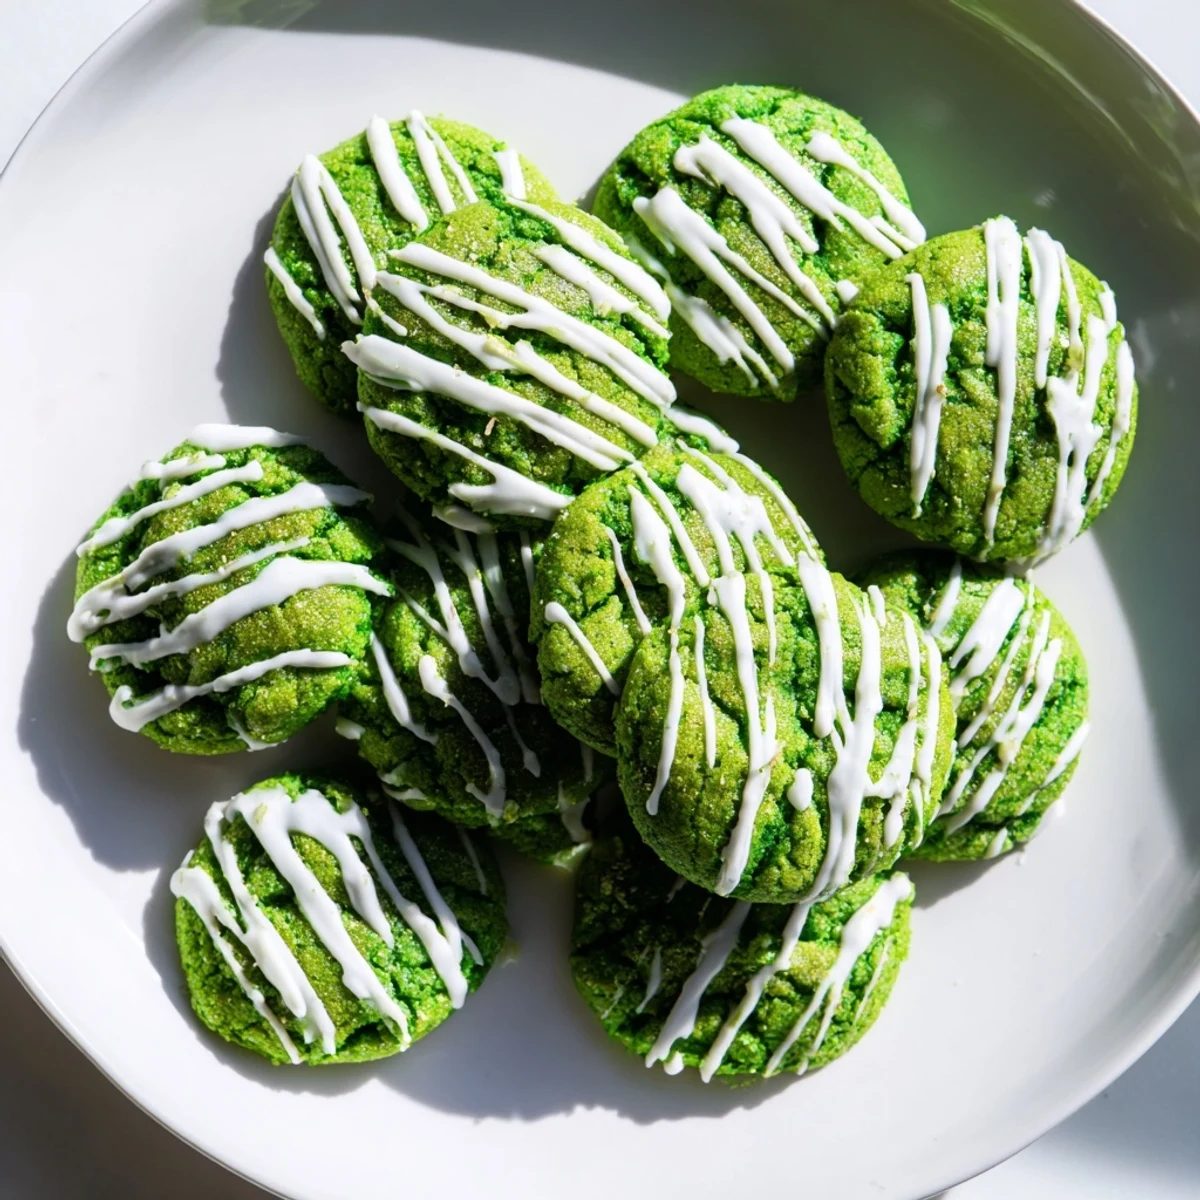
 There is something wonderfully rebellious about eating green cookies with your morning coffee. Hope these bring a little unexpected color to your day.
Recipe Questions
- → What makes these cookies green?
-
The vibrant green color comes from food coloring gel, which provides rich hue without thinning the dough. Gel coloring is recommended over liquid for more intense color with less product needed.
- → Can I make these ahead of time?
-
Yes, the dough can be refrigerated for up to 48 hours before baking. Baked cookies stay fresh in an airtight container for 5 days, making them perfect for preparing in advance for gatherings.
- → Why is there cocoa powder in green cookies?
-
Cocoa powder is the traditional base for velvet treats, providing depth of flavor and helping create that signature tender crumb texture. The chocolate notes are subtle and complement the sweetness beautifully.
- → What's the purpose of white vinegar?
-
White vinegar reacts with the baking soda and cocoa powder to enhance the velvet-like texture and create a more tender crumb. It's a classic technique in traditional red and green velvet baking.
- → How do I get the perfect white chocolate drizzle?
-
Melt white chocolate in 20-second microwave bursts, stirring between each interval. Adding a teaspoon of coconut oil helps achieve smooth, drizzling consistency. Let it cool slightly before drizzling to prevent running off the edges.
- → Can I freeze these cookies?
-
Baked cookies freeze well for up to 3 months when stored in freezer-safe containers. Thaw at room temperature before serving. The white chocolate drizzle may lose some shine after freezing but flavor remains excellent.
