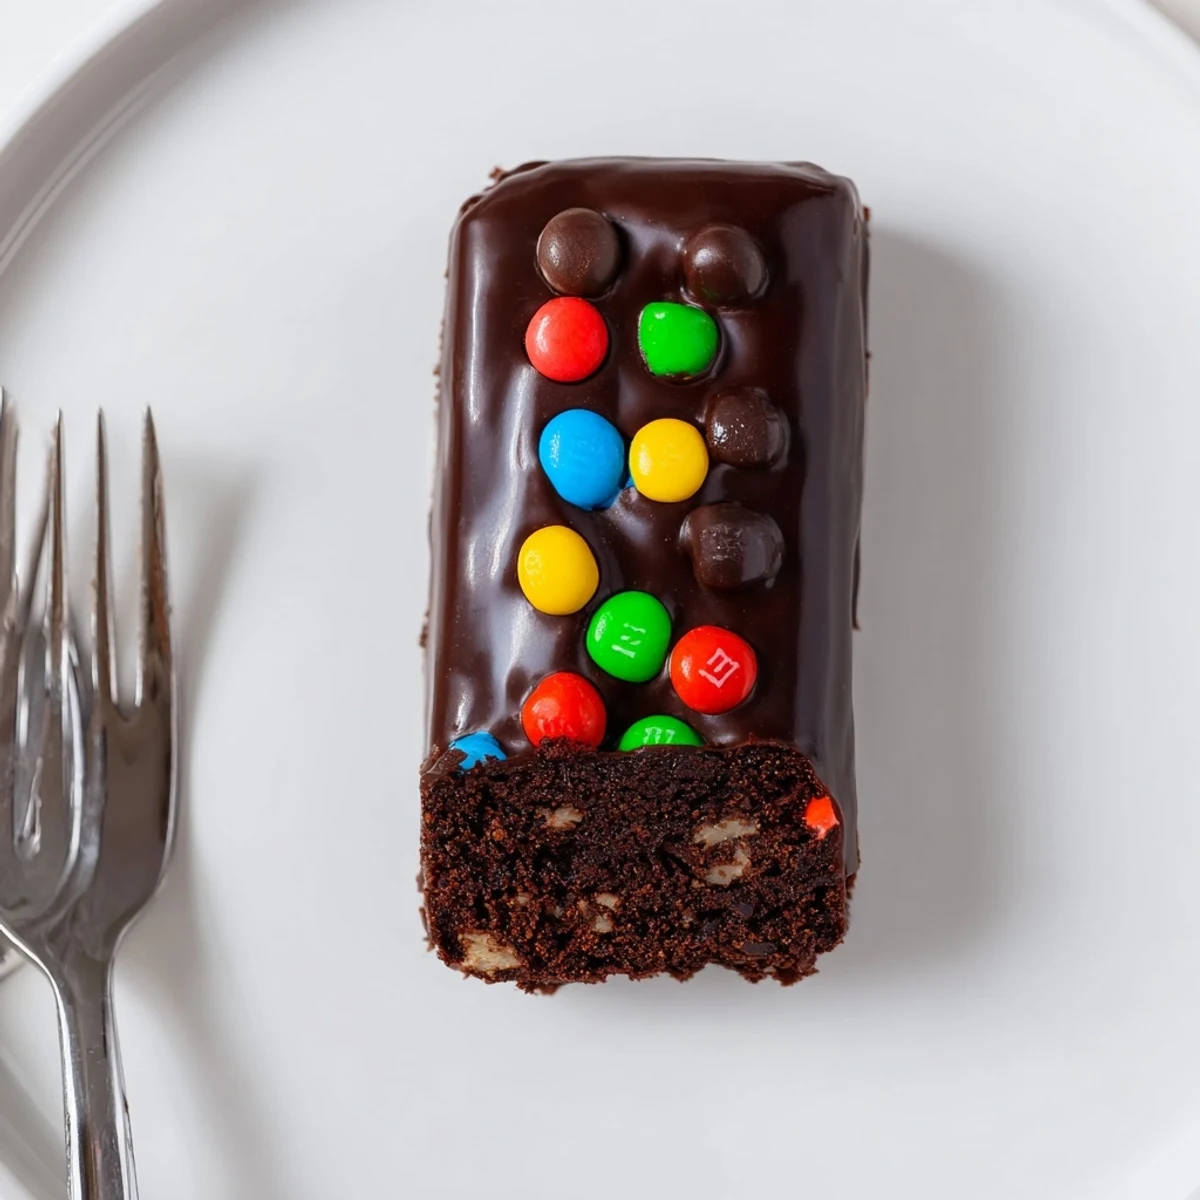
 Pin It
 These gourmet Cosmic brownie bars start with a fudgy cocoa batter baked until the edges set and the center remains slightly soft. A silky chocolate ganache is poured over the cooled base, then showered with candy-coated chocolates and chilled until firm. Expect rich chocolate depth, a glossy ganache layer, and playful crunchy bites. Variations: a pinch of espresso for depth or a 1:1 gluten-free flour swap.
The unmistakable crinkle of a Little Debbie wrapper at a school lunch table was basically a currency exchange in third grade, and Cosmic Brownies were the gold standard. I spent years assuming those dense, fudgy squares with their rainbow candy tops were untouchable magic, something only a factory could produce. Then one rainy Saturday I melted too much butter, burned my first batch of ganache, and realized the homemade version could actually put the original to shame. These Gourmet Cosmic Brownies are my love letter to that cafeteria nostalgia, dressed up with real chocolate and zero regrets.
My friend Sara brought her six year old over once and he stared at the pan on the counter with enormous eyes, whispering are those the real ones. I handed him a still warm square before the ganache had fully set and he ate it in complete silence, which is apparently the highest compliment a first grader can give. Now every time Sara visits, he tugs her sleeve and asks if the brownie lady is home.
Ingredients
- Unsalted butter (170 g, melted): Use good quality butter here because it is the backbone of every flavor in the brownie base.
- Granulated sugar (200 g) and light brown sugar (100 g): The blend gives you a chewy edge from white sugar and a soft, molasses kissed center from the brown.
- 2 large eggs: Room temperature eggs incorporate more smoothly into the batter, preventing streaks.
- Pure vanilla extract (1 tsp): A small amount that quietly rounds out every harsh edge of the cocoa.
- Unsweetened cocoa powder (80 g): Do not substitute hot cocoa mix or Dutch process without adjusting, because this amount is calibrated for natural cocoa.
- All purpose flour (80 g): Measure by weight if you can, because even two extra tablespoons can turn fudgy into cakey.
- Fine sea salt: Salt is not optional in brownies, it is what makes the chocolate taste like chocolate.
- Semi sweet chocolate (115 g, chopped): The ganache depends entirely on this, so pick something you would happily eat straight from the bag.
- Heavy cream (120 ml): Heat it until it just steams and not a degree more, because boiling cream can seize your chocolate instantly.
- Unsalted butter for ganache (15 g): This small knob gives the ganache that mirror like finish and a slight elasticity when set.
- Rainbow candy coated chocolate chips (50 g): Mini candies work best because they cover more surface area and look true to the original.
Instructions
- Prepare your baking pan:
- Preheat the oven to 175 degrees C (350 degrees F) and line your 8x8 pan with parchment, leaving wings hanging over two sides so you can lift the whole block out later without a fight.
- Build the sugar and butter base:
- Pour the melted butter into a large bowl, add both sugars, and whisk until the mixture looks glossy and there are no gritty pockets left.
- Add eggs and vanilla:
- Crack in the eggs and pour the vanilla, then whisk vigorously for about thirty seconds until the batter lightens slightly in color and feels aerated.
- Fold in the dry ingredients:
- Sift the cocoa powder, flour, and salt directly into the bowl, then fold gently with a spatula just until you stop seeing dry streaks because overmixing is the enemy of fudgy.
- Bake until barely done:
- Spread the batter evenly in the pan and bake for 23 to 25 minutes, pulling them out when the edges are set but the center still wobbles slightly under a gentle shake.
- Cool completely:
- Leave the brownies in the pan on a wire rack and do not rush this part, because cutting warm brownies under ganache is a messy, heartbreaking experience.
- Make the ganache:
- Pile the chopped chocolate and butter into a heatproof bowl, warm the cream until it steams, pour it over, wait two minutes, then stir in slow circles until everything melts into a dark, glossy pool.
- Top and chill:
- Pour the ganache over the cooled brownie base, spread it evenly, scatter rainbow candies across the top, and refrigerate for at least thirty minutes until the topping sets into a firm shell.
- Slice and serve:
- Grab the parchment overhang to lift the entire block out, then use a sharp knife to cut twelve bars, wiping the blade between cuts for the cleanest edges.
 Pin It
 I packed these in a tin for a neighborhood potluck last summer and they vanished before the main dishes even made it to the table. Someone actually asked my husband if I had ordered them from a bakery, and he laughed and said no, she just refuses to leave the kitchen until something ridiculous comes out of the oven.
What to Serve With These
Cold milk is the obvious answer and honestly the correct one, but a short glass of espresso or even a dark roast coffee cuts through the sweetness in a way that makes you reach for a second bar without thinking. If you want to lean into dessert territory, a small scoop of vanilla bean ice cream on top of a slightly warm square will make people forget every other thing on the table.
Storing and Keeping Them Fresh
These bars keep beautifully in an airtight container at room temperature for up to four days, and the texture actually improves overnight as the ganache melds with the brownie underneath. For longer storage, layer them between sheets of parchment in a freezer bag and freeze for up to three months, then let them thaw at room temperature for about an hour before eating.
Ways to Make Them Your Own
The recipe is forgiving enough to handle small twists without falling apart, and I have tried more than a few over the years.
- A quarter teaspoon of espresso powder in the batter deepens the chocolate flavor without making it taste like coffee.
- Swap the rainbow candies for chopped toasted hazelnuts if you want something more grown up but equally addictive.
- Always taste your cocoa powder before using it, because stale cocoa is the fastest way to turn a great brownie into a boring one.
 Pin It
 Some recipes are just recipes, but this one carries the weight of lunchroom trades and rainy afternoons and small children eating in reverent silence. Make them once and they will follow you everywhere.
Recipe Questions
- → How do I achieve a fudgy center?
-
Bake until the edges feel set but the center still jiggles slightly; carryover heat firms the interior as it cools. Avoid overmixing the batter to keep structure dense and moist.
- → What's the best way to make a glossy ganache?
-
Heat cream until just steaming, pour it over chopped chocolate, let sit 1–2 minutes, then stir gently until smooth. Stir in a small knob of butter for added shine and silkiness.
- → Can I swap the candy topping for something else?
-
Yes — chopped chocolate, toasted nuts, or toasted coconut add texture and flavor. Choose toppings that contrast the ganache and mind any allergen concerns from packaged candies.
- → How long should I chill and how should I store the bars?
-
Chill at least 30 minutes until the ganache sets for clean slicing. Store airtight in the refrigerator for up to 4–5 days; bring bars to room temperature briefly for softer texture when serving.
- → How can I make these bars gluten-free?
-
Substitute a 1:1 gluten-free flour blend in place of all-purpose flour. Check the batter consistency and avoid overmixing; a small binder like xanthan may help if your blend requires it.
- → Any tips for slicing neat bars?
-
Chill until firm, use a sharp knife warmed under hot water and wiped dry between cuts, or score lightly first. Clean cuts are easier when the ganache is fully set.
