 Pin It
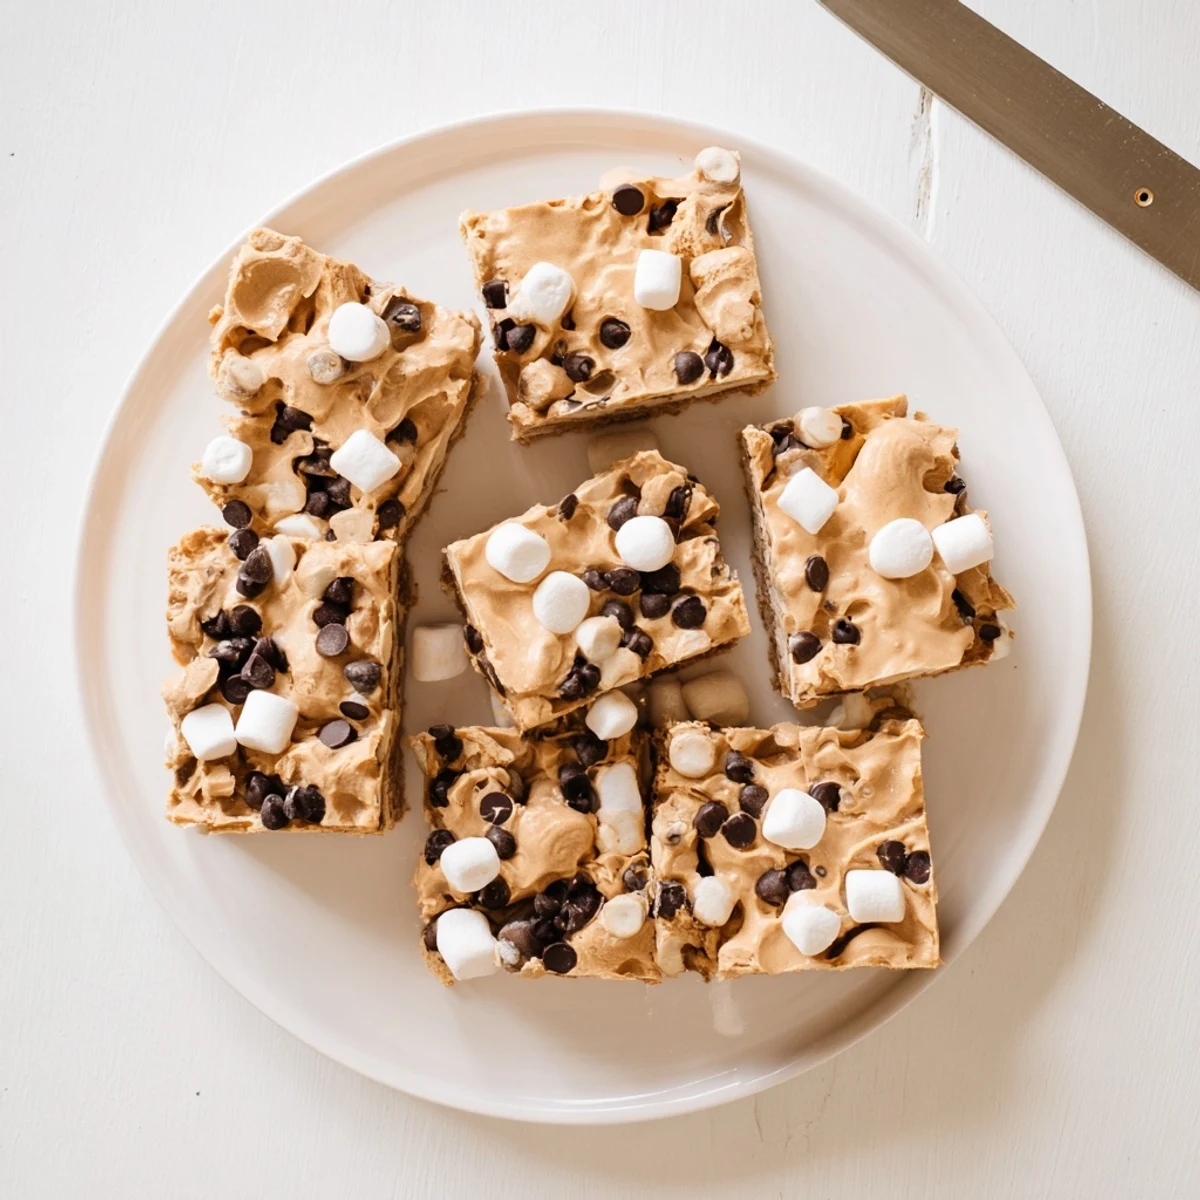
 These indulgent squares bring together velvety peanut butter and fluffy marshmallows for a satisfying no-bake dessert. The mixture creates a perfectly chewy texture that sets beautifully in the refrigerator. Simply melt peanut butter with butter, blend in powdered sugar and vanilla, then fold in marshmallows until coated. Press into a pan, chill until firm, and slice into squares. Optional chocolate chips add a lovely finishing touch.
The smell of peanut butter and melting butter together on a lazy Sunday afternoon is enough to make anyone drift toward the kitchen. My niece once declared these squares better than any store bought candy bar, and honestly, she might be right. They take almost no effort and disappear faster than anything else on the dessert table. This no bake wonder has been my go-to for potlucks, lunchbox treats, and late night sweet cravings alike.
I brought a pan of these to a neighborhood block party last September and watched a tray of thirty six squares vanish in under twenty minutes. A neighbor pulled me aside to ask if I had secretly ordered them from a bakery. The truth is they come together in one saucepan with ingredients you probably already have in your pantry right now.
Ingredients
- Creamy peanut butter (1 cup): Use a brand where peanuts are the only ingredient for the best texture and flavor, and always verify the label says gluten free.
- Unsalted butter (1/2 cup): Butter adds richness and helps the mixture set firmly, so do not substitute with oil here.
- Gluten free powdered sugar (1 1/2 cups): Sift it before adding to prevent any lumps and keep the base silky smooth.
- Pure vanilla extract (1 teaspoon): A small splash rounds out the sweetness and deepens the peanut flavor beautifully.
- Mini marshmallows (3 cups): Certified gluten free marshmallows are essential since some brands use wheat derived additives.
- Gluten free chocolate chips (1/2 cup, optional): A handful scattered on top adds a lovely visual finish and a nice snap when you bite in.
Instructions
- Prep your pan:
- Line an 8x8 inch baking pan with parchment paper, leaving enough overhang on the sides to lift the whole block out later for easy cutting.
- Melt the base:
- In a medium saucepan over low heat, stir the peanut butter and butter together until completely melted and glossy, which should take about three minutes.
- Stir in the sugar:
- Take the pan off the heat and fold in the powdered sugar and vanilla, stirring until no white streaks remain and the mixture pulls away from the sides slightly.
- Fold in the marshmallows:
- Let the mixture rest for two to three minutes so it cools just enough, then gently fold in the mini marshmallows until every one is coated but still holds its shape.
- Press and top:
- Pour everything into your prepared pan and press it out evenly with a spatula, then scatter chocolate chips on top if using and press them in gently.
- Chill until set:
- Refrigerate for at least one hour until the squares feel firm to the touch, then lift the block out using the parchment overhang and slice into sixteen even pieces.
 Pin It
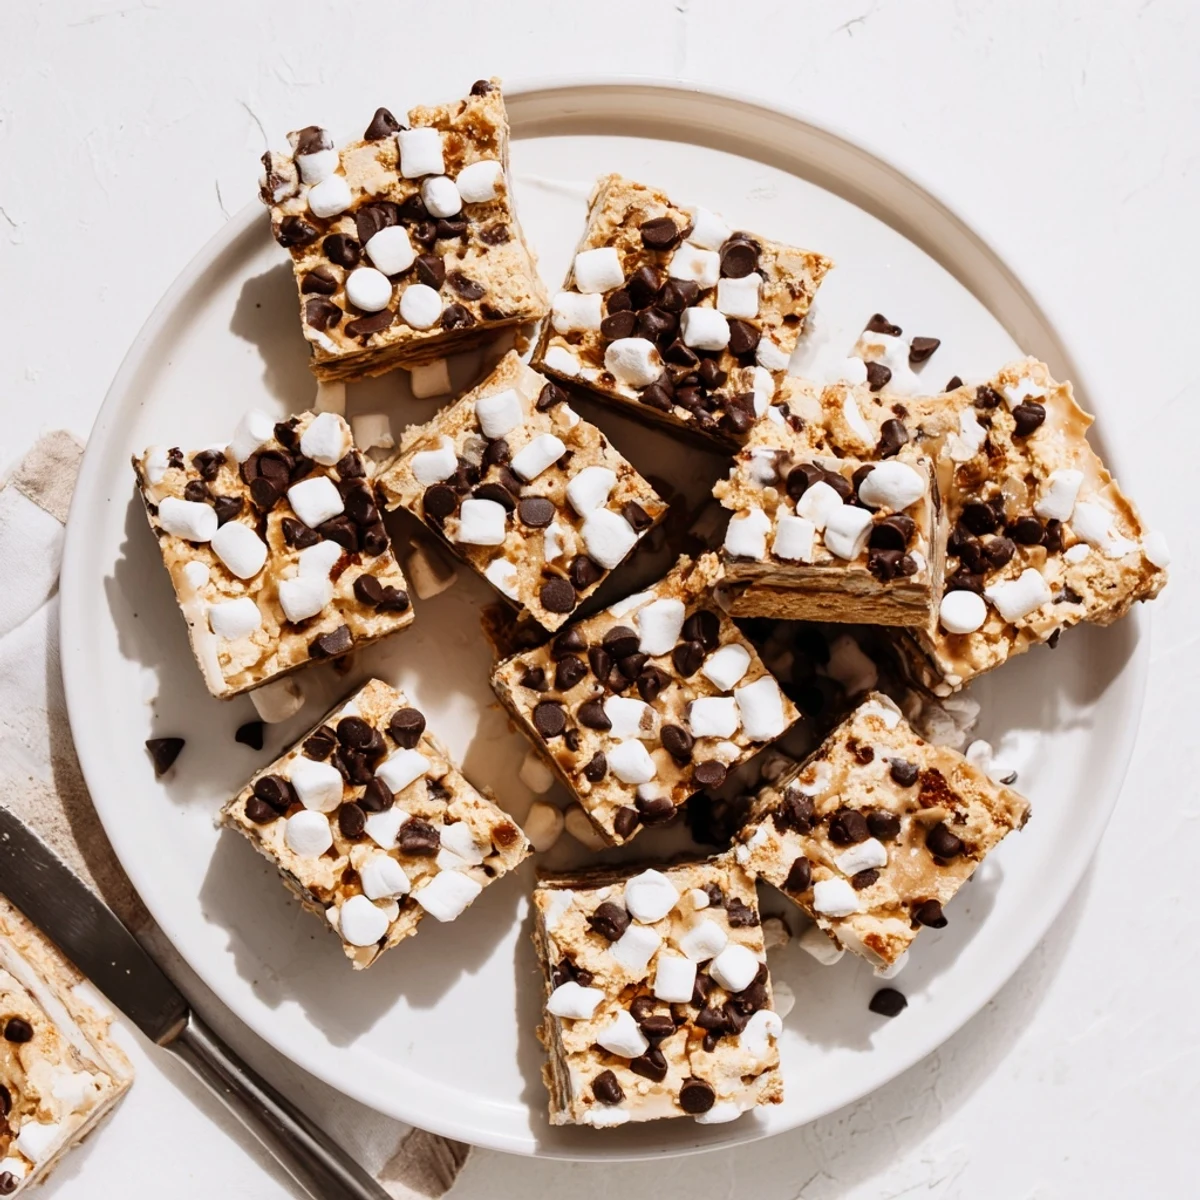
 The real magic of this recipe is how something so effortless can feel so special when you share it with people who genuinely love peanut butter.
Storage and Keeping Them Fresh
These squares keep beautifully in an airtight container in the refrigerator for up to one week. I usually layer them between sheets of parchment so they do not stick together. They also freeze well for up to two months if you want to stash a batch for unexpected guests. Just let them thaw in the fridge overnight before serving.
Fun Variations to Try
Sunflower seed butter works as a one to one swap for anyone with a peanut allergy, and the flavor is surprisingly satisfying. A generous pinch of flaky sea salt on top before chilling turns these into something borderline sophisticated. You could also stir in a handful of crushed pretzels or toasted coconut for extra crunch and personality.
Quick Reference Before You Start
Before you pull out the saucepan, here are a few last things worth knowing that make the whole process smoother.
- Use a silicone spatula for pressing the mixture into the pan because it will not stick like a metal spoon.
- A lightly greased knife gives you the cleanest cuts when slicing the chilled squares.
- These taste best served slightly chilled rather than straight from room temperature.
 Pin It
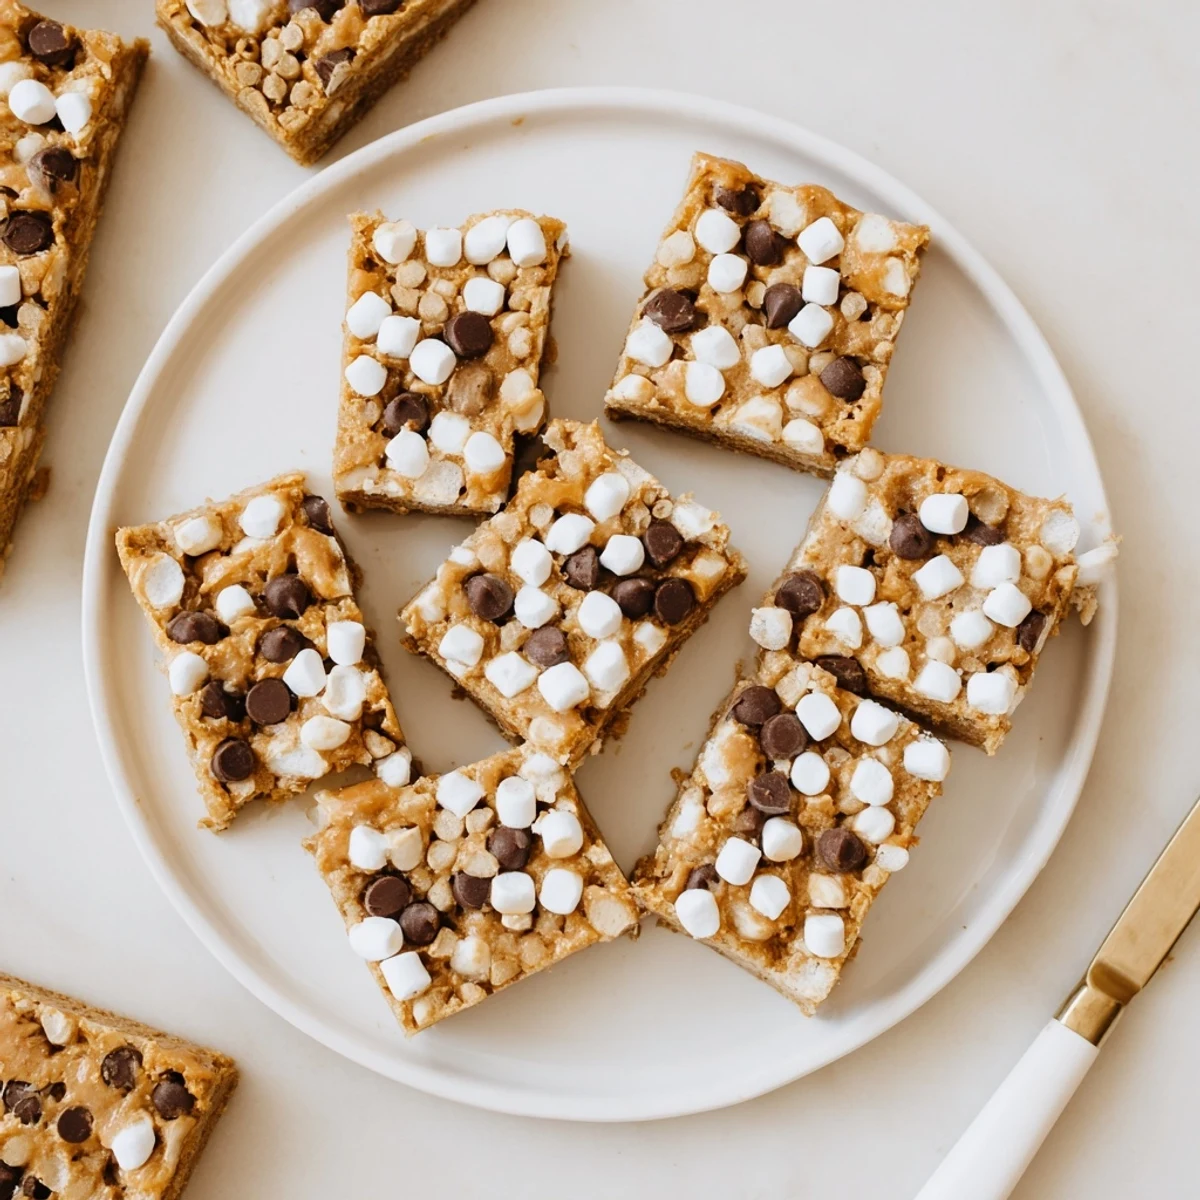
 Keep a batch in your fridge and you will always be fifteen minutes away from a little square of happiness.
Recipe Questions
- → How long do these need to chill?
-
Refrigerate for at least one hour until completely set. For firmer squares, two hours works even better.
- → Can I use natural peanut butter?
-
Natural peanut butter works well though may create a slightly softer texture. Stir thoroughly before measuring.
- → What's the best way to cut clean squares?
-
Use a sharp knife warmed under hot water and wiped dry between cuts. This prevents sticking and creates clean edges.
- → How should I store these?
-
Keep refrigerated in an airtight container for up to one week. Place parchment between layers to prevent sticking.
- → Can I make these dairy-free?
-
Substitute coconut oil or vegan butter sticks for regular butter. The texture remains wonderfully chewy and satisfying.
- → Why fold marshmallows in gently?
-
Gentle folding distributes marshmallows evenly while preserving their fluffy texture. Overmixing causes melting and loses the delightful chewy pockets.
