 Pin It
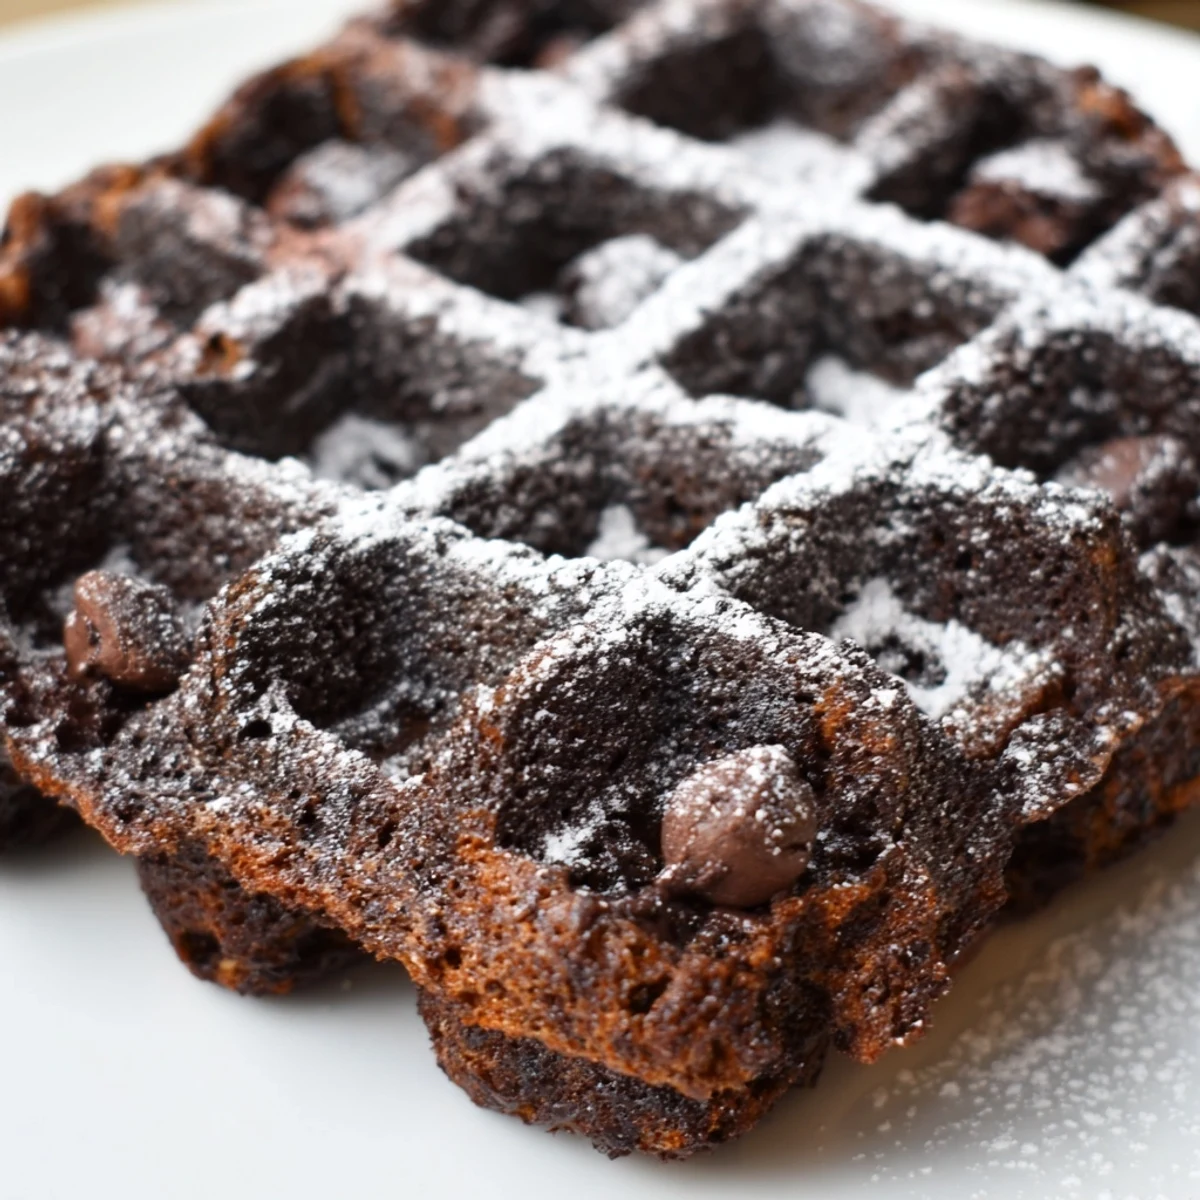
 These fudgy brownie waffles bring together the best of both worlds—the dense, chewy texture of a brownie and the golden, crisp edges only a waffle iron can create.
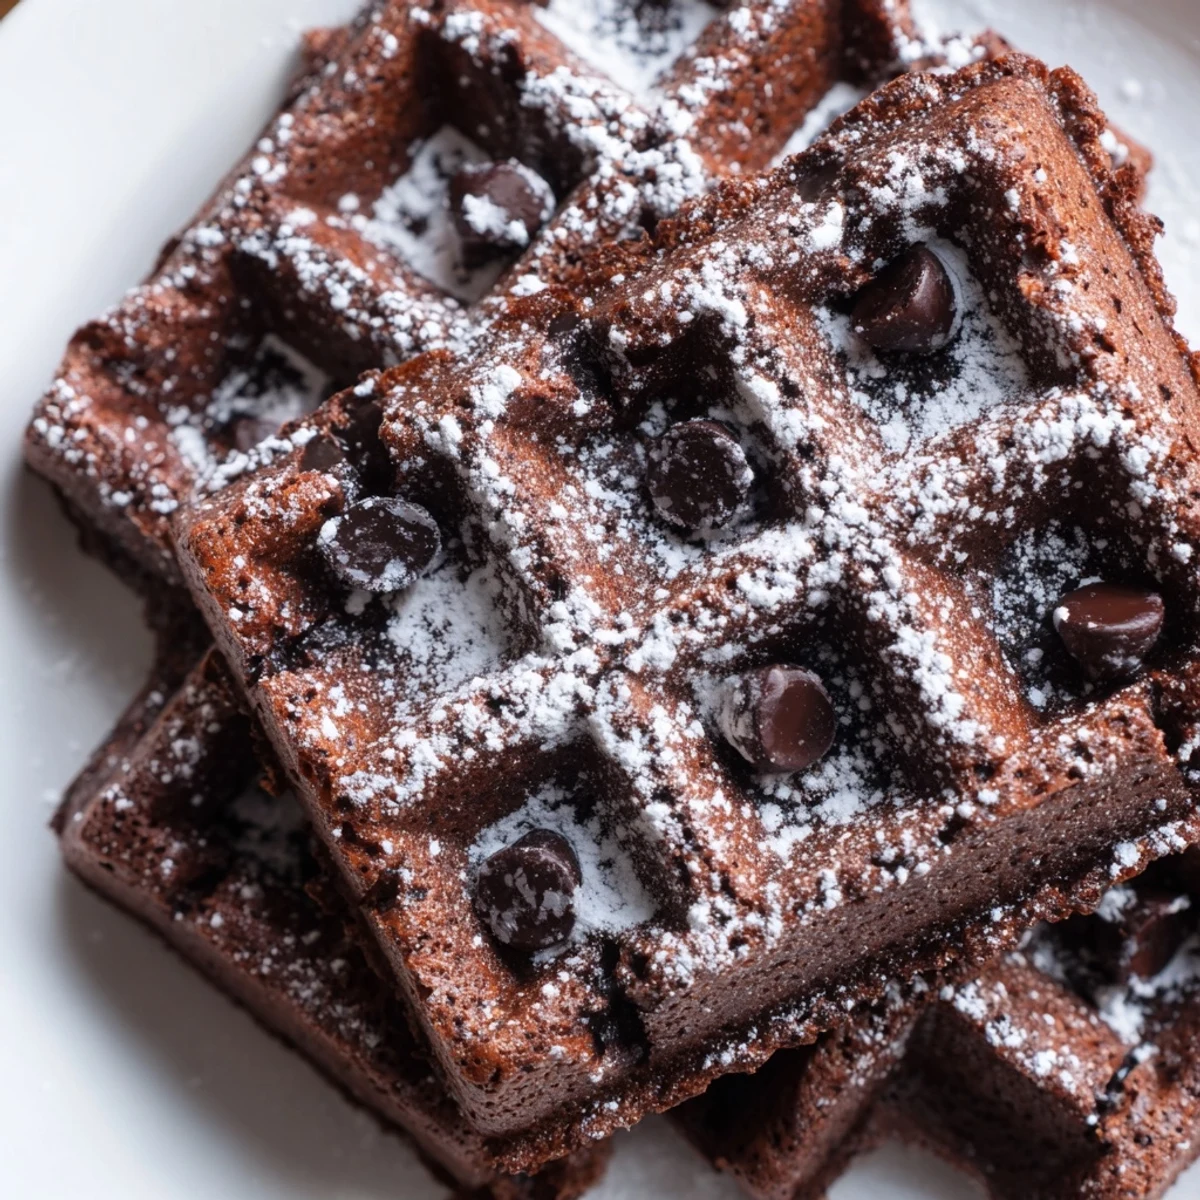
A simple cocoa-rich batter studded with chocolate chips comes together in minutes. Just whisk the dry ingredients, combine with eggs, melted butter, milk, and vanilla, then cook in your waffle iron for 4 to 5 minutes.
Serve them warm plain, or dress them up with ice cream, whipped cream, or fresh berries for an indulgent breakfast or dessert.
My waffle iron sat untouched for three years until a rainy Tuesday desperation for something chocolate changed everything. I had brownie batter in one bowl and a sudden stubborn refusal to wait for an oven preheat cycle. The result was a revelation: crispy grid lines giving way to a molten center that no oven baked brownie has ever matched since.
I served these at a sleepover where my friend Lindsey declared them illegal and then ate two more with her bare hands. We stood around the kitchen counter at midnight, tearing off crispy sections and dunking them straight into a tub of vanilla bean ice cream. Nobody used plates. Nobody apologized.
Ingredients
- All purpose flour (90 g): Just three quarters of a cup keeps these dense and fudgy rather than cakey.
- Unsweetened cocoa powder (45 g): Use a good quality one because this is where all the deep chocolate flavor comes from.
- Granulated sugar (200 g): A full cup sounds like a lot but brownies need it for that chewy texture.
- Baking powder (half tsp): Just enough lift to keep them from turning into hockey pucks.
- Salt (quarter tsp): Never skip this because salt makes chocolate taste like more chocolate.
- Large eggs (2): Room temperature eggs blend smoother into the batter.
- Unsalted butter, melted and slightly cooled (115 g): Let it cool so you do not scramble the eggs when mixing.
- Whole milk (60 ml): Whole milk gives the richest result but any milk works in a pinch.
- Pure vanilla extract (1 tsp): It rounds out the chocolate and makes everything smell incredible.
- Semi sweet chocolate chips (90 g): These melt into little pools of chocolate inside the waffle grids.
Instructions
- Fire up the iron:
- Preheat your waffle iron according to its manual and lightly grease it if yours tends to stick. You want it screaming hot so the batter hits and immediately starts crisping.
- Whisk the dry team:
- In a large bowl, whisk together the flour, cocoa powder, sugar, baking powder, and salt until there are no lumps. Take a moment to really get in there because cocoa powder loves to clump.
- Blend the wet crew:
- In a separate bowl, whisk the eggs, melted butter, milk, and vanilla until completely smooth and slightly glossy. The butter should be warm but not hot against your finger.
- Bring it all together:
- Pour the wet ingredients into the dry and stir gently with a spatula until just combined. Stop before it looks perfect because overmixing is the enemy of fudgy. Fold in the chocolate chips at the end.
- Into the iron:
- Spoon about half a cup of the thick batter onto your preheated iron, adjusting based on your specific waffle maker. Spread it slightly toward the edges but leave room for it to spread on its own.
- Cook until magic happens:
- Close the iron and cook for about four to five minutes until the waffles are set, the edges are crisp, and the centers still have that dreamy fudgy give. Trust your nose more than the timer.
- Serve with abandon:
- Remove carefully with a spatula or fork and serve warm. Top with ice cream, whipped cream, fresh berries, or absolutely nothing at all.
 Pin It
 There is something about the way the grooves catch melted butter and powdered sugar that makes these feel almost too intentional for a recipe born from kitchen laziness. They became our house tradition whenever someone needs cheering up, which is honestly most weeknights.
Waffle Iron Wisdom
Every waffle iron behaves differently, and learning yours is half the fun. My old round one runs hot and needs exactly four minutes, while my square Belgian style takes closer to six. The first waffle is always a test batch, so eat that one standing at the counter and call it quality control.
Mix In Magic
The chocolate chips are just the starting point. Chopped walnuts add a welcome crunch that plays beautifully against the soft centers. White chocolate chips create these sweet little surprise pockets, and a handful of toffee bits turns the whole thing into something dangerously snackable.
Storage and Reheating
Leftovers keep well in an airtight container in the fridge for up to three days, though they rarely last that long. Reheat them in a toaster or back on the waffle iron for a minute to bring back the crispy edges. The microwave works if you only care about the fudgy center and have given up on crunch entirely.
- Freeze individual waffles between sheets of parchment paper for up to two months.
- Pop frozen waffles straight into the toaster on a low setting for a quick weekday treat.
- Always let the waffle iron cool completely before wiping it clean with a damp cloth.
 Pin It
 These brownie waffles are proof that the best recipes come from asking yourself why not instead of why. Make them once and you will never look at your waffle iron the same way again.
Recipe Questions
- → Can I make brownie waffles without a waffle iron?
-
A waffle iron is essential for achieving those signature crispy edges and deep pockets. However, you can bake the same batter in a greased 8x8 pan at 350°F for 20 to 25 minutes for traditional brownies.
- → Why are my brownie waffles sticking to the iron?
-
Make sure your waffle iron is fully preheated and lightly greased before adding batter. The chocolate chips can sometimes cause sticking, so a light spray of cooking oil on the plates helps create a clean release.
- → How do I store leftover brownie waffles?
-
Let them cool completely, then store in an airtight container at room temperature for up to 2 days. For longer storage, freeze them in a single layer between parchment paper for up to 3 months. Reheat in a toaster or oven to restore crispness.
- → Can I use Dutch-process cocoa powder instead of natural?
-
Yes, Dutch-process cocoa works well and will give a deeper, darker chocolate flavor. The texture remains the same since the leavening relies on baking powder rather than a cocoa-acid reaction.
- → How much batter should I pour per waffle?
-
About 1/2 cup of batter per waffle is a good starting point. Adjust based on your specific waffle iron size—you want the batter to spread to the edges without overflowing when you close the lid.
- → Can I make the batter ahead of time?
-
You can prepare the batter up to 24 hours in advance and keep it covered in the refrigerator. Let it sit at room temperature for 15 minutes before cooking, and give it a gentle stir before portioning onto the iron.
