 Pin It
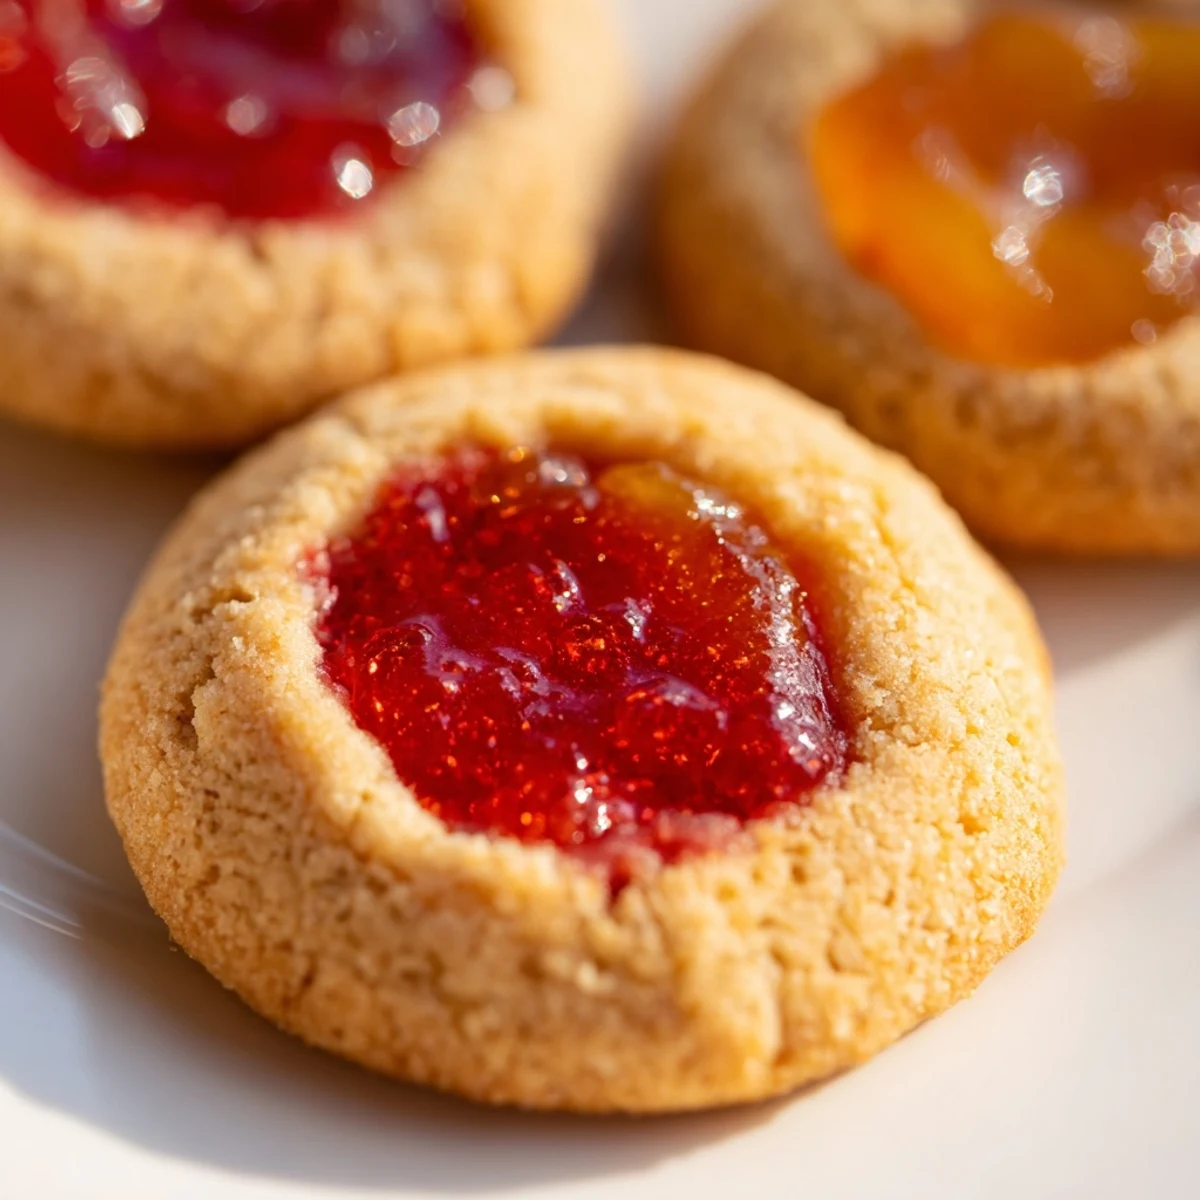
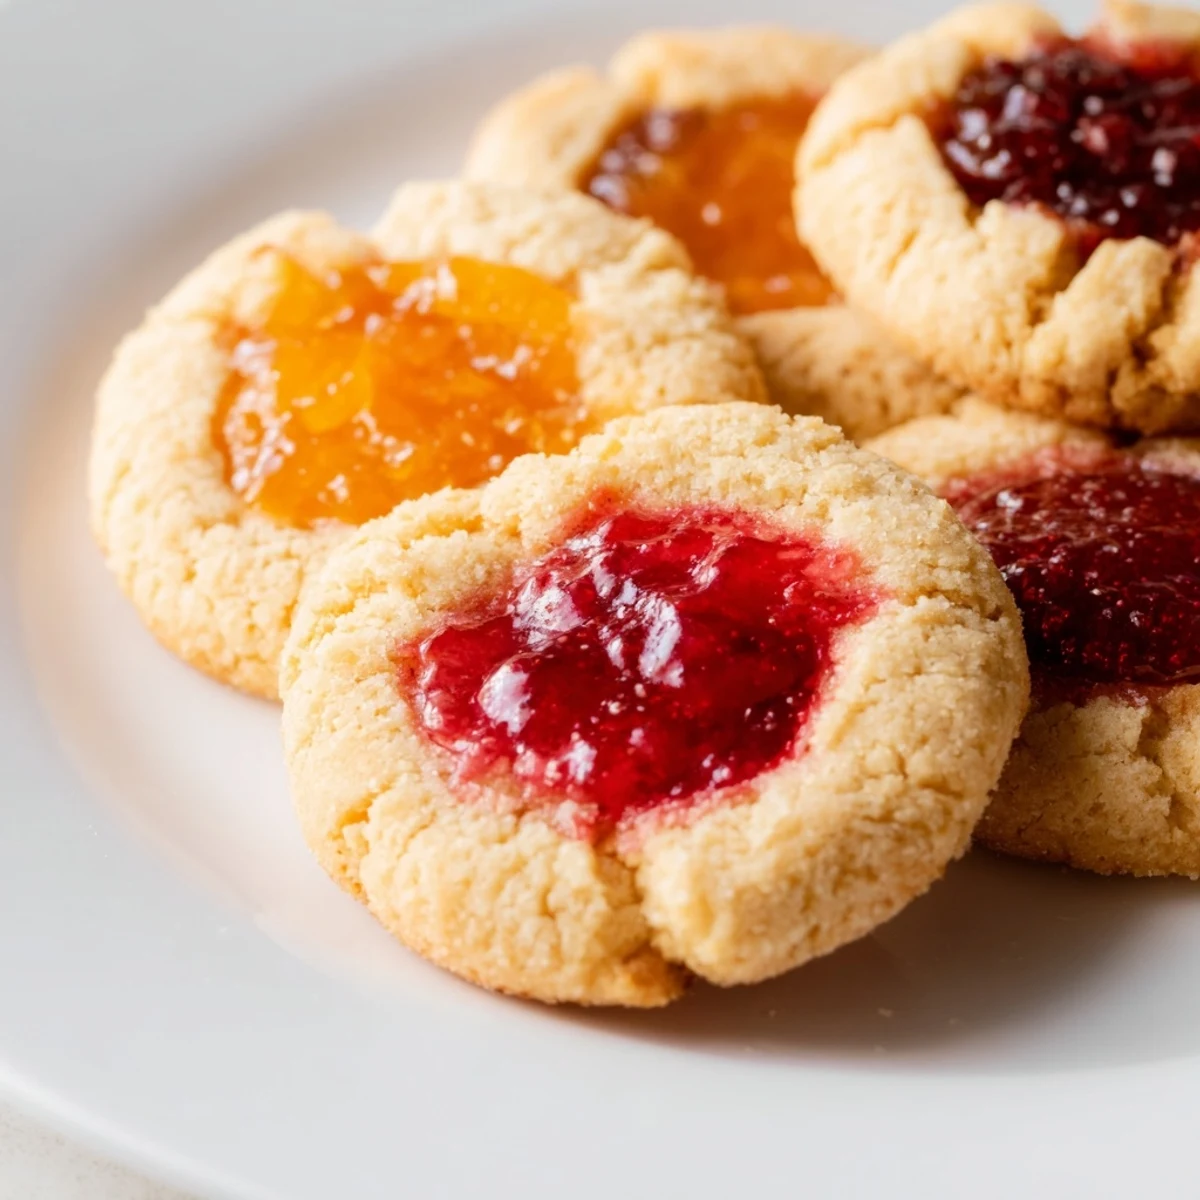
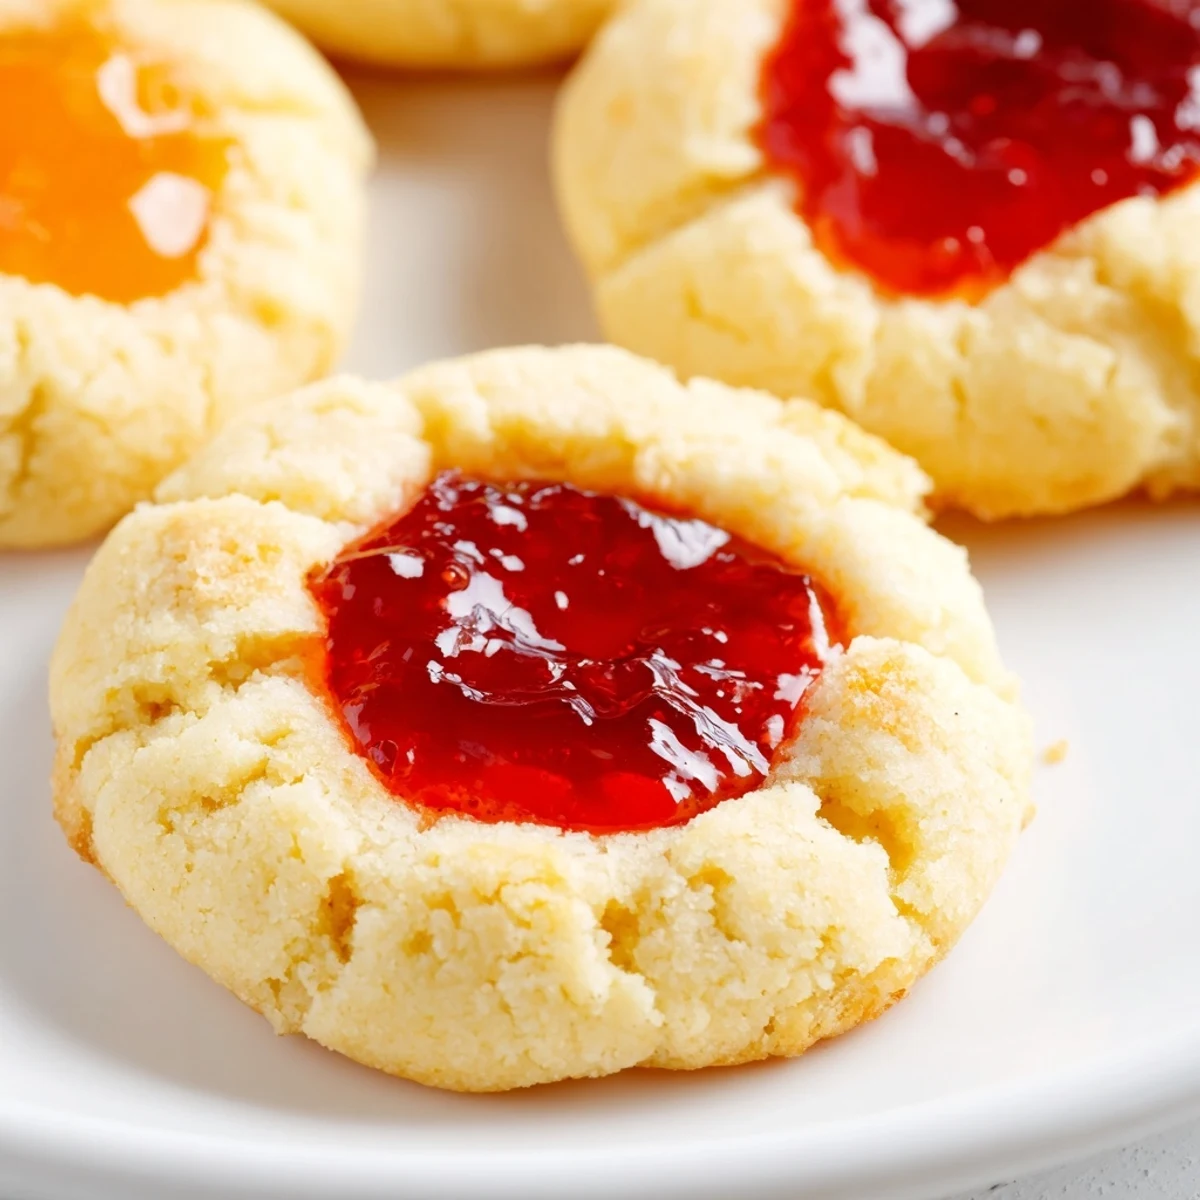
 These delightful thumbprint cookies feature a rich, buttery dough that melts in your mouth, with each center filled with your favorite fruit preserves. The classic thumbprint design creates perfect little wells for holding jams like raspberry, apricot, or strawberry.
Ready in just 35 minutes, these tender cookies are ideal for afternoon tea, holiday platters, or whenever you crave something sweet. The dough comes together quickly and bakes until lightly golden, while the fruit filling becomes slightly jammy and glossy.
Customize with any jam variety you prefer—try blueberry, blackcurrant, or mixed fruit for colorful variety. A hint of lemon zest adds brightness to the buttery base.
My grandmother kept a collection of mismatched jam jars in her refrigerator, each one containing something vibrant and jewel-like from summer past. These thumbprint cookies were her way of turning those precious spoonfuls into something shareable, something that could sit on a plate during tea time and spark conversations about blackberry picking season or the apricot tree in the neighbor's yard. I make them when I need a simple treat that feels like gathering around a kitchen table.
Last December, I brought a plate of these to a holiday cookie exchange and watched as people gravitated toward them first. There's something about that little well of fruit in the center that makes people curious, like each cookie holds its own small surprise. A friend told me later that raspberry thumbprints were her grandmother's specialty too, and we spent the next twenty minutes trading stories about which jams worked best and who in our families had the lightest hand with the dough.
Ingredients
- Unsalted butter: Use butter softened to room temperature but not melting, this ensures proper creaming with the sugar
- Granulated sugar: Creates a tender cookie crumb while allowing the fruit filling to remain the star
- Egg yolks: These add richness and help bind the dough while contributing to that classic buttery cookie texture
- Pure vanilla extract: Use the good stuff here since there are so few ingredients, each one matters
- All-purpose flour: Provides structure without making the cookies tough or dry
- Salt: A small amount balances the sweetness and enhances the fruit flavors
- Assorted fruit jams or preserves: Choose preserves with pieces of fruit for the best texture and visual appeal
Instructions
- Prepare your baking space:
- Position your oven racks to the center and preheat to 350°F with parchment paper lining two baking sheets ready to go.
- Cream the butter and sugar:
- Beat softened butter and sugar together until the mixture looks pale and fluffy, about three full minutes.
- Add the egg yolks and vanilla:
- Pour in the yolks one at a time followed by vanilla, beating until everything disappears into the butter mixture.
- Combine the dry ingredients:
- Gently mix the flour and salt into the wet ingredients just until a soft dough comes together and no dry streaks remain.
- Shape the cookie bases:
- Roll tablespoon portions of dough into smooth balls and arrange them two inches apart on your prepared baking sheets.
- Create the thumbprint wells:
- Press your thumb gently into the center of each ball, being careful not to push all the way through to the baking sheet.
- Fill with fruit preserves:
- Spoon about half a teaspoon of jam into each indentation, taking care not to overfill as the jam will bubble and spread while baking.
- Bake until golden:
- Slide the trays into the oven for 13 to 15 minutes, watching for the edges to turn a light golden color.
- Cool completely:
- Let the cookies rest on the baking sheets for five minutes before moving them to a wire rack to finish cooling.
 Pin It
 These became my go-to recipe when my daughter started preschool and I needed something portable for teacher appreciation events and classroom celebrations. There is something universally appealing about a buttery cookie with fruit in the center, like a tiny pastry you can eat with your fingers. I have learned to bring double the amount I think I need because they disappear faster than any other cookie on the table.
Choosing Your Jam
Preserves work better than jelly because they contain actual pieces of fruit that hold their shape during baking. My personal favorites are raspberry for its bright tartness and apricot for its mellow sweetness, but experiment with whatever catches your eye at the farmers market or grocery store. Seedless varieties make for easier eating, but seeded jams add such lovely texture that the tiny seeds are worth it.
Making Them Ahead
You can prepare the dough balls and press the thumbprints up to three days in advance, storing them in the refrigerator between layers of parchment paper. When you are ready to bake, simply fill the wells with jam and pop them straight into the oven, adding maybe one or two extra minutes to the baking time. This makes holiday baking feel much more manageable when you can break it into smaller steps over several days.
Storage and Sharing
These cookies keep beautifully in an airtight container at room temperature for up to five days, though in my house they rarely last past day three. Layer them between wax paper if you need to stack them, and tuck a slice of white bread in the container to help maintain their tender texture. I also like to freeze the unbaked cookie balls on a tray before transferring them to a freezer bag for fresh baked cookies whenever the mood strikes.
- Package them in clear bags tied with twine for an instant homemade gift
- Try lemon curd or Nutella as alternative fillings for variety
- Dust the cooled cookies lightly with powdered sugar for a snowy holiday look
 Pin It
 I hope these little fruit filled cookies find their way into your kitchen and onto your holiday table, creating the same small moments of joy they have brought to my family for years.
Recipe Questions
- → What type of jam works best for thumbprint cookies?
-
Any fruit preserve or jam works wonderfully. Raspberry, apricot, and strawberry are classic choices that hold their shape well during baking. Thicker preserves tend to stay in the center better than runny jams.
- → How do I prevent the jam from overflowing?
-
Fill the indentations with only about 1/2 teaspoon of jam—don't overfill. The jam will spread slightly as it bakes, so leaving a small gap at the top helps prevent overflow. Also ensure your dough is well-chilled before baking.
- → Can I make the dough ahead of time?
-
Absolutely. The dough can be prepared and refrigerated for up to 2 days before baking. You can also freeze the dough balls for up to 3 months—just thaw in the refrigerator before adding jam and baking.
- → Why did my cookies spread too much?
-
Overly warm dough or butter can cause excessive spreading. Chill the dough balls for 15-30 minutes before baking if your kitchen is warm. Also ensure your oven is fully preheated to 350°F before baking.
- → How should I store thumbprint cookies?
-
Store cooled cookies in an airtight container at room temperature for up to 5 days. Place parchment paper between layers to prevent sticking. For longer storage, freeze unfilled cookies and add fresh jam before serving.
