 Pin It
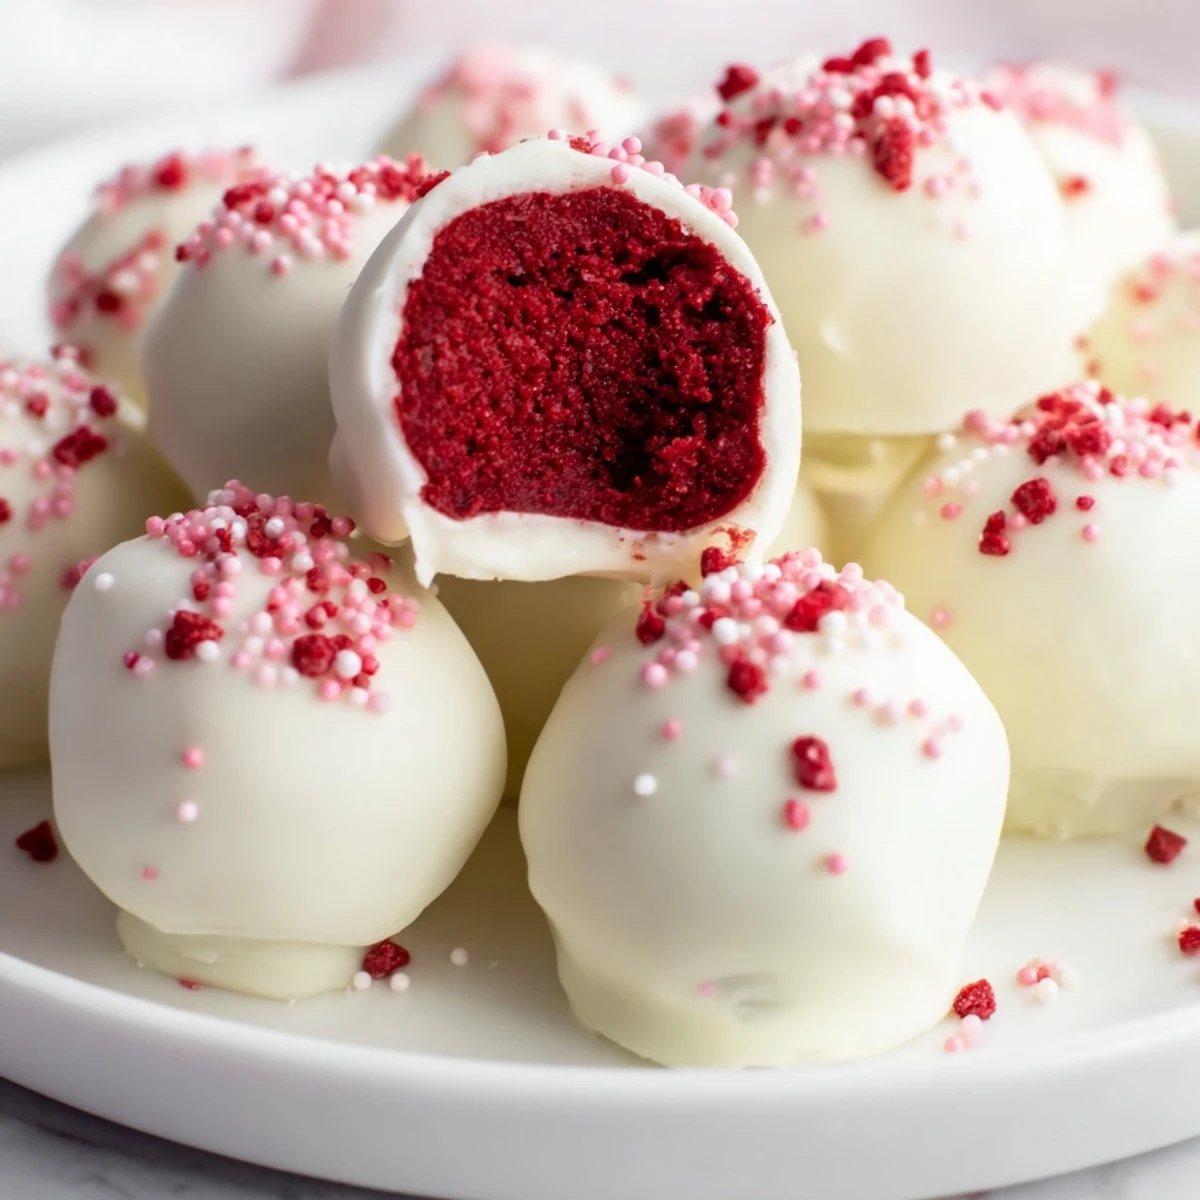
 These indulgent truffles transform classic red velvet cake into rich, bite-sized confections. The moist cake gets combined with smooth cream cheese for a fudgy interior, then each sphere is dipped in velvety white chocolate for the perfect sweet finish.
Great for make-ahead entertaining since they freeze beautifully before coating. The final chilling step ensures that signature truffle snap when you bite through the chocolate shell.
Customize with dark or milk chocolate coating, add sprinkles for festive occasions, or roll the edges in crushed nuts for texture variation.
My sister called me at 11 PM one night, breathless with excitement about her discovery. She'd stumbled upon a way to transform leftover red velvet cake into something even more indulgent than the original. I was skeptical until she showed up at my door the next day with a box of these velvet-smooth bites. Now they're my go-to whenever I need to impress someone without spending hours in the kitchen.
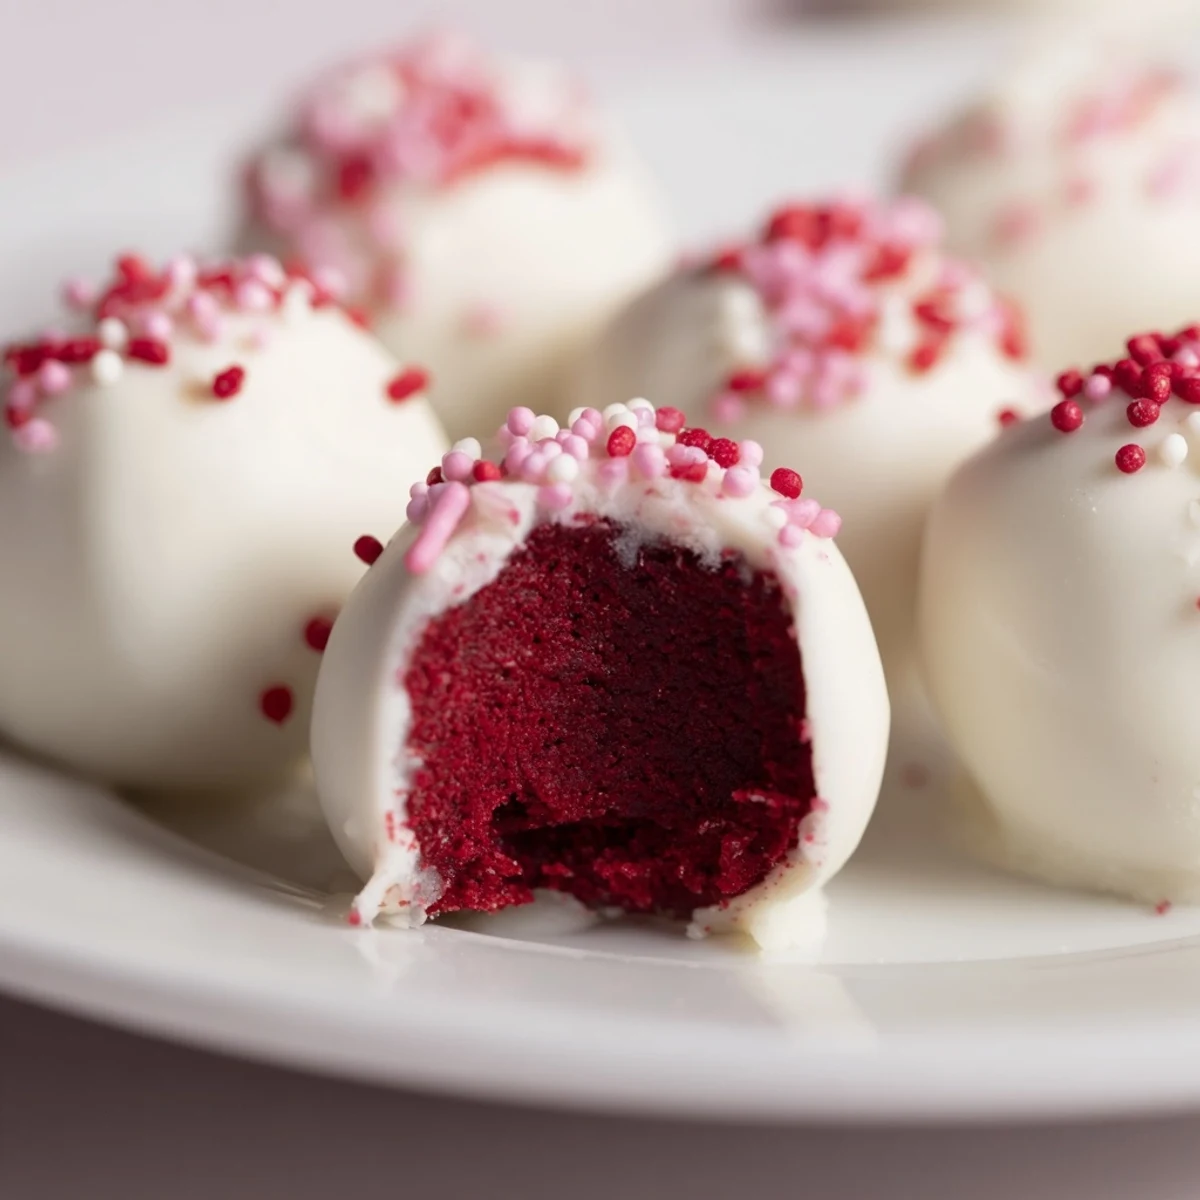
Last Christmas, I made three batches for our neighborhood cookie exchange and watched them disappear within minutes. My neighbor's daughter actually asked if I could teach her how to make them for her Valentine's Day fundraiser. There's something about that bright red center peeking through the white chocolate that makes people instantly curious.
Ingredients
- Red velvet cake mix: Using a high-quality mix saves time without sacrificing flavor. If you're feeling ambitious, homemade cake works beautifully too.
- Cream cheese: Must be completely softened to room temperature for seamless blending with the cake crumbs.
- White chocolate: Melting wafers create the smoothest coating but chips work fine with a bit of coconut oil added.
- Coconut oil: This little secret makes the white chocolate coating impossibly glossy and helps it set perfectly.
Instructions
- Bake your foundation:
- Preheat that oven to 350°F and prep your pan. Whisk together the cake mix, eggs, oil, and water until silky smooth, then bake for 25 to 30 minutes. Let it cool completely because warmth equals disaster in the next step.
- Create the truffle base:
- Crumble that cooled cake into fine crumbs. In another bowl, beat the cream cheese and powdered sugar until velvety, then mash it into those crumbs. You want a dough that holds its shape when squeezed.
- Roll and chill:
- Scoop tablespoon portions and roll them into balls between your palms. Freeze them for 20 to 30 minutes because firm balls don't fall apart during dipping.
- The chocolate bath:
- Melt the white chocolate in 20-second bursts, stirring between each one. Dip each ball using a fork, tap off the extra, and set them on fresh parchment. Add sprinkles while the chocolate's still soft.
- Final patience:
- Chill those beauties for at least 30 minutes so the coating sets completely. Your patience will be rewarded with perfectly coated truffles.
 Pin It
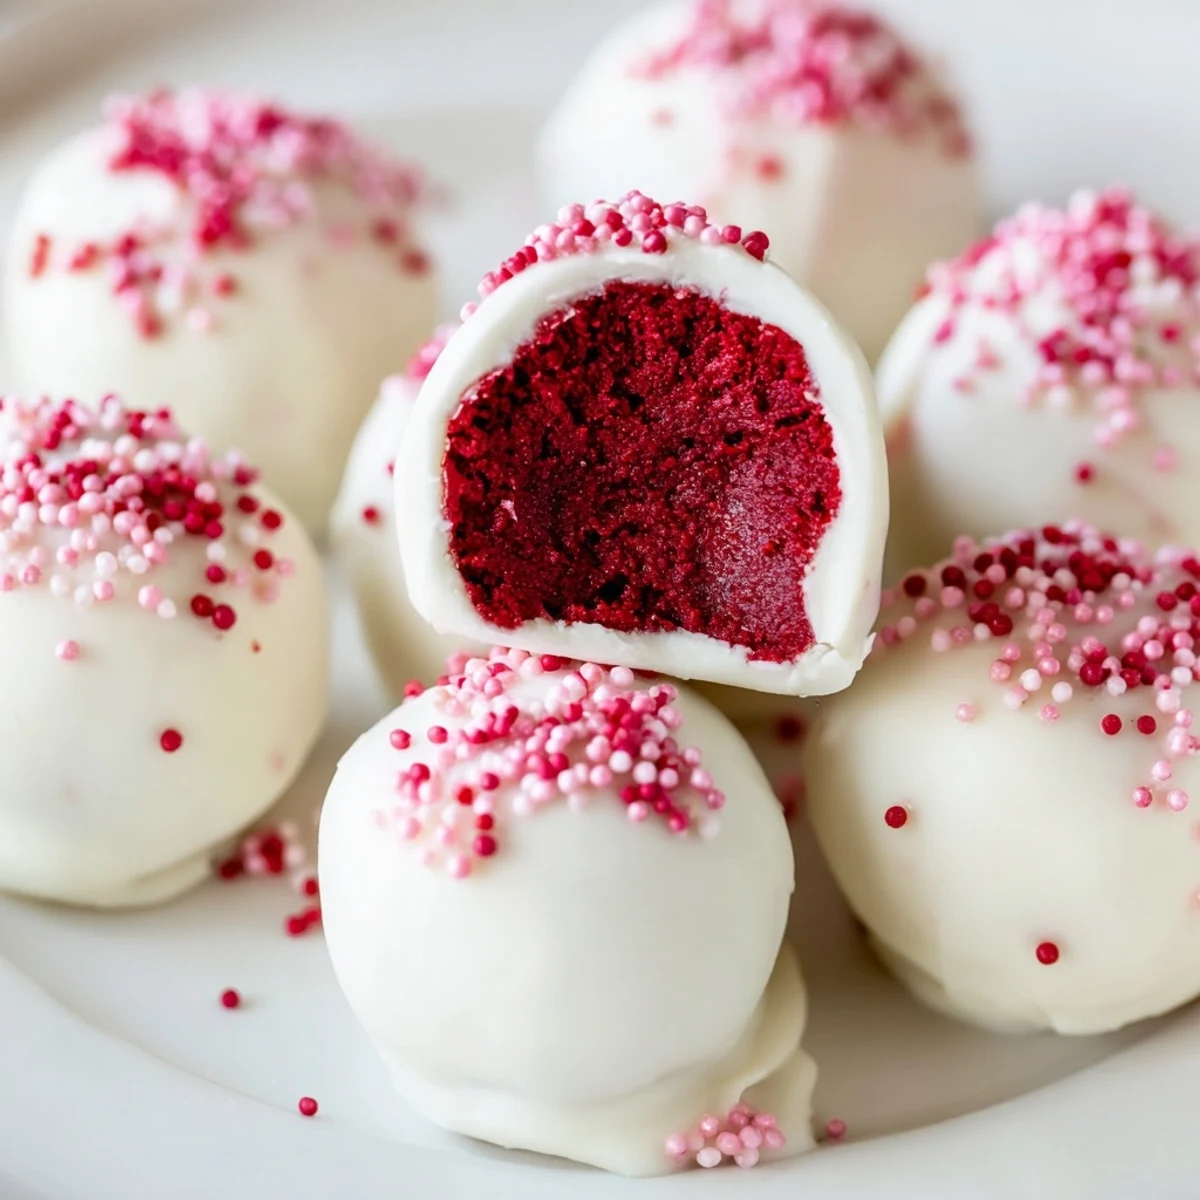
 These became my signature treat after I brought them to a book club meeting and everyone demanded the recipe. Now they're the first thing people ask for at every gathering. There's something magical about taking something familiar like red velvet cake and transforming it into bite-sized luxury.
Making Them Ahead
I've learned that these truffles freeze beautifully for up to a month before dipping. Roll and freeze the balls, then dip them a day before you need them. This secret has saved me more times than I can count during busy holiday seasons.
Flavor Variations
Sometimes I add a teaspoon of vanilla or almond extract to the cream cheese mixture for extra depth. Dark chocolate coating creates stunning contrast while milk chocolate makes them even more indulgent. Each variation feels like discovering a new dessert.
Presentation Perfection
These look absolutely stunning arranged on a white cake stand or in decorative cupcake liners. I like to vary the sprinkles for different occasions, from red and pink for Valentine's Day to gold stars for New Year's celebrations.
- Use a small cookie scoop for perfectly uniform truffles
- Keep a fork and a toothpick handy for smoothing out any coating imperfections
- Work quickly once the chocolate is melted because it thickens fast
 Pin It
 Watch these disappear faster than you can say red velvet. They're that kind of special.
Recipe Questions
- → How long do these truffles stay fresh?
-
Store in an airtight container in the refrigerator for up to 5 days. The coating stays firm and the filling remains creamy and moist.
- → Can I make these ahead of time?
-
Absolutely! You can freeze the shaped cake balls for up to a month before coating. Thaw slightly before dipping in melted chocolate for best results.
- → Why is my coating cracking?
-
This usually happens when the cake balls are too cold. Let them sit at room temperature for 5–10 minutes before dipping to prevent thermal shock on the chocolate.
- → Can I use homemade cake instead of mix?
-
Yes! Any red velvet cake recipe works. Just ensure it's completely cooled before crumbling and mixing with the cream cheese filling.
- → What if I don't like white chocolate?
-
Dark chocolate, milk chocolate, or even semi-sweet chips work beautifully. The richer chocolate flavor balances well with the sweet red velvet interior.
- → How do I get smooth truffles?
-
Crumble the cake into fine, even crumbs. Mix thoroughly with cream cheese until a uniform dough forms. Roll firmly between palms to create smooth, crack-free surfaces.
