 Pin It
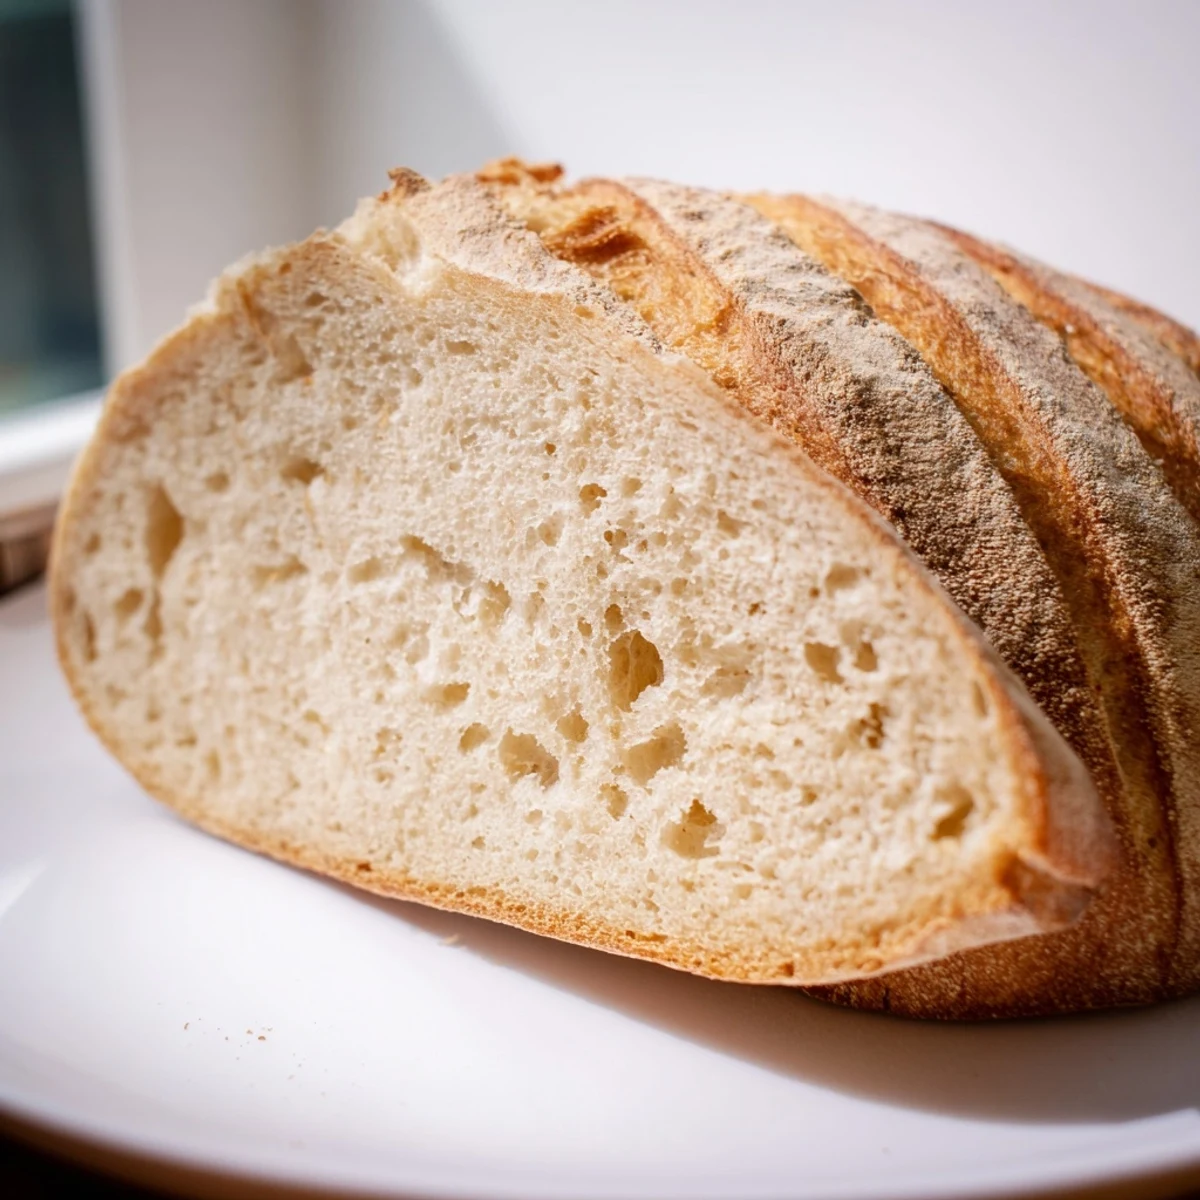
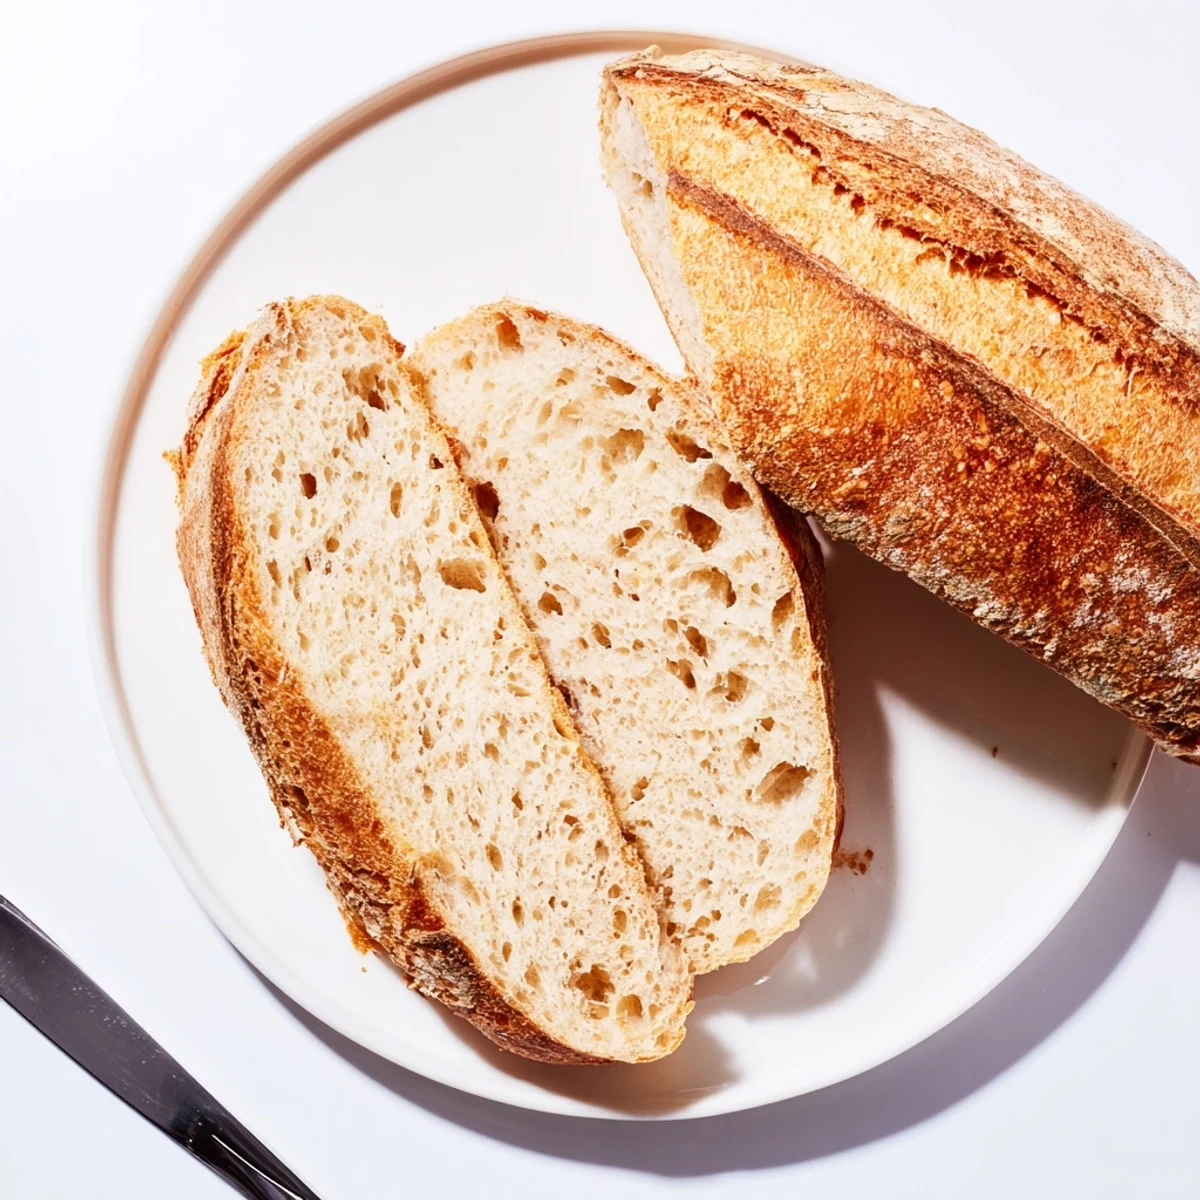
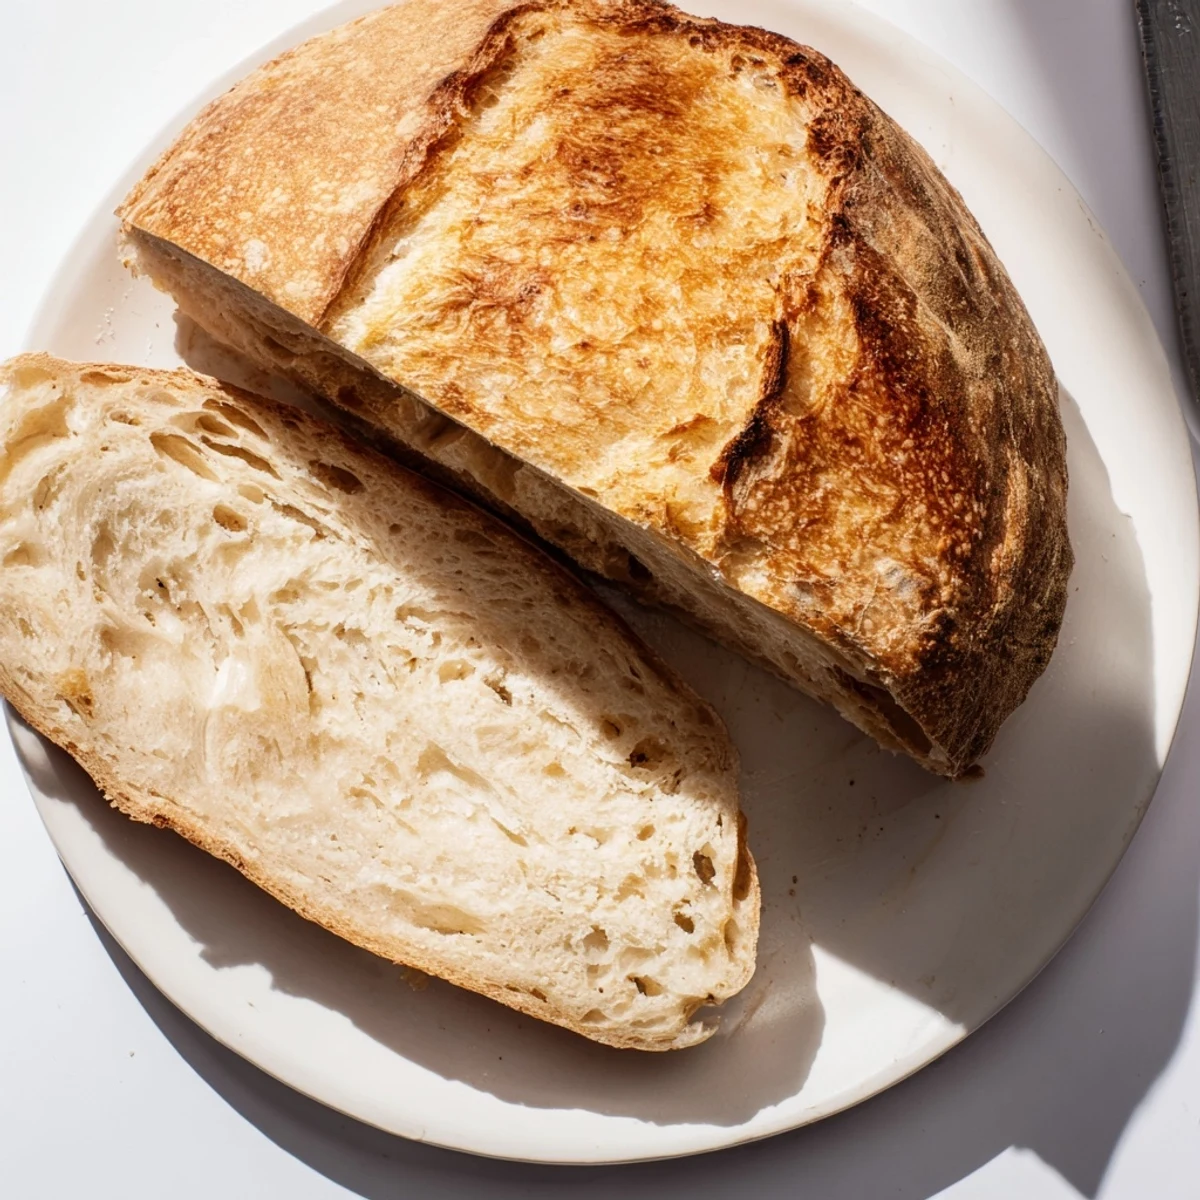
 Create bakery-style Italian bread with a crackling golden crust and tender, chewy crumb. This traditional loaf develops deep flavor through a slow fermentation process, while steam baking ensures that signature crispy exterior. Perfectly suited for bruschetta, panini, or simply torn and dipped in quality olive oil.
There's something almost meditative about bread-making, isn't there? I first attempted this Italian loaf during a rainy weekend when my tiny apartment felt too quiet. The smell of yeast blooming in warm water instantly transported me to my grandmother's kitchen, where bread wasn't just food but a way of marking time. Now, whenever I need to slow down, I find myself reaching for the flour.
I once made three loaves in one week because my roommate kept "accidentally" finishing them. We'd sit on the kitchen floor at midnight, still warm bread between us, arguing over who got the heel. That's when I realized good bread doesn't just feed people—it brings them together in the most wonderfully ordinary ways.
Ingredients
- Bread flour: Higher protein content than all-purpose, giving you that satisfying chewy interior and better structure
- Active dry yeast: Make sure your water is warm, not hot—around body temperature is perfect to wake those tiny organisms up
- Olive oil: Adds subtle richness and keeps the crumb tender
- Salt: Don't be tempted to reduce this—it's crucial for flavor and controlling fermentation
- Sugar: Just enough to feed the yeast and help develop that golden crust
- Cornmeal: Prevents sticking and adds a rustic crunch to the bottom crust
Instructions
- Wake up the yeast:
- Dissolve yeast and sugar in warm water, then wait patiently until it bubbles and foams—this tells you the yeast is alive and ready to work
- Build the foundation:
- Mix flour and salt in a large bowl, create a well in the center, then pour in the yeast mixture and olive oil
- Knead until magical:
- Turn onto a floured surface and knead for 8 to 10 minutes until the dough transforms from shaggy to smooth and springs back when poked
- First rise:
- Place dough in an oiled bowl, cover, and let it rise in a warm spot until doubled—this usually takes 1 to 1.5 hours
- Shape and rise again:
- Punch down gently, form into a tight oval or round, then let it rest for 45 minutes while you preheat the oven
- Create steam:
- Place an empty pan on the bottom rack while preheating, then pour hot water into it just before baking for that professional crust
- Bake to golden perfection:
- Slash the top with a sharp knife, then bake at 220°C for 30 to 35 minutes until the loaf sounds hollow when tapped on the bottom
- Cool completely:
- Resist the urge to slice while warm—let it cool on a wire rack so the interior finishes setting properly
 Pin It
 Last summer, I brought this bread to a potluck and people literally fought over the last slice. Someone asked for the recipe, and I realized I'd been making it so long I didn't measure anything anymore. That's the beautiful thing about bread—eventually, your hands just know.
Getting the Crust Right
The secret to professional-looking loaves is scoring the dough just before baking. Use your sharpest knife and make confident, swift cuts about half an inch deep. This guides the bread's expansion and creates those gorgeous ridges that make everyone think you've been secretly attending culinary school.
Customizing Your Loaf
Once you master the basic recipe, try adding 2 teaspoons of dried rosemary or thyme directly to the flour mixture. I've also had great success mixing in chopped olives or sun-dried tomatoes during the final shaping. Just remember to keep any heavy additions in small chunks so they don't tear through your carefully developed gluten network.
Storage and Freshness
Homemade bread has a shorter shelf life than store-bought, but that's part of its charm. Store it in a paper bag at room temperature for up to two days. After that, slice and freeze it in airtight bags—then you can toast individual slices straight from the freezer and they'll taste freshly baked.
- Never refrigerate bread—it goes stale six times faster at cold temperatures
- Revive slightly stale loaves with a quick sprinkle of water and 10 minutes in a hot oven
- Day-old bread makes the most incredible panzanella or bruschetta you've ever tasted
 Pin It
 There's honest pride in pulling a golden, crackling loaf from your own oven. Hope your kitchen fills with warmth and wonderful aromas.
Recipe Questions
- → What makes Italian bread crusty?
-
The combination of high oven temperature and steam creates a golden, crackling crust. Pouring hot water into a preheated pan generates steam that keeps the crust flexible initially, allowing maximum oven spring before hardening into that signature crunch.
- → How do I know when the dough has risen enough?
-
The dough is ready when it has doubled in size and a gentle finger press leaves an indentation that slowly springs back. This typically takes 1-1.5 hours in a warm, draft-free location.
- → Why score the bread before baking?
-
Scoring creates controlled weak points in the dough's surface, allowing trapped gases to escape during baking. This prevents unsightly tearing and helps the loaf expand properly for an attractive shape and texture.
- → Can I make this bread without a stand mixer?
-
Absolutely. Hand-kneading for 8-10 minutes develops gluten just as effectively. The dough should transform from shaggy to smooth and elastic, springing back when lightly touched.
- → How should I store this Italian bread?
-
Store at room temperature in a paper bag for up to 2 days, allowing the crust to breathe. For longer storage, slice and freeze in an airtight container—toast individual slices directly from frozen.
