 Pin It
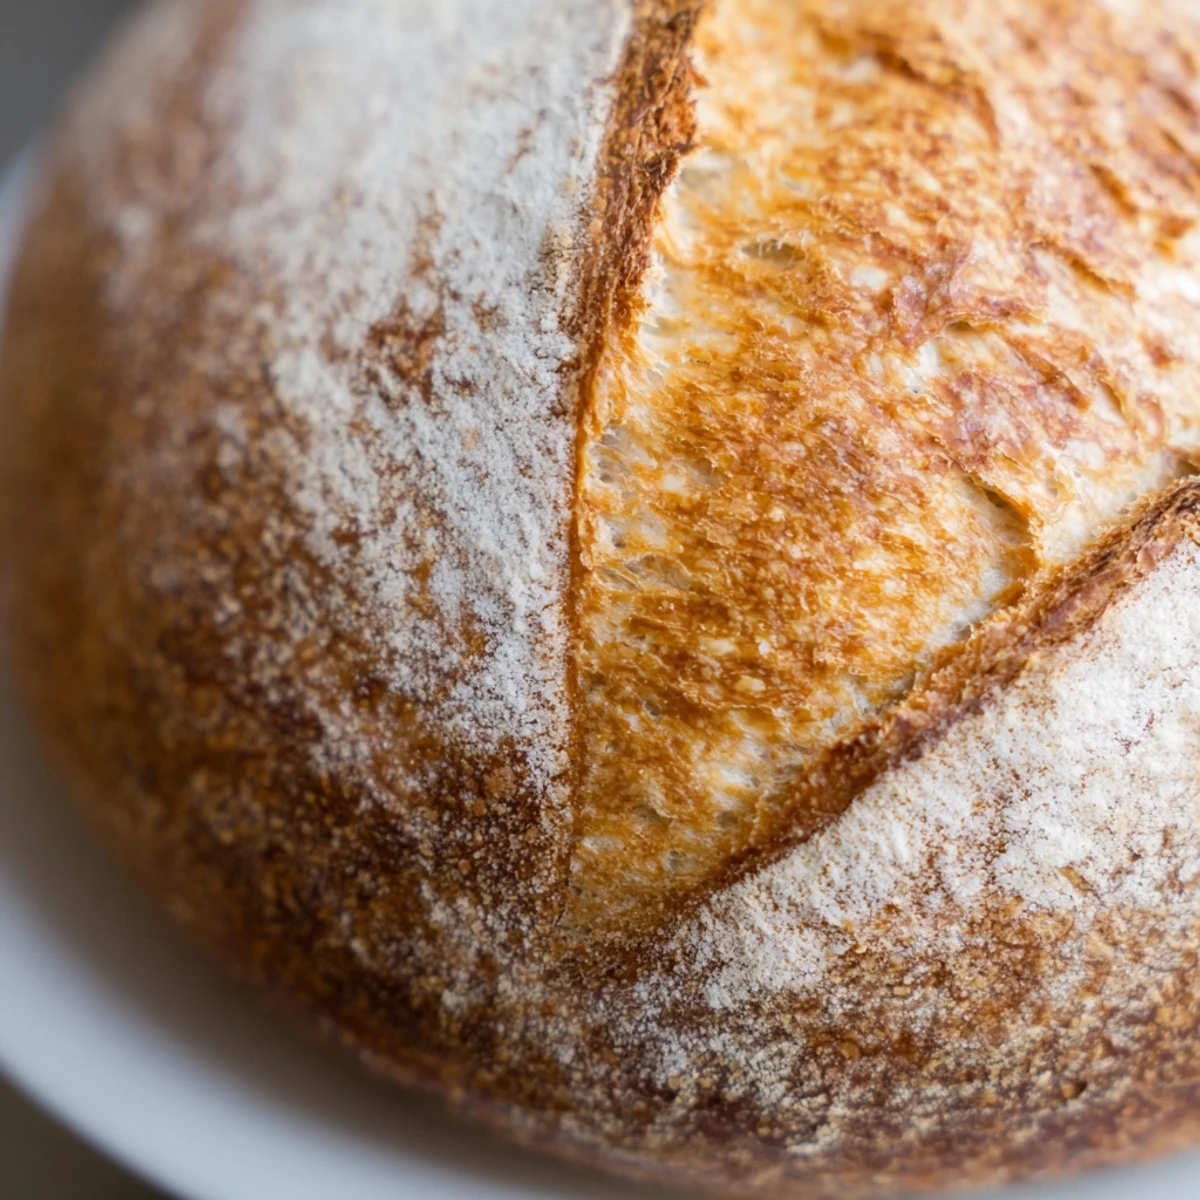
 These classic French bread rolls feature a beautifully crispy golden crust with a tender, airy interior. Perfect alongside soups, salads, or simply warm with melted butter. The dough requires simple pantry staples and benefits from proper rising time to achieve that authentic bakery texture. Steam during baking creates the signature crackly crust.
The steam hitting my face when I opened the oven door that first attempt at bakery style rolls still makes me smile. I had flour in my hair, yeast water splashed across the counter, and absolutely no idea if these would actually turn into bread or just hard rocks. When they emerged golden and singing that crackling song only well baked bread makes, I knew I would never buy rolls again.
My youngest started calling them thunder bread because of the sound they make when we tear them open at the table. Now whenever I pull the baking sheet from the oven, the whole family congregates in the kitchen like its some sort of magnetic force. We have burned fingers more than once reaching for rolls too hot to handle but impossible to resist.
Ingredients
- Bread flour: Higher protein content than all purpose creates that chewy interior and structure we want
- Lukewarm water: Test it on your wrist like babys milk, too hot kills yeast, too cold makes it sleepy
- Active dry yeast: Give it time to foam and bubble before moving on, this tells you its alive and working
- Salt: Do not skip or reduce, its what gives bread its flavor and strengthens the gluten structure
- Sugar: Just a teaspoon helps feed the yeast and contributes to that beautiful golden color
Instructions
- Wake up the yeast:
- Dissolve sugar in lukewarm water then sprinkle yeast on top and wait until it transforms into a foamy layer, about 5 to 10 minutes of patience
- Build the dough:
- Mix flour and salt into the yeast mixture until it comes together, then turn onto a floured surface and knead for 8 to 10 minutes until smooth and elastic like a content earlobe
- First rise:
- Place dough in a greased bowl, cover with a damp cloth, and let it rest in a warm corner until it has doubled, which takes about an hour
- Shape the rolls:
- Punch down gently, divide into 8 equal pieces, and form each into a smooth ball by tucking edges underneath until the surface is tight
- Second rise:
- Arrange on parchment paper, cover loosely, and let them puff up for another 30 to 40 minutes until they look plump and ready
- Create the steam:
- Preheat oven to 230 degrees with a tray of water on the bottom rack, this humidity is what gives bakery bread its signature crust
- Score and bake:
- Dust tops lightly with flour, slash each roll with a sharp knife, then bake for 20 to 25 minutes until deeply golden and crusty all over
 Pin It
 These rolls have become our Sunday tradition, even if the rest of the meal is just scrambled eggs and whatever vegetables need using up. There is something profoundly satisfying about pulling apart something you created with your own hands while its still warm enough to melt butter instantly.
Getting That Perfect Crust
The difference between good bread and great bread often comes down to steam and temperature. I learned this after months of making rolls that tasted delicious but lacked that professional looking appearance. The water in the oven creates steam that keeps the outer dough flexible longer, allowing for maximum oven spring and that dramatic golden crunch.
Shaping Techniques
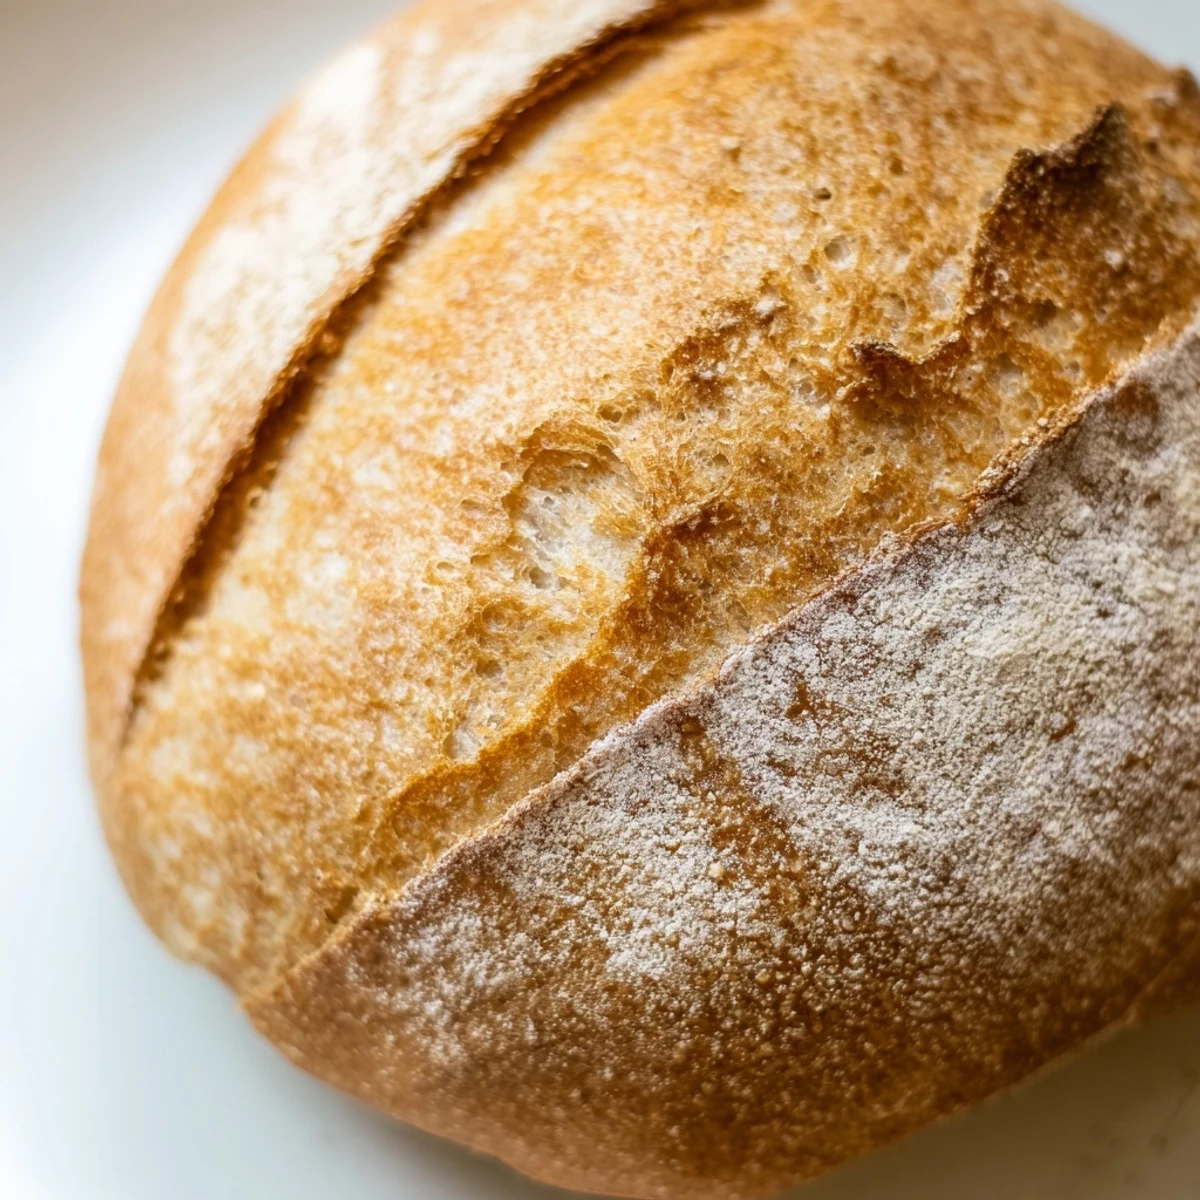
Forming perfect round rolls takes practice and your first few might look more like lopsided potatoes than bakery perfection. The secret is creating surface tension by pulling the dough tight and tucking all the seams underneath, which helps the rolls rise upward instead of spreading outward like sleepy puddles.
Make Ahead Wisdom
You can actually shape these rolls after the first rise, refrigerate them overnight on the baking sheet covered tightly, and bake them fresh the next morning. The cold slows down fermentation and develops deeper flavor, plus you wake up to the smell of baking bread instead of an alarm clock.
- Let refrigerated dough come to room temperature for about 30 minutes before baking
- If the surface looks dry, brush with water before slashing and baking
- They reheat beautifully in a 180 degree oven for 5 minutes
 Pin It
 There is nothing quite like the sound of a kitchen going quiet as everyone tears into their first warm roll. Simple bread has a way of making ordinary days feel like celebrations.
Recipe Questions
- → How do I get a really crispy crust?
-
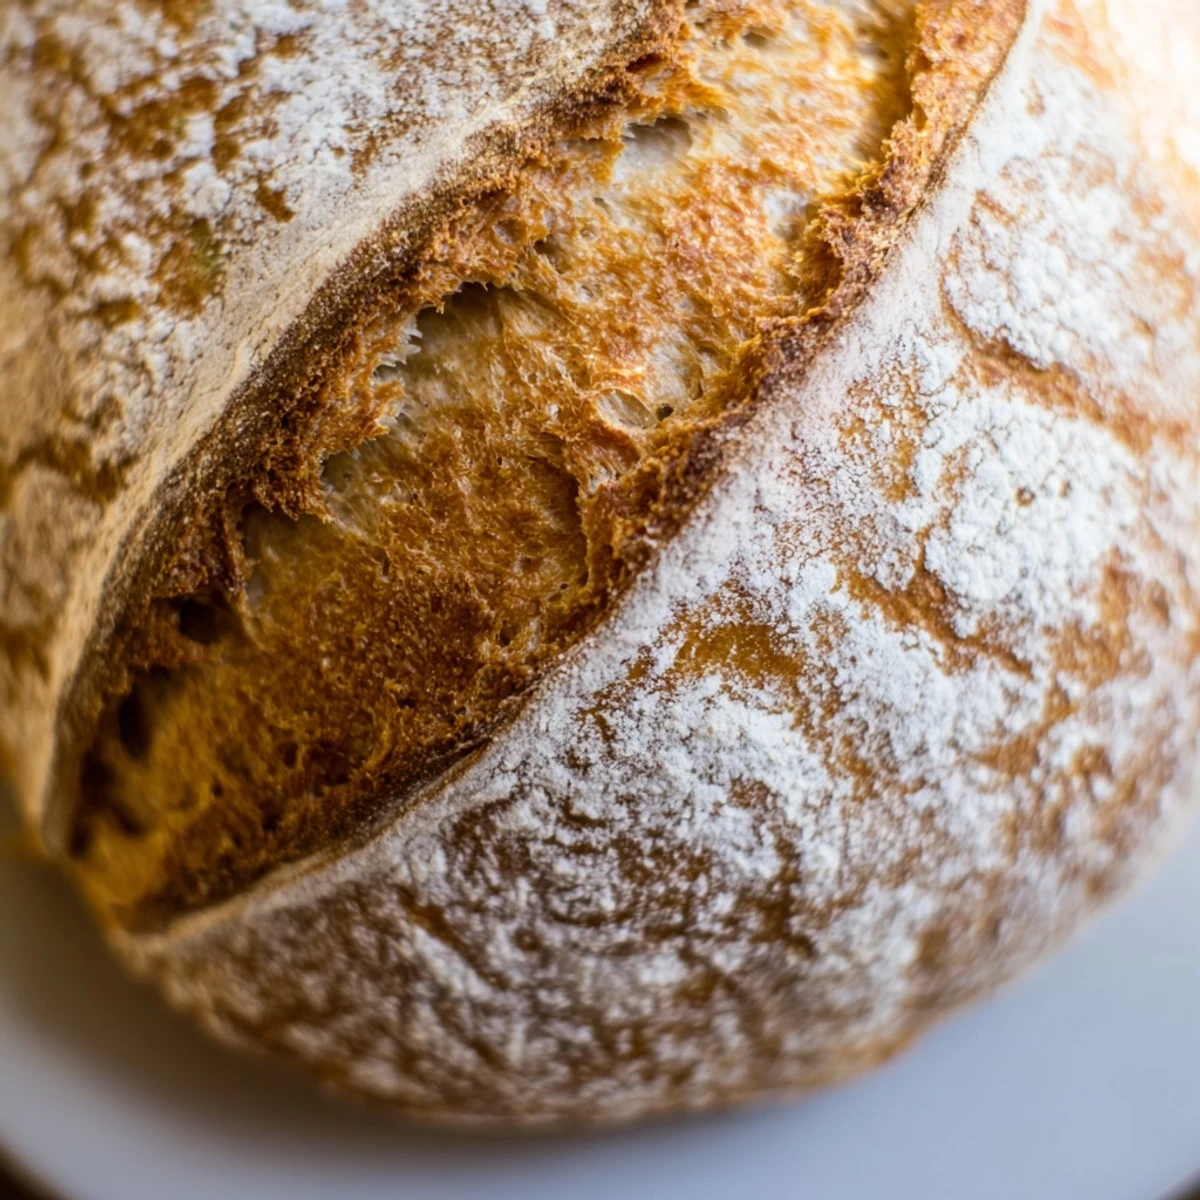
Creating steam in the oven is the secret to a crispy crust. Place a tray of water on the bottom rack while preheating. The steam gelatinizes the surface starch, creating that beautiful crackly exterior.
- → Can I make these rolls ahead of time?
-
Yes! After shaping the rolls, you can refrigerate them overnight on a parchment-lined baking sheet, covered tightly. Let them come to room temperature and complete their final rise before baking.
- → Why did my rolls turn out dense?
-
Dense rolls usually result from under-kneading or insufficient rising time. Knead until the dough passes the windowpane test, and allow it to fully double during both rises. A warm, draft-free spot helps yeast activity.
- → Can I use all-purpose flour instead of bread flour?
-
You can substitute all-purpose flour, though bread flour provides better structure and chewiness due to its higher protein content. The rolls may be slightly less fluffy but still delicious.
- → How should I store these French bread rolls?
-
Store in a paper bag at room temperature for up to 2 days to maintain crust texture. For longer storage, freeze in an airtight bag and refresh in a 350°F oven for 5-10 minutes before serving.
- → What's the purpose of slashing the tops?
-
Slashing controls where the dough expands during baking, creating that attractive artisan appearance. It also helps the interior cook evenly while allowing steam to escape for better crust formation.
