 Pin It
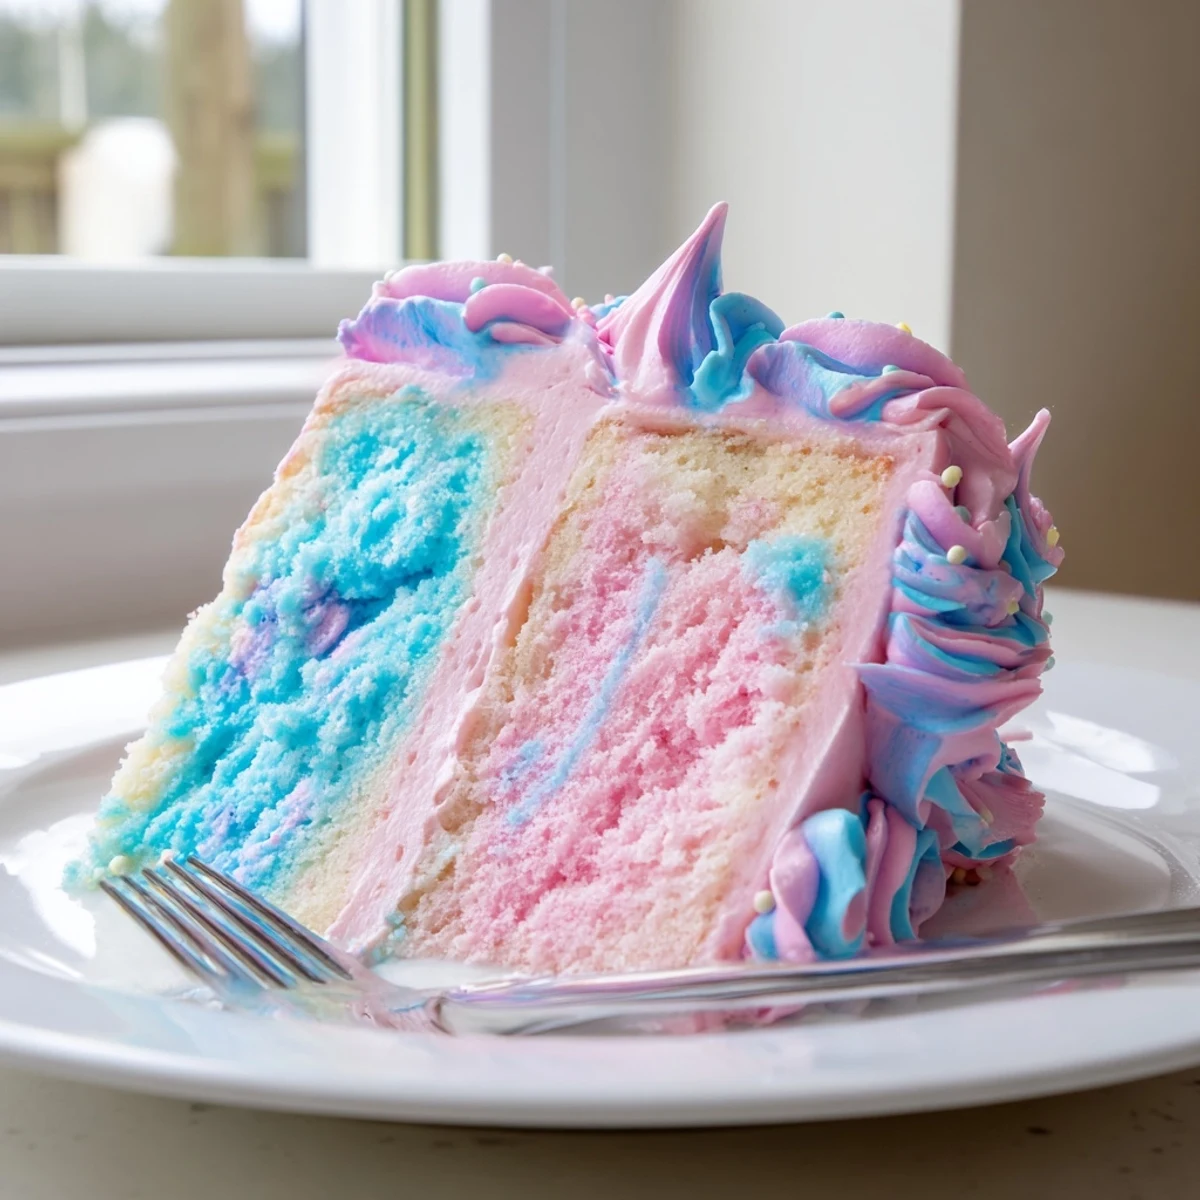
 This cotton candy cake brings the carnival classic to your dessert table with light, fluffy layers tinted in vibrant pink and blue. Each layer is infused with cotton candy flavoring, creating a sweet, nostalgic taste that pairs perfectly with the silky buttercream frosting.
The buttercream is also divided and tinted, allowing you to create beautiful alternating swirls across the frosted cake. Garnished with fresh cotton candy and sprinkles just before serving, this showstopping dessert is ideal for birthdays, parties, and any celebration that calls for a touch of whimsy.
My niece pointed at a cotton candy cake on a phone screen at a county fair and declared it the only thing she wanted for her seventh birthday, so I drove home that evening and started experimenting with flavorings until my kitchen smelled like a carnival midway.
When I brought the finished cake to the party table seven little faces froze mid chaos and stared at the pastel swirls like I had conjured something from a storybook.
Ingredients
- All purpose flour (2 1/2 cups, 315 g): Spoon and level it gently because packed flour makes the cake dense instead of cloud light.
- Baking powder (1 tbsp): Check the expiration date because dead baking powder means flat sad layers.
- Salt (1/2 tsp): Just enough to sharpen the sweetness without announcing itself.
- Granulated sugar (1 1/2 cups, 300 g): Cream it thoroughly with the butter because this is where the fluffiness begins.
- Unsalted butter (3/4 cup, 170 g, softened): Room temperature butter incorporates properly so pull it out an hour ahead.
- Large eggs (4): Add them one at a time so the batter stays smooth and emulsified.
- Whole milk (1 cup, 240 ml): The fat in whole milk keeps the crumb tender and moist.
- Vanilla extract (1 tbsp): A generous amount rounds out the cotton candy flavoring beautifully.
- Cotton candy flavoring (1/4 tsp or to taste): A little goes a long way so taste as you go.
- Pink and blue gel food coloring: Gel colors are vibrant without thinning the batter.
- Unsalted butter for buttercream (1 cup, 226 g, softened): Beat it alone first until pale and creamy for the silkiest frosting.
- Powdered sugar (4 cups, 480 g, sifted): Sifting prevents gritty lumps in your buttercream.
- Whole milk or heavy cream (3 to 4 tbsp): Add gradually to reach a spreadable pipeable consistency.
- Cotton candy flavoring for buttercream (1/2 tsp): Slightly more than the cake because frosting needs to carry the flavor.
- Cotton candy for garnish: Place it on the cake at the very last second because humidity melts it fast.
- Sprinkles (optional): Choose round soft sprinkles because long thin ones can bleed color into the frosting.
Instructions
- Prep your pans and oven:
- Heat the oven to 350 degrees F (175 degrees C), grease two 8 inch round pans with butter and flour them, or line the bottoms with parchment circles for a clean release.
- Whisk your dry team:
- In a medium bowl, combine the flour, baking powder, and salt with a few confident whisk strokes and set it aside.
- Cream butter and sugar:
- Beat the softened butter and sugar together in a large bowl on medium high speed until the mixture turns pale and feels airy, about three minutes.
- Bring in the eggs:
- Add each egg one at a time, letting the mixer run for a good twenty seconds between additions so everything stays silky.
- Add the flavor:
- Pour in the vanilla extract and cotton candy flavoring, then give the bowl a sniff because that aroma tells you if you are on the right track.
- Combine wet and dry:
- Add the flour mixture in three additions alternating with the milk in two, starting and ending with flour, and mix only until the streaks disappear.
- Split and color:
- Divide the batter evenly between two bowls, fold pink gel coloring into one and blue into the other, and stop as soon as the color looks even.
- Bake the layers:
- Pour each colored batter into its prepared pan, smooth the tops, and bake 28 to 32 minutes until a toothpick poked in the center comes out clean.
- Cool completely:
- Let the cakes rest in their pans for ten minutes, then turn them onto wire racks and wait patiently because warm cake and buttercream are sworn enemies.
- Make the buttercream:
- Beat the butter alone until creamy, then add the powdered sugar in four batches, mixing well each time, before stirring in the cotton candy flavoring and just enough milk to reach a lush spreadable texture.
- Tint the frosting:
- Split the buttercream in half and color one portion pink and the other blue, mixing gently so you do not knock out the air you worked hard to create.
- Assemble and decorate:
- Level the cake layers if they domed, set the first layer on a plate, spread one color of buttercream on top, stack the second layer, and frost the outside with swooping alternating dollops of pink and blue frosting.
- The final flourish:
- Tear off clouds of cotton candy and gently press them onto the cake along with sprinkles, stepping back to admire your work before it all gets devoured.
 Pin It
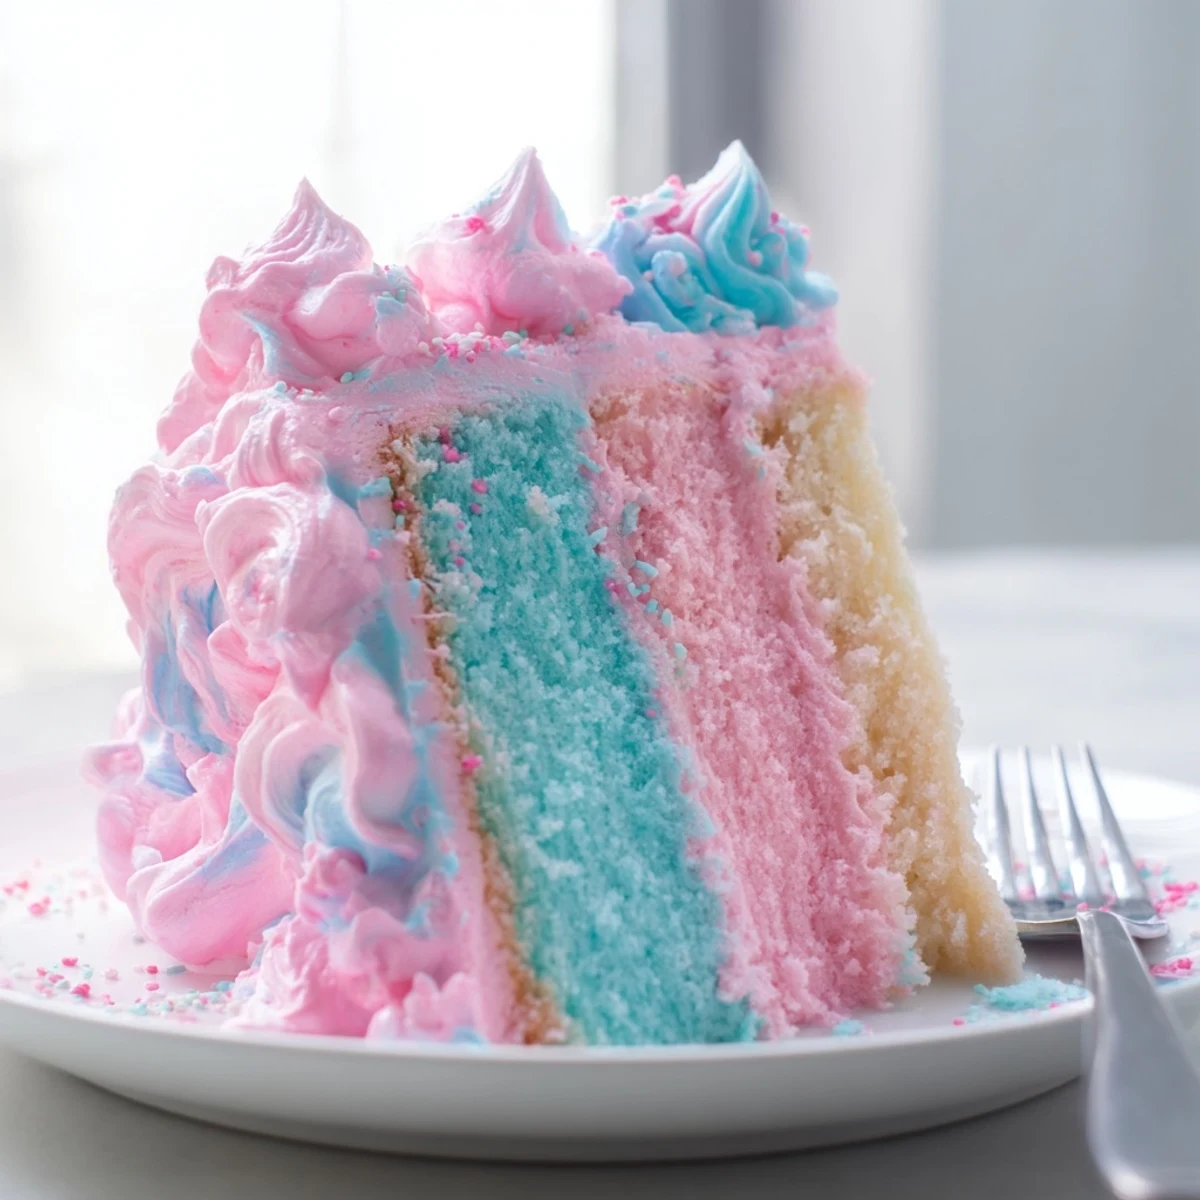
 Watching a group of children sing happy birthday around something I had created with my own hands made the flour dusted counters and sticky spatulas feel completely worth it.
Getting the Color Right
Gel food coloring is the only way to achieve those vivid pastel shades without turning your batter into soup. Start with a tiny dab on the end of a toothpick and build up because you can always add more but you cannot take it away.
Flavoring Without Overpowering
Cotton candy flavoring walks a fine line between whimsical and cloying so I recommend tasting the batter before you commit. Remember that the flavor intensifies slightly after baking.
Serving and Storage Tips
Keep this cake in a cool dry spot covered with a cake dome and consume it within two days for the best texture. Avoid refrigerating the frosted cake if you added cotton candy on top because condensation will destroy the decoration.
- Assemble and frost the cake the day of your event for maximum visual impact.
- If you need to prepare ahead, bake and freeze the naked layers wrapped tightly in plastic for up to one month.
- Always add cotton candy and sprinkles no more than fifteen minutes before serving.
 Pin It
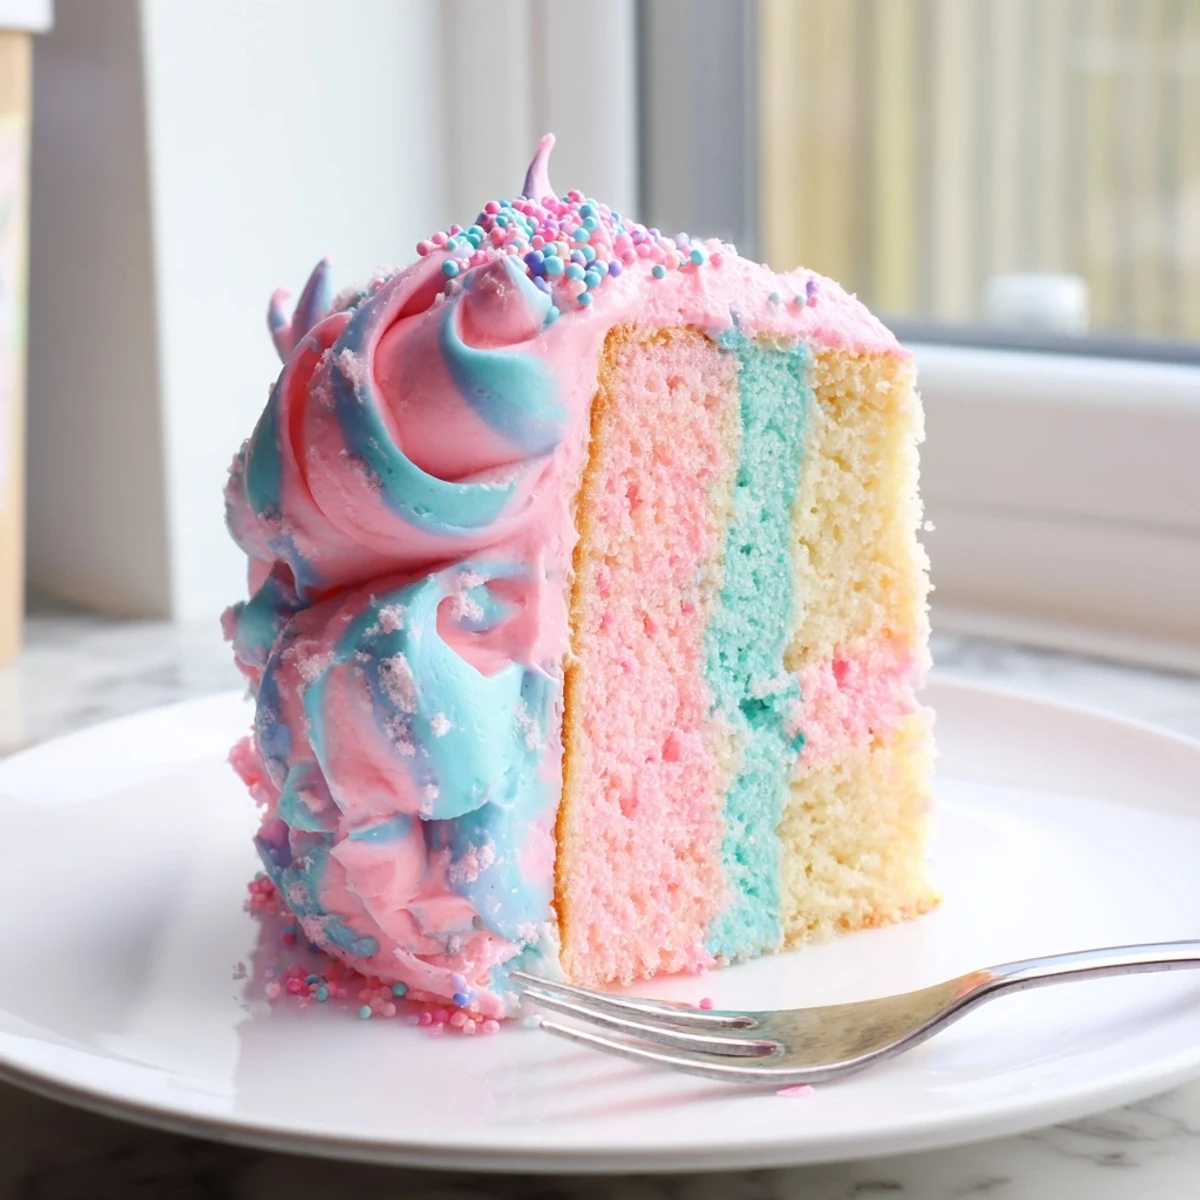
 Every celebration deserves at least one showstopper, and this cotton candy cake will have everyone from toddlers to grandparents reaching for a second slice.
Recipe Questions
- → Where can I find cotton candy flavoring?
-
Cotton candy flavoring is available online through retailers like Amazon or at specialty baking supply stores. It typically comes in small bottles, and a little goes a long way. You can also check the baking aisle of well-stocked grocery stores.
- → Can I make this cake without cotton candy flavoring?
-
Yes, you can substitute with vanilla extract or a combination of vanilla and a hint of raspberry or strawberry flavoring to mimic the sweet, fruity profile of cotton candy. The visual impact will still be stunning with the pink and blue layers.
- → Why should I add the cotton candy garnish right before serving?
-
Cotton candy begins to dissolve and melt when exposed to moisture and air for extended periods. Adding it as a garnish at the last moment ensures it retains its fluffy, wispy texture and visual appeal on the cake.
- → How do I store leftover cotton candy cake?
-
Store leftover cake in an airtight container in the refrigerator for up to three days. Remove any remaining cotton candy garnish before refrigerating, as it will dissolve. Let the cake come to room temperature for about 30 minutes before serving for the best texture.
- → Can I use different colors for the cake layers?
-
Absolutely. You can tint the batter any colors you like using gel food coloring. Pastel shades like lavender and mint green work beautifully. Gel food coloring is recommended over liquid because it provides vibrant color without altering the batter consistency.
- → How do I achieve a smooth buttercream finish?
-
After frosting the cake, dip your offset spatula in hot water, wipe it dry, and run it over the buttercream in long, smooth strokes. The warmth helps soften the buttercream slightly, creating a cleaner, more polished finish.
