 Pin It
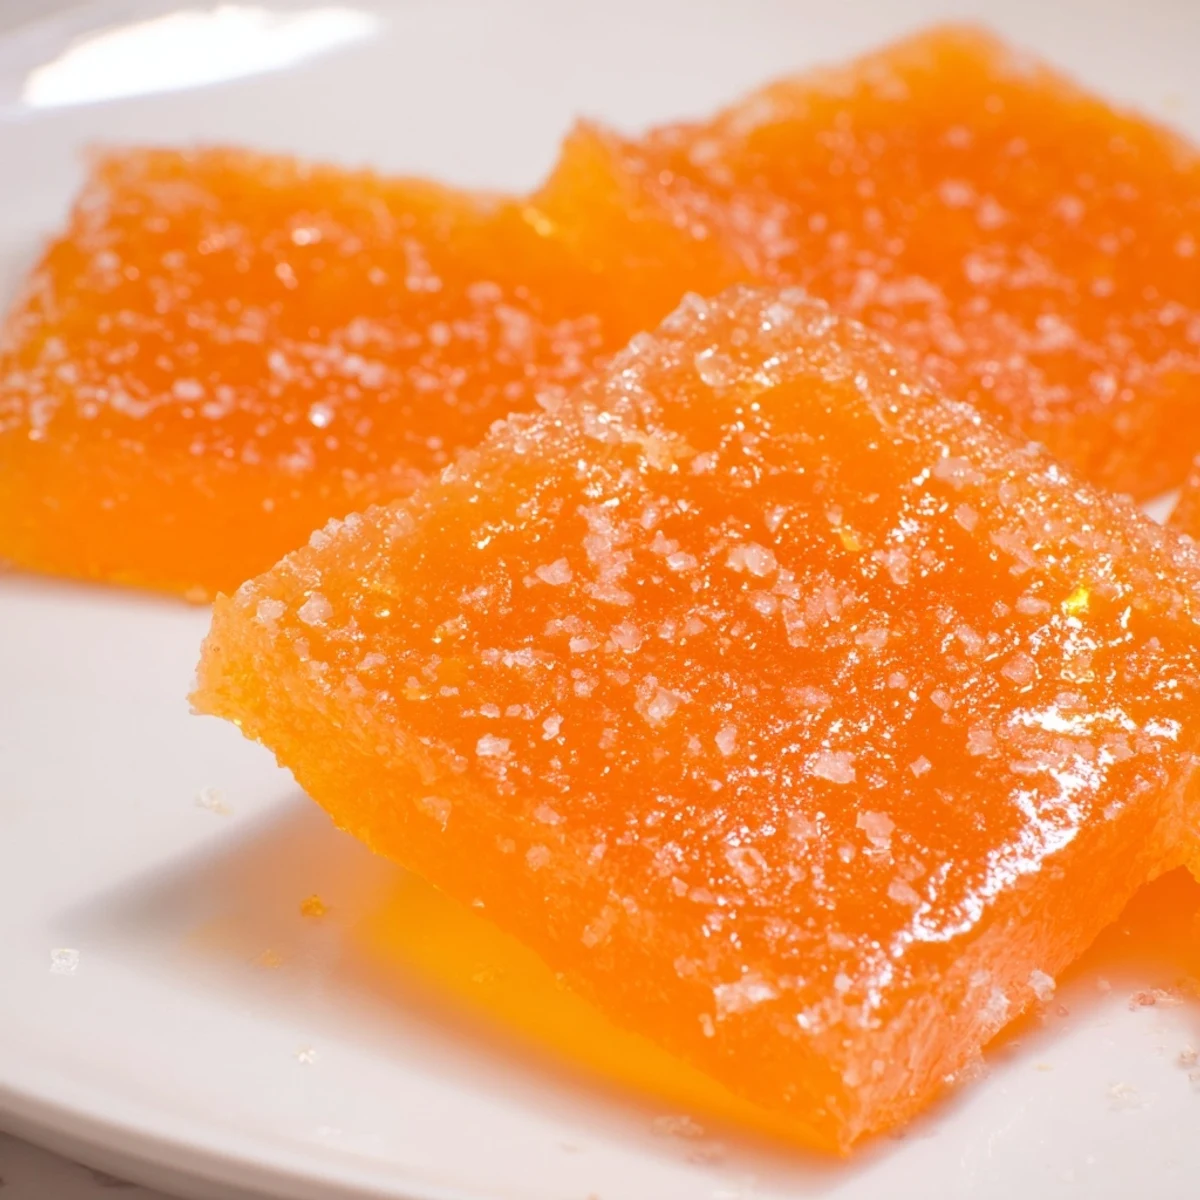
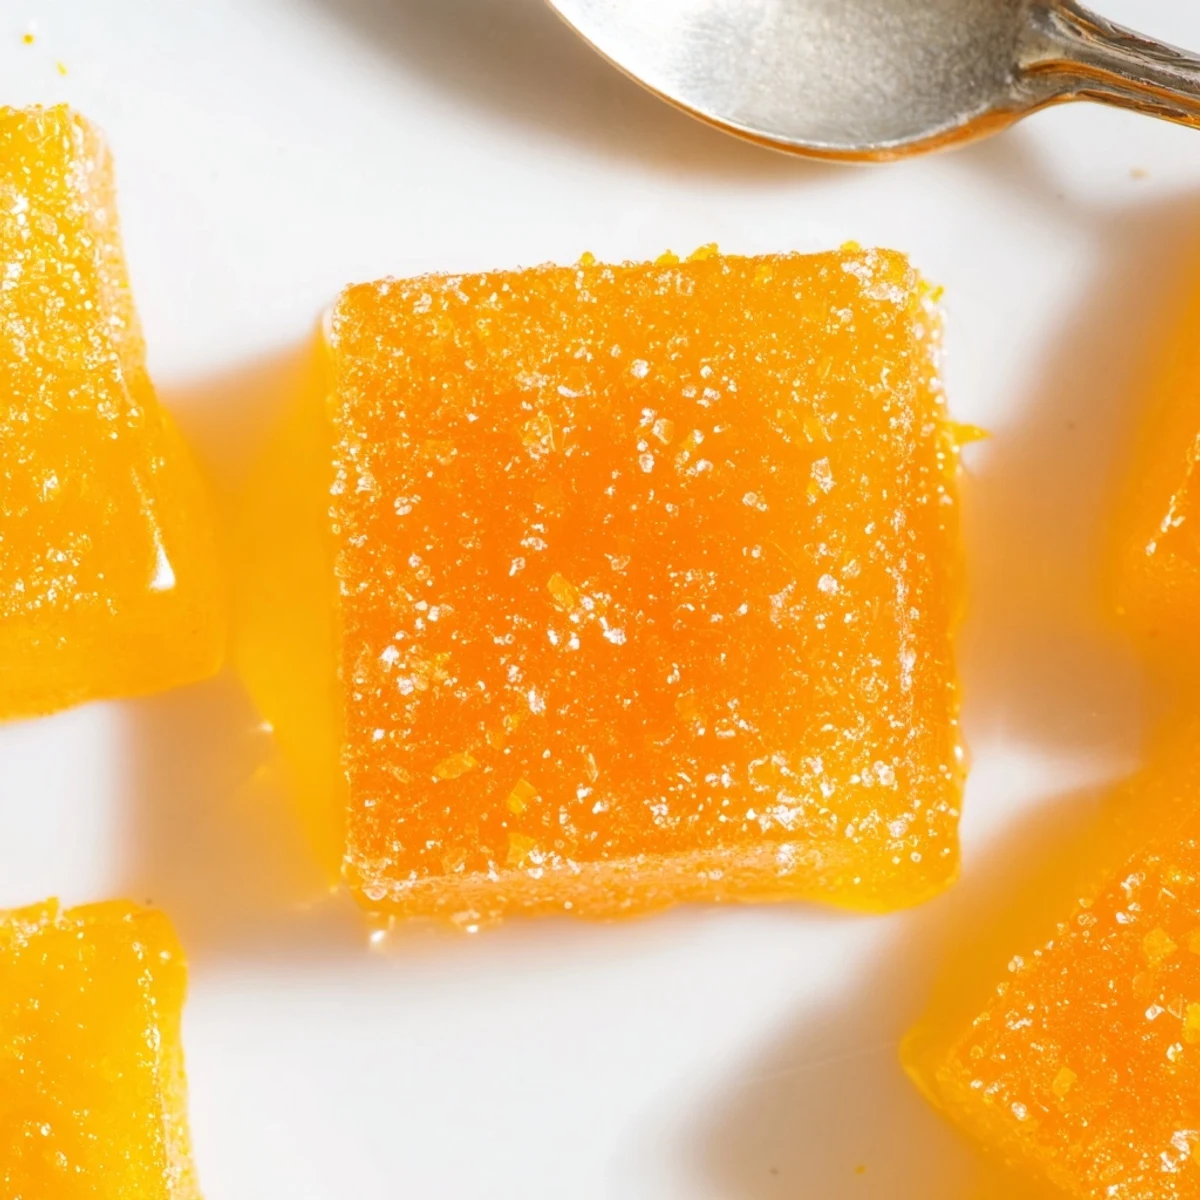
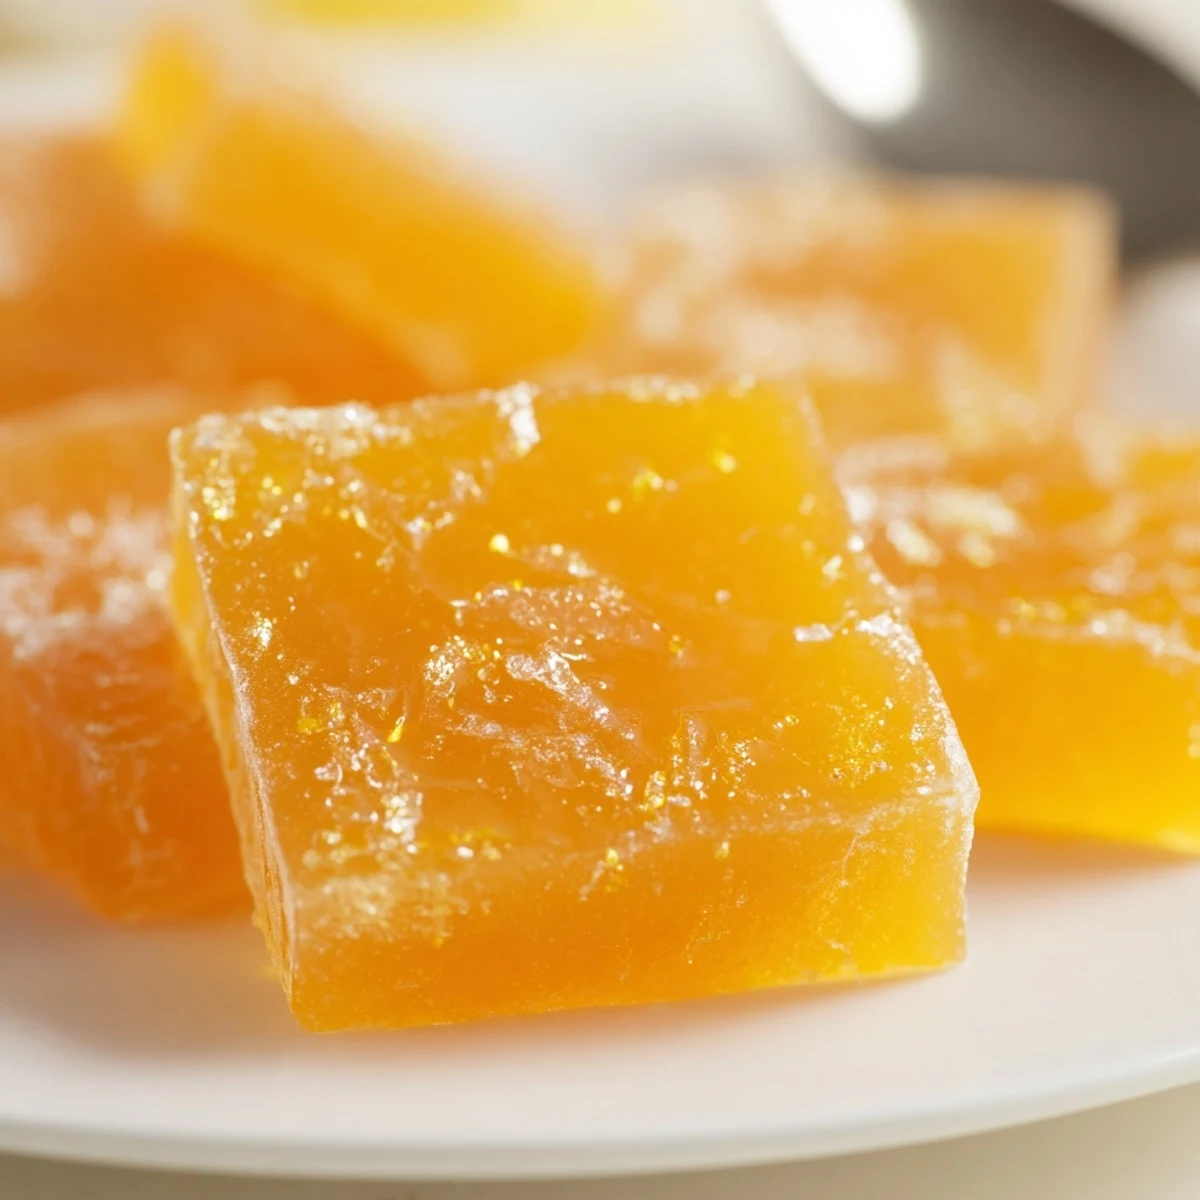
 Bright, chewy orange candies are prepared by simmering fresh orange juice, zest, sugar, and corn syrup to the soft‑ball stage (240°F/115°C), then stirring in bloomed gelatin and pouring into a lined pan to set. After chilling 2–3 hours, cut into squares and toss in granulated sugar. Use a candy thermometer for consistent texture; agar-agar can replace gelatin for vegetarian needs.
The very first time orange candies became a kitchen experiment was on a rainy afternoon, when the sharp scent of citrus turned my tiny apartment into a sunlit grove. I wasn’t aiming for anything extravagant, just hoping to chase gloom away with something vibrant. As the sugar bubbled and the orange zest perfumed the air, I realized store-bought sweets never felt this bright. I ended up with sticky counters and even stickier fingers, but every bite felt like a little flash of summer.
Last winter, a friend came by unexpectedly carrying a bag of blood oranges and a tired smile. We quickly squeezed, zested, laughed about our failed attempts at caramel, and set a batch of orange candy to cool on the counter. Sharing those homemade treats, still faintly warm, made us both feel unexpectedly accomplished. Now, whenever I cut these candies, I think of that day and her bright red juice stains on the cutting board.
Ingredients
- Freshly squeezed orange juice: Using juice straight from the fruit gives the most natural flavor, and straining out the pulp ensures a clear, smooth candy.
- Orange zest: Zesting with light pressure avoids any bitter white pith – it’s the tiny flecks that bring extra depth and aroma.
- Granulated sugar: Regular sugar is best for dissolving evenly; don’t substitute with brown as it changes the texture.
- Light corn syrup or glucose syrup: This is what keeps your candies glossy and chewy instead of gritty or crystallized.
- Water: Split for dissolving sugar and blooming your setting agent – your pan will thank you for exact measurements.
- Powdered gelatin (or agar-agar): For a vegetarian version, agar-agar works but sets faster so watch closely.
- Extra granulated sugar (for coating): It adds sparkle and prevents candies from sticking together in the container.
Instructions
- Prep the Pan:
- Line an 8x8-inch pan with parchment and brush with a touch of neutral oil, smoothing out any air pockets so every edge is candy-ready.
- Bloom the Gelatin:
- Sprinkle powdered gelatin over cold water in a small bowl and leave it undisturbed—it will look strange and wrinkled but trust the process.
- Make the Citrus Base:
- In your saucepan, combine fresh juice, zest, sugar, syrup, and water, then stir gently over medium heat until the grains disappear and the mix just begins to shimmer.
- Cook to Soft-Ball:
- Increase the heat and watch as bubbles race across the surface; let the mixture climb to 240°F using your candy thermometer for accuracy.
- Incorporate Gelatin:
- Swiftly remove from the heat and stir in the bloomed gelatin—stir until everything turns glassy and smooth, with no gritty bits lurking at the bottom.
- Set and Cool:
- Pour the hot syrup into your pan, quickly smoothing the top, and leave it uncovered at room temperature–resist the urge to chill, as set time is key for that chewy texture.
- Cut and Sugar:
- Once the slab holds its shape and doesn’t stick to your finger, lift and slice with a sharp, oiled knife into tidy cubes or any playful shapes you fancy.
- Coat and Store:
- Toss each candy in extra sugar and lay out on a tray for a few minutes, then layer in a container with parchment to keep them separate and sparkling.
 Pin It
 The real magic happened during my niece’s birthday, where bowls of these candies disappeared in a blink, leaving behind only a sugar-dusted tablecloth and the echoes of excited chatter. That’s when I realized candy making could turn a random afternoon into the highlight of someone’s entire week.
A Little on Substitutions
Swapping in grapefruit or lemon juice has led to quirky flavor surprises, but the method stays much the same. Agar-agar is your vegetarian option, but sets much faster—so move with purpose and keep your pan close. Using zest from other citrus fruits infuses its own personality into each batch.
Storing for Freshness
If your kitchen runs humid, these candies need an airtight home or they’ll turn sticky faster than you’d expect. I like layering them with parchment paper—even wax paper works for easy lifting later. They keep best out of direct sunlight, tucked into a cool cupboard where wandering hands are likely to find them.
Candy Making Troubleshooting
If you hit a snag—for instance, candies won’t set or your batch sticks stubbornly to the parchment—often the culprit is off measurements or rushing steps. Be generous with that sugar coating to avoid clumping. Never skip the thermometer; guessing leads to sticky or tooth-breaking results.
- Let the pan cool fully before cutting for clean edges.
- Use oiled blades for hassle-free slicing.
- Taste the juice before using—too tart or too sweet will change everything.
 Pin It
 This orange candy is my hopeful cure for gray days and quiet gatherings alike—bright, a bit nostalgic, and sure to spark smiles. Try a batch and see if your kitchen doesn’t feel a little more vibrant, too.
Recipe Questions
- → How can I tell when the mixture is ready?
-
Use a candy thermometer and heat to the soft‑ball stage, about 240°F (115°C). For a visual check, drop a small amount into cold water—if it forms a soft, pliable ball, it’s ready.
- → Can I substitute gelatin for a vegetarian option?
-
Yes. Agar‑agar works but behaves differently: dissolve and simmer it according to package instructions (it needs boiling), then adjust firmness since agar sets firmer and faster than gelatin.
- → What’s the best way to cut and prevent sticking?
-
Chill the set slab fully until firm, then remove from the pan using parchment. Use a sharp, lightly oiled knife or a candy cutter and dust pieces in granulated sugar to prevent sticking. Layer with parchment in storage.
- → How can I keep the bright orange color?
-
Start with fresh juice and generous zest. Avoid overcooking which darkens color. For extra vibrancy, add a drop of natural orange food coloring after removing from heat.
- → How should I store these candies and how long do they keep?
-
Store in an airtight container at room temperature for up to two weeks, layering with parchment to avoid sticking. Refrigeration can cause sweating and soften the sugar coating.
- → Can I use other citrus juices instead of orange?
-
Yes—lemon, lime, or grapefruit work well. Adjust sugar to balance acidity and expect flavor and set differences; grapefruit yields a tarter profile while lemon is brighter.
