 Pin It
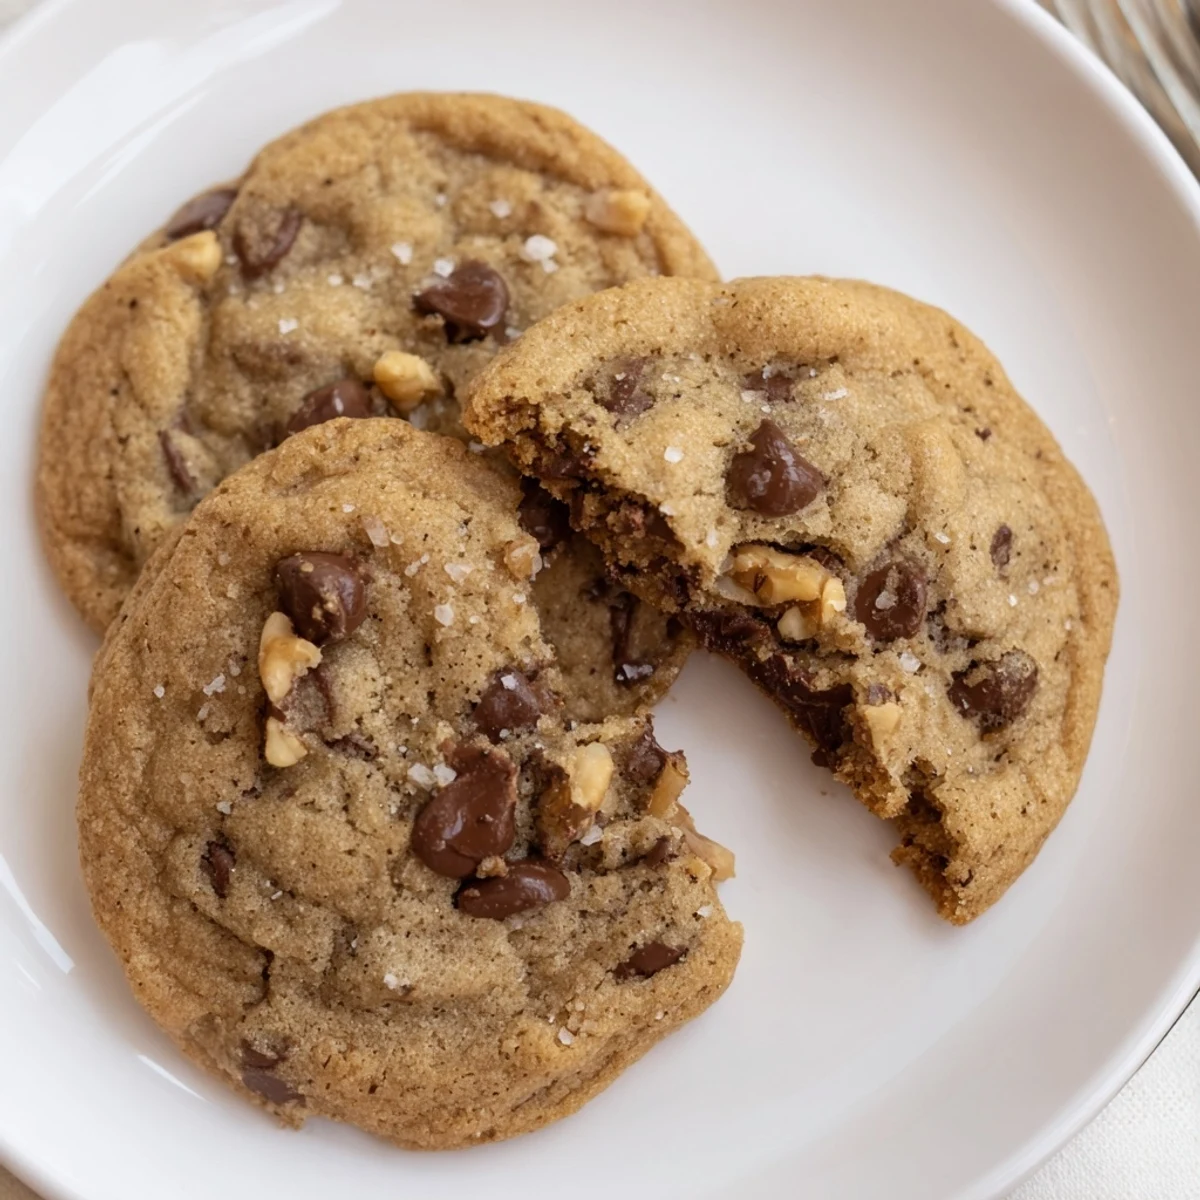
 These chocolate chip cookies bake up soft in the center with golden edges in about 12 minutes. Cream softened butter with granulated and brown sugar, add eggs and vanilla, then fold in dry ingredients until just combined. Stir in semi-sweet chips and optional nuts. Scoop tablespoon portions, bake at 375°F (190°C), cool briefly on sheets, then transfer to racks. Sprinkle flaky sea salt before baking for contrast.
The smell of brown sugar hitting warm butter is something I can never resist, and these chocolate chip cookies are the reason my kitchen is never quiet on a rainy Saturday afternoon. My sister once ate an entire tray straight from the oven and blamed me for not making a double batch. That chewy center with crisp golden edges is pure comfort wrapped in a cookie.
One winter evening my nephew stood on a stool beside me, flour dusted across his nose, carefully placing chocolate chips on each dough mound like tiny jewels. He declared them the best cookies in the universe, and honestly I have never recovered from that compliment.
Ingredients
- 2 1/4 cups (280 g) all-purpose flour: Spoon and level it gently because packed flour makes dense, heavy cookies that nobody wants.
- 1 teaspoon baking soda: This is your leavening hero that helps the cookies spread and puff just enough.
- 1/2 teaspoon salt: Do not skip this, salt is what makes the chocolate taste deeper and more complex.
- 1 cup (225 g) unsalted butter, softened: Leave it out for about an hour before starting because cold butter will not cream properly with sugar.
- 3/4 cup (150 g) granulated sugar: Helps create those crisp edges we all fight over.
- 3/4 cup (150 g) packed brown sugar: The molasses here is your secret weapon for chewiness and warmth.
- 2 large eggs: Add them one at a time so the dough stays smooth and emulsified.
- 2 teaspoons vanilla extract: Use the real stuff if you can, the aroma alone fills your whole home with happiness.
- 2 cups (340 g) semi-sweet chocolate chips: Semi-sweet balances the sweetness perfectly, but dark chocolate chunks work beautifully too.
- 1 cup (100 g) chopped walnuts or pecans (optional): Toasted nuts add a wonderful crunch that makes each bite more interesting.
Instructions
- Warm up the oven:
- Preheat your oven to 375 degrees and line two baking sheets with parchment paper so nothing sticks and cleanup is effortless.
- Whisk the dry team:
- In a medium bowl, whisk together the flour, baking soda, and salt until evenly blended and you see no clumps.
- Cream the butter and sugars:
- Beat the softened butter with both sugars in a large bowl until the mixture looks pale, fluffy, and absolutely irresistible.
- Welcome the eggs and vanilla:
- Drop in one egg at a time, mixing well after each, then pour in the vanilla and let the aroma fill your kitchen like a bakery.
- Marry wet and dry:
- Gradually beat in the flour mixture just until combined because overmixing makes tough cookies and nobody has time for that.
- Fold in the good stuff:
- Grab a spatula and gently stir in the chocolate chips and nuts if using, distributing them evenly through the soft dough.
- Shape and space:
- Drop rounded tablespoonfuls onto your prepared sheets, leaving about two inches between each one so they have room to spread into perfect circles.
- Bake to golden perfection:
- Slide them into the oven for 10 to 12 minutes until the edges turn golden but the centers still look soft and slightly underdone.
- Cool with patience:
- Let them rest on the trays for two minutes, then move them gently to wire racks where the centers will set as they cool.
 Pin It
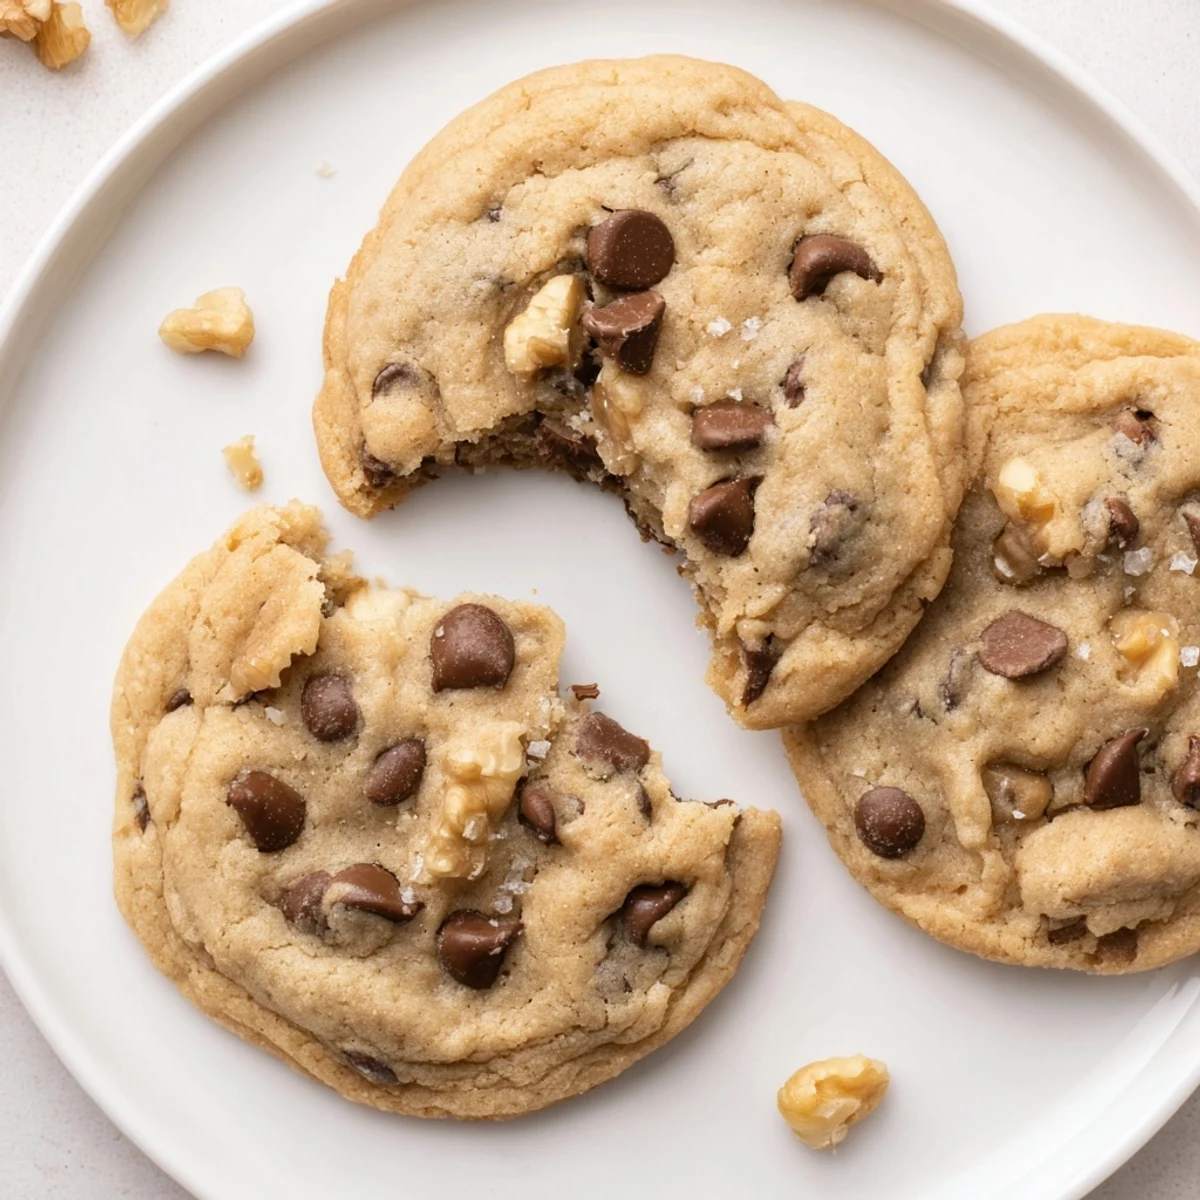
 There was a night I packed a tin of these for a friend going through a rough patch, and she called me crying, saying the cookies tasted like someone actually cared.
Storing and Keeping Them Fresh
Keep your cooled cookies in an airtight container at room temperature and they stay soft and delicious for up to a week, though honestly they rarely last that long in my house.
Making Them Your Own
This recipe is wonderfully forgiving, so feel free to swap the nuts for dried cranberries, toss in shredded coconut, or even add a pinch of cinnamon to the dough for a warm twist that feels entirely new.
Tools That Make It Easier
You do not need fancy equipment, but a few basics make the process smoother and more enjoyable.
- An electric mixer saves your arm from exhaustion when creaming butter and sugar to that perfect fluffy stage.
- Parchment paper is non-negotiable because it prevents sticking and makes transferring cookies stress free.
- A wire rack keeps air circulating underneath so the bottoms do not get soggy while cooling.
 Pin It
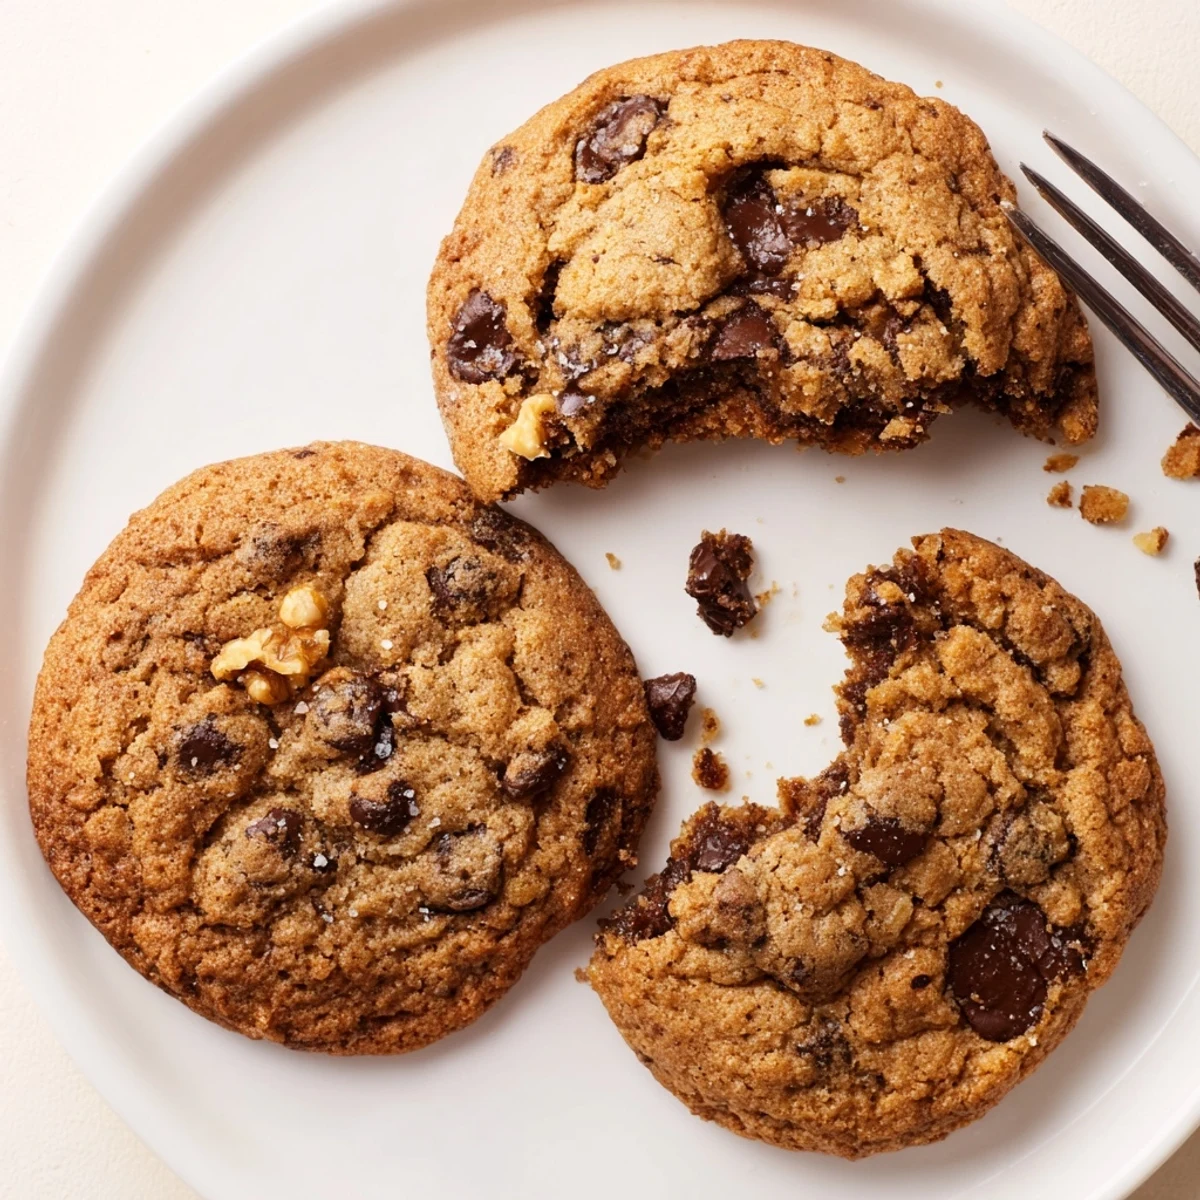
 Every batch you pull from the oven is a small act of love, and the best part is sharing them while they are still warm enough to melt in your hands.
Recipe Questions
- → How do I keep the cookies soft and chewy?
-
Use a mix of granulated and packed brown sugar for moisture, don’t overmix once flour is added, and remove from the oven when edges are set but centers still look slightly soft; they finish cooking on the hot sheet.
- → Can I swap nuts for other add-ins?
-
Yes — swap nuts for dried cranberries, oats, or extra chocolate chunks. Toast nuts lightly beforehand for deeper flavor, or omit them entirely for a nut-free version.
- → Why use both granulated and brown sugar?
-
Granulated sugar promotes browning and crisp edges, while brown sugar adds moisture and chewiness thanks to its molasses content, giving a richer flavor and softer texture.
- → How do I prevent the cookies from spreading too much?
-
Chill the dough for 15–30 minutes before baking, measure flour accurately, and avoid excess butter temperature; very warm butter increases spread. Use parchment and space scoops about 2 inches apart.
- → Can I freeze the dough or baked cookies?
-
Scoop-formed dough freezes well on a tray, then transfer to a bag for up to 3 months; bake from frozen adding a minute or two. Baked cookies keep in an airtight container for about a week or can be frozen similarly.
- → Is flaky sea salt really necessary?
-
A light sprinkle of flaky sea salt before baking brightens the chocolate and balances sweetness, but it’s optional if you prefer no finish salt.
