 Pin It
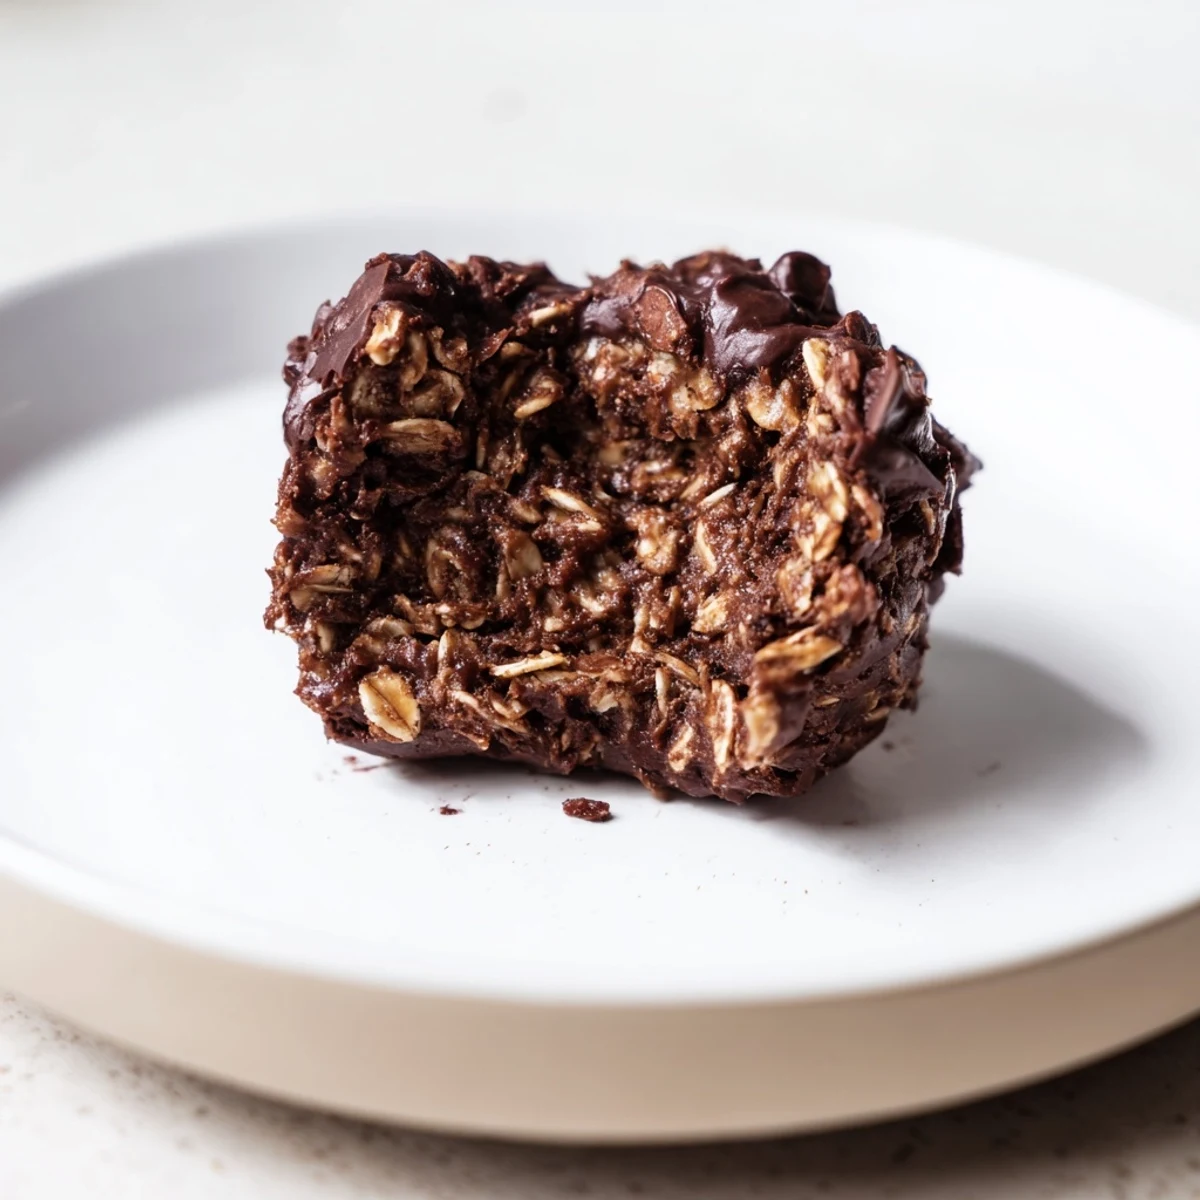
 These no-bake brownie protein bites start with rolled oats pulsed to a coarse flour, then combine chocolate protein powder, cocoa, maple syrup, nut butter, milk and vanilla into a sticky dough. Fold in dark chocolate chips, roll into 12 balls and chill for at least 30 minutes for a dense, fudgy bite. Swap nut butter or protein type to suit diet, add nuts or coconut for crunch, and freeze for longer storage.
You know that moment when you open the pantry looking for something chocolatey, but you want to stay on the healthy side of things? That’s how these brownie protein bites happened for me. The first time, the rich smell of cocoa powder and a suspiciously empty jar of peanut butter collided on my counter. Somehow, these bites were an accident I’d happily repeat.
I made a batch of these before a weekend hike with friends—they vanished before we’d even hit the halfway point. Someone asked if I’d bought them at a fancy health food shop, which honestly made me laugh out loud.
Ingredients
- Rolled oats: These form the hearty base and blend into a soft, chewy dough when processed—go for certified gluten-free oats if needed.
- Chocolate protein powder: Adds a boost of protein and a chocolatey depth; plant-based or whey both work, just watch the sweetness level.
- Unsweetened cocoa powder: Brings classic brownie flavor—if using dark cocoa, the bites become extra rich.
- Pure maple syrup or honey: Sweetens naturally and helps everything stick; I use maple syrup for a subtle caramel note.
- Natural peanut butter or almond butter: Holds it all together and adds creamy, nutty flavor—stir well before measuring for the best texture.
- Milk of choice: A splash loosens the dough; any type you have on hand will do, but plant-based keeps it dairy free.
- Vanilla extract: A dash lifts all the other flavors; don’t skip it if you have a bottle around.
- Dark chocolate chips: For extra gooey richness in every bite—mini chips disperse more evenly if you have them.
- Fine sea salt: Just a pinch makes the chocolate pop and balances sweetness.
Instructions
- Whirl the oats:
- Toss the rolled oats into your food processor and pulse till they look like coarse flour. A few oat specks left behind are perfect for texture.
- Add the dry goods:
- Protein powder, cocoa powder, and salt join the oats—pulse again until everything mingles and you catch a chocolately scent in the air.
- Pour in the wet mix:
- Stream in maple syrup, nut butter, milk, and vanilla. Blend until a sticky, thick dough forms (it should stick together when pinched; add a spoonful of milk at a time if needed).
- Fold in chips:
- Scoop out the dough into a bowl and gently fold in the chocolate chips so each bite gets a bit of chocolate.
- Shape the bites:
- With slightly damp hands, roll the dough into a dozen even balls and line them on a parchment-covered tray.
- Chill out:
- Pop the tray in the fridge for at least thirty minutes to let the flavors meld and the bites firm up—waiting really is worth it.
 Pin It
 I brought these to a post-yoga brunch once and watched as the plate made its way around, coming back to me empty except for a single lone crumb.
Customizing Your Brownie Bites
Every batch is a little different depending on what you have on hand—sometimes I throw in shredded coconut, chopped nuts, or switch out the nut butter for a flavor twist. The beauty is in making them truly your own.
Snack Time Solutions
They store really well in the fridge, so you can prep ahead for grab-and-go moments. I keep a stash ready for those afternoons when only chocolate and protein will do the trick.
Troubleshooting and Quick Fixes
If your dough is a bit too dry and crumbly, don’t panic—a dash more milk brings it all together. If it’s too sticky, just add a spoonful of oats. Remember, it’s hard to mess these up as long as you taste and adjust.
- Letting the bites chill longer makes them even fudgier.
- A sprinkle of sea salt on top takes things to another level.
- Check ingredient labels if you need to avoid gluten or dairy.
 Pin It
 Whip up a batch and stash them in the fridge—you’ll thank yourself next time the snack cravings hit. Sharing is optional, but almost always leads to requests for the recipe.
Recipe Questions
- → How can I make these nut-free?
-
Replace peanut or almond butter with sunflower seed butter and ensure all ingredients, including protein powder and oats, are labeled nut-free. Texture is similar; if too soft, add a teaspoon or two of extra oats.
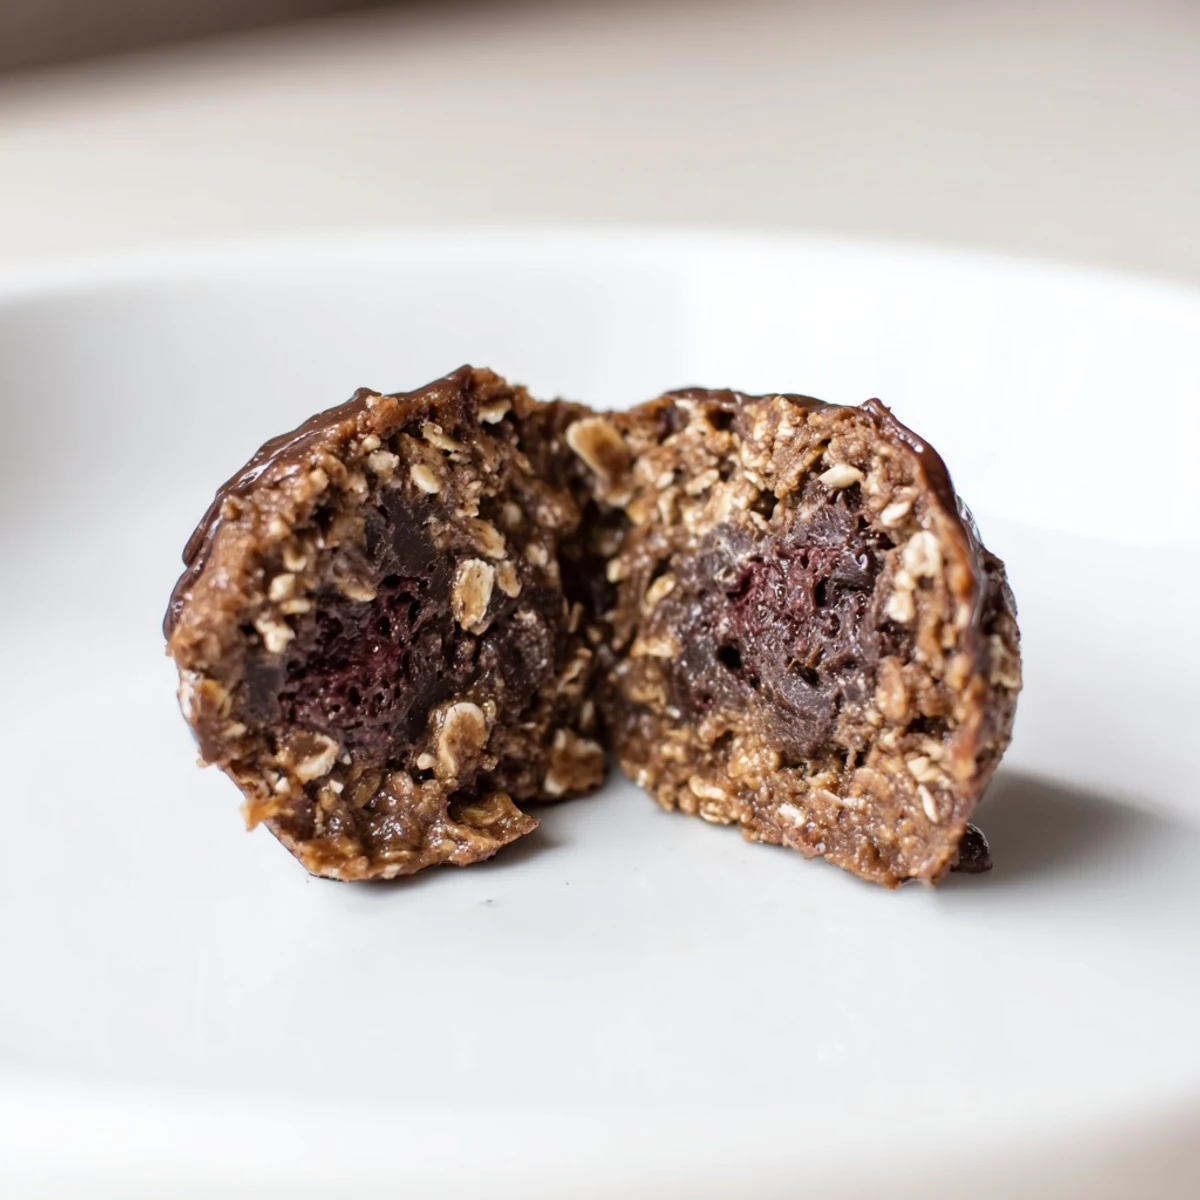
- → What gives them a fudgy texture?
-
The balance of nut butter, maple syrup and just enough milk creates a dense, sticky dough. Chilling firms the bites and concentrates the fudgy mouthfeel—don’t skip the refrigeration step.
- → Can I swap the protein powder?
-
Yes. Use chocolate or unflavored plant or whey protein. Chocolate-flavored powders intensify the cocoa notes; if using unflavored, taste and add a touch more sweetener if needed.
- → How do I make them firmer or softer?
-
For firmer bites, chill longer or add a tablespoon more oats. For softer, reduce oats slightly or add milk by the teaspoon until desired consistency is reached before chilling.
- → How long do they keep and how should I store them?
-
Store chilled in an airtight container for up to 5 days. For longer storage, freeze on a tray then transfer to a sealed bag for up to 3 months; thaw briefly before serving.
- → Any tips for shaping and mix-ins?
-
Use a small cookie scoop for even sizing and lightly wet hands if the dough is sticky. Fold in chopped nuts, shredded coconut or extra chocolate chips for texture variations.
